


Introduction
As smart home devices grow, many people often find themselves managing multiple apps, facing limited cross-brand compatibility, and struggling to create seamless automations — especially for everyday scenarios like motion-triggered lighting.
Luckily, integrating your motion sensors into Home Assistant provides a unified solution, bringing these fragmented experiences into a single system with centralized control, faster responses, cross-device coordination, and more flexible, customizable automations.
If you're looking for the best motion sensor for Home Assistant in 2026, this guide is for you. You'll learn how to add a Zigbee motion sensor to Home Assistant, build fast, reliable automations, and discover the best motion sensors for your setup.
How to Choose the Right Motion Sensor For Home Assistant?
To choose the right motion sensor for Home Assistant, focus on these key factors: communication protocol, reset time, battery life, detection range & angle, and installation flexibility—these directly determine responsiveness, reliability, and overall automation experience.
Quick Checklist: Choosing the Right Motion Sensors for Home Assistant
| Factor | Recommendation |
|---|---|
| Communication Protocol | ⭐ Zigbee: local control, fast response, low power consumption, stability Z-Wave: reliable but more expensive Wi-Fi: connect directly to the router (no hub required), but most rely on cloud control (may increase latency) and higher power usage Bluetooth: limited range |
| Reset Time (Cooldown Time) | ✅ Configurable, 5–10s (best) ❌ Avoid fixed >60–120 seconds cooldown |
| Battery Performance | 2–3 year lifespan to reduce frequent replacement CR2477 / AAA battery preferred, easy to replace |
| Detection Range & Angle | 4–12m range Wide FoV (e.g., 110°–170°) to cover more area |
| Mounting Options | Flexible mounting (magnetic, adhesive, or screw) |
How to Add Your Motion Sensor to Home Assistant? (Step-By-Step Guide)
Every protocol comes with its own pros and cons—the right choice ultimately depends on your setup, ecosystem, and automation needs. For this guide, we'll focus on Zigbee as a practical example, since it offers a strong balance of local control, responsiveness, and low power consumption.
If you've looked into Zigbee for Home Assistant, you've likely come across two popular integration options: ZHA (Zigbee Home Automation) and Zigbee2MQTT (Z2M). Both work well, but they differ in compatibility, flexibility, and setup complexity. For a full comparison, please view here: ZHA vs. Zigbee2MQTT: The Best Zigbee Integration for Home Assistant?
This guide uses ZHA, as it's built directly into Home Assistant and requires no additional software. We'll walk through four stages: hardware setup, ZHA configuration, sensor pairing, and final verification — everything you need to get your Zigbee motion sensor up and running, and ready to automate.
Preparation: What You Need
Before you begin, ensure you have the following:
- Home Assistant is installed and running
- A computer or a Raspberry Pi
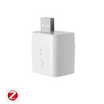
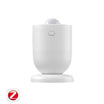
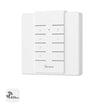
- A Zigbee motion sensor (e.g., SONOFF Zigbee Motion Sensor | SNZB-03P)
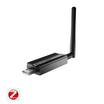
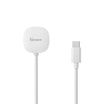
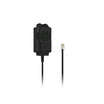
- A Zigbee coordinator (e.g., SONOFF Zigbee 3.0 USB Dongle | ZBDongle-P / ZBDongle-E, PoE Dongle | Dongle-M, Dongle Plus MG24, Dongle-LMG21)

Step 1: Hardware Setup
1. Plug in the Zigbee Coordinator
- Plug the Zigbee coordinator, such as SONOFF Zigbee 3.0 USB Dongle Plus-P / -E, Dongle Plus MG2, Dongle-LMG21, into your computer or Raspberry Pi, and it will be automatically discovered.
2. Verify the dongle is detected
- In Home Assistant, go to Settings > System > Hardware > All Hardware.
- Look for something like:
/ttyUSB0or/ttyACM0, which is your Zigbee dongle port.
💡 You can follow this guide to learn more details: How to Use SONOFF Zigbee Dongle Plus on Home Assistant? How to Flash Firmware?

Step 2: Install and Configure ZHA in Home Assistant
- Go to Home Assistant and navigate to Settings > Devices & Services.

- Click "Add Integration" and search for Zigbee Home Automation (ZHA).

- Click ZHA and select:
- Serial port > Serial device path (your Zigbee dongle port)
- Migrate a new adapter
- Migrate automatically (recommended)
- Device created
- Skip and finish


- Once completed, you will see ZHA (Zigbee Home Automation) successfully configured in Home Assistant.

Step 3: Add the Zigbee Motion Sensor to Home Assistant
Next, we will take the SNZB-03P motion sensor as an example to demonstrate how to add a Zigbee motion sensor to Home Assistant.
- Power on the SNZB-03P motion sensor.

- Put the device into pairing mode: Reset the SNZB-03P by pressing the button on the device for 5 seconds until the LED starts blinking.
- Wait for discovery: In Home Assistant, navigate to Settings > Devices & Services > ZHA > Add devices, then wait for ZHA to discover the SNZB-03P.


- Once found, you can rename the device and set the area according to your requirements.
Step 4: Verify and Test the Zigbee Motion Sensor
- Go to Settings > Devices & Services > ZHA and find your Zigbee motion sensor in the device list.

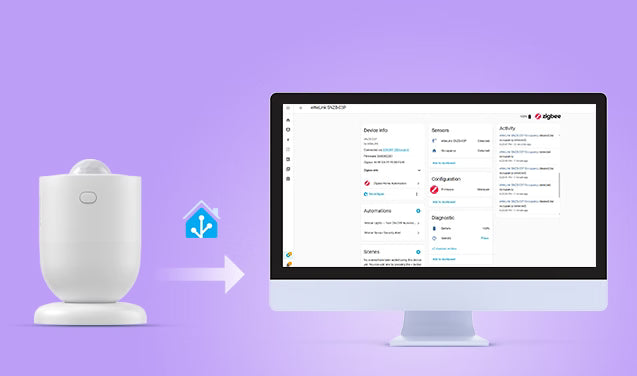
- Click on the eWeLink SNZB-03P to enter the device page, where you can view device info, detection status, activity, battery level, automation, and more.
- Test the motion sensor to verify whether Home Assistant registers the state change.

Quick Tour of the SNZB-03P Device Page
Here's a quick tour of the SNZB-03P device page in Home Assistant (ZHA) for beginners:
1. Device Info
This section shows the device's basic identity — model name, the Zigbee coordinator it's connected to, firmware version, signal-related stats, and more.
- Connected via: This confirms your sensor is communicating through the Zigbee coordinator.
- Firmware: The current firmware version running on the sensor.
- Zigbee info: You can find the LQI (Link Quality Indicator) and RSSI (Received Signal Strength Indicator) here. A higher LQI value means a more stable connection between your sensor and the coordinator. The RSSI closer to 0 is stronger.
- Last seen: The exact time Home Assistant last heard from this sensor.
-
Reconfigure: If the device becomes unresponsive, clicking this tells Home Assistant to re-establish the connection parameters.

2. Sensors & Activity
-
Sensors: This is the live status panel — it shows you what the sensor is detecting at this very moment.
- Occupancy → Detected: Motion was detected. (In HA, "Occupancy" refers to the sensor's current state, and Detected means it is sensing a person.)
- Occupancy → Clear: No motion has been detected for a short while.
- Add to dashboard: Click this if you want a shortcut card for this sensor to appear on your Home Assistant dashboard, so you can see its status at a glance without navigating here every time.
-
Activity: It provides a time-stamped list of every event. You can see exactly when occupancy was "Detected" or "Cleared". If an automation fails to trigger, check this list to confirm whether the sensor actually detected movement at that specific time.

3. Automations
- You can quickly create a new automation by clicking the "+" icon.
- Any automations you've set up using this sensor will be listed here, making it easy to review or edit them at a glance.

4. Diagnostic & Configuration
Configuration
- Displays information about the device's firmware. When a new official update is available from SONOFF, it will typically be managed or signaled through this area.

Diagnostic
- Battery: Provides real-time tracking of the battery percentage.
- Identify → Press: Clicking this sends a command to the physical sensor to blink its LED.
-
Add to dashboard: Adds battery level and diagnostic info as a card on your dashboard.

5. Scenes & Scripts
Scenes
- You can set a group of devices to a specific state that can be triggered by this sensor.
- Click the "+" icon to create a new scene that activates when the sensor detects your presence.
Scripts
- A sequence of actions you can run manually or call from other automations.
- Add one here using the "+" button if you want something reusable.

Quick Reference — What to Do When
| I want to... | Go to... |
|---|---|
| Check if someone is home | Sensors |
| Check the battery level | Diagnostic |
| See why the automation didn't fire | Activity |
| Edit my motion light rules | Automations |
| Find out if the sensor is online | Last seen (in Device Info) |
| Figure out which physical sensor this is | Identify → Press (in Diagnostic) |
How to Set Up Motion Sensor Automations in Home Assistant? (Practical Scenarios)
Now that your Zigbee motion sensor is integrated into Home Assistant, it's time to unlock the real power of Home Assistant: Automations. By linking your sensor with other smart devices, you can transform a static house into a responsive home. To get you started, here are two essential, practical automation scenarios you can set up in minutes:
Scenario 1: Motion Lights — Turn ON/OFF Automatically
When the motion sensor detects movement, a smart light turns on automatically. If no motion is detected for 2 minutes, the light turns off automatically.
Step 1: Create "Motion → Light ON" Automation
- Go to Settings > Automations & Scenes > Create Automation > Create New Automation.

- Set the Trigger:
- Add Trigger > Device
- Select your motion sensor (e.g., eWeLink SNZB-03P)
- Trigger: became occupied (or started detecting motion, depending on sensor brand)


- Set the Action:
- Add action > Device
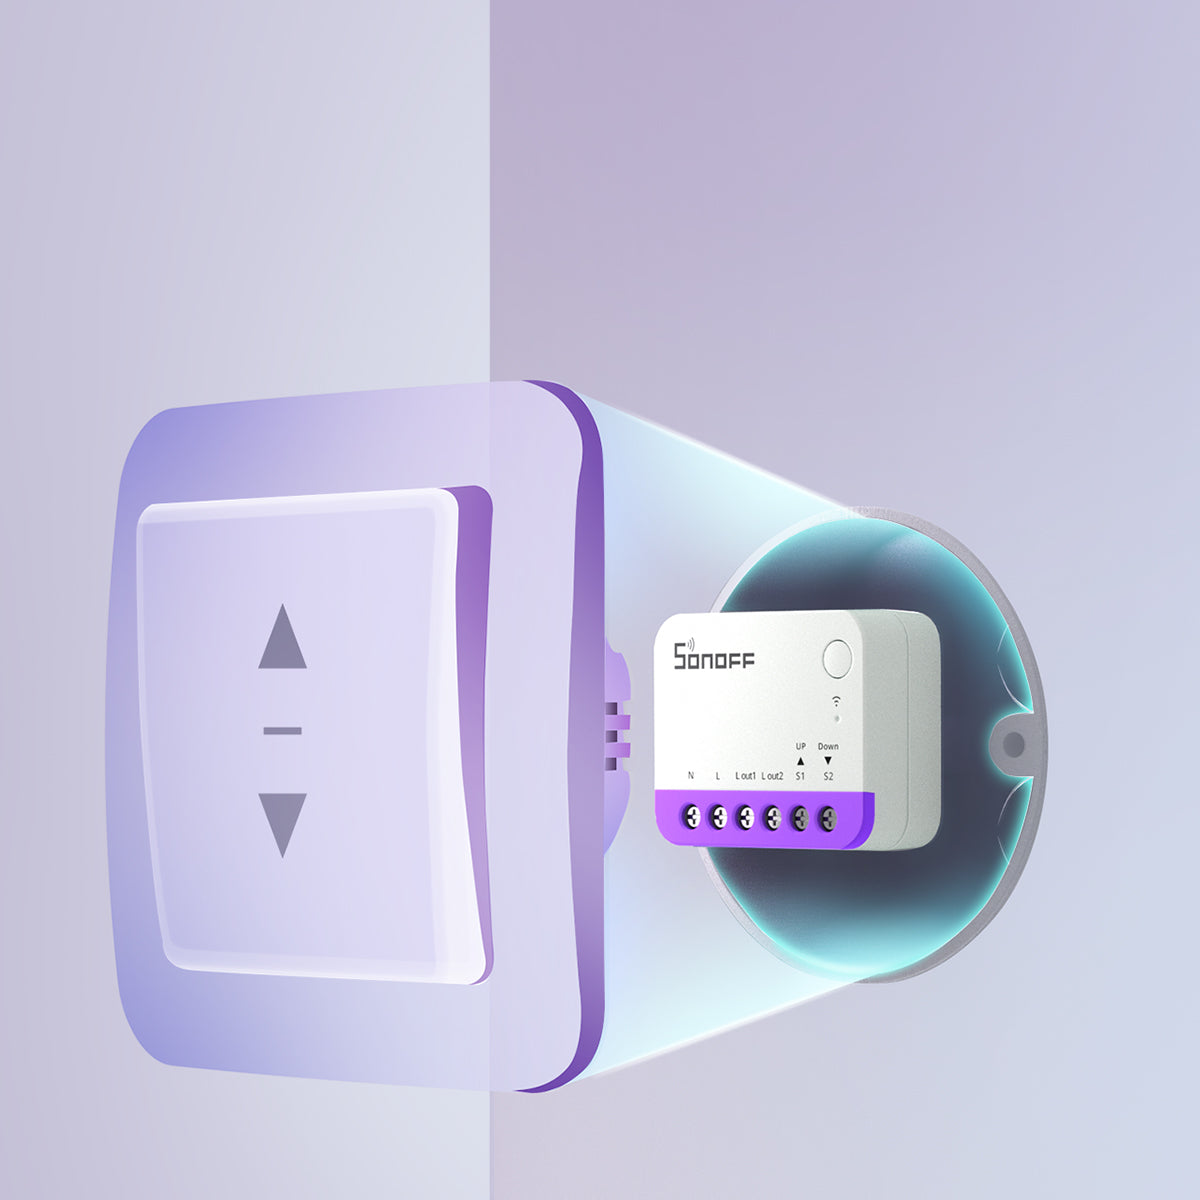
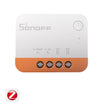
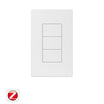
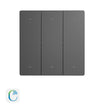
- Select your smart light (usually the switch controlling your lights, such as SONOFF ZBM5 smart wall switch)
- Action: Turn on


Step 2: Create "No Motion → Light OFF" Automation
- Create the second automation the same way:
- Add trigger > Device > select your motion sensor
- Trigger: became not occupied (or stopped detecting motion)
- Add a duration:
- Set this to 00:02:00 (2 minutes), or adjust according to your preference

- Set this to 00:02:00 (2 minutes), or adjust according to your preference
- Add action:
- Device > find your light (usually the switch controlling your lights)
- Action: Turn off
- Click Save and name the automations something like "Motion Lights —Turn ON/OFF Automatically".

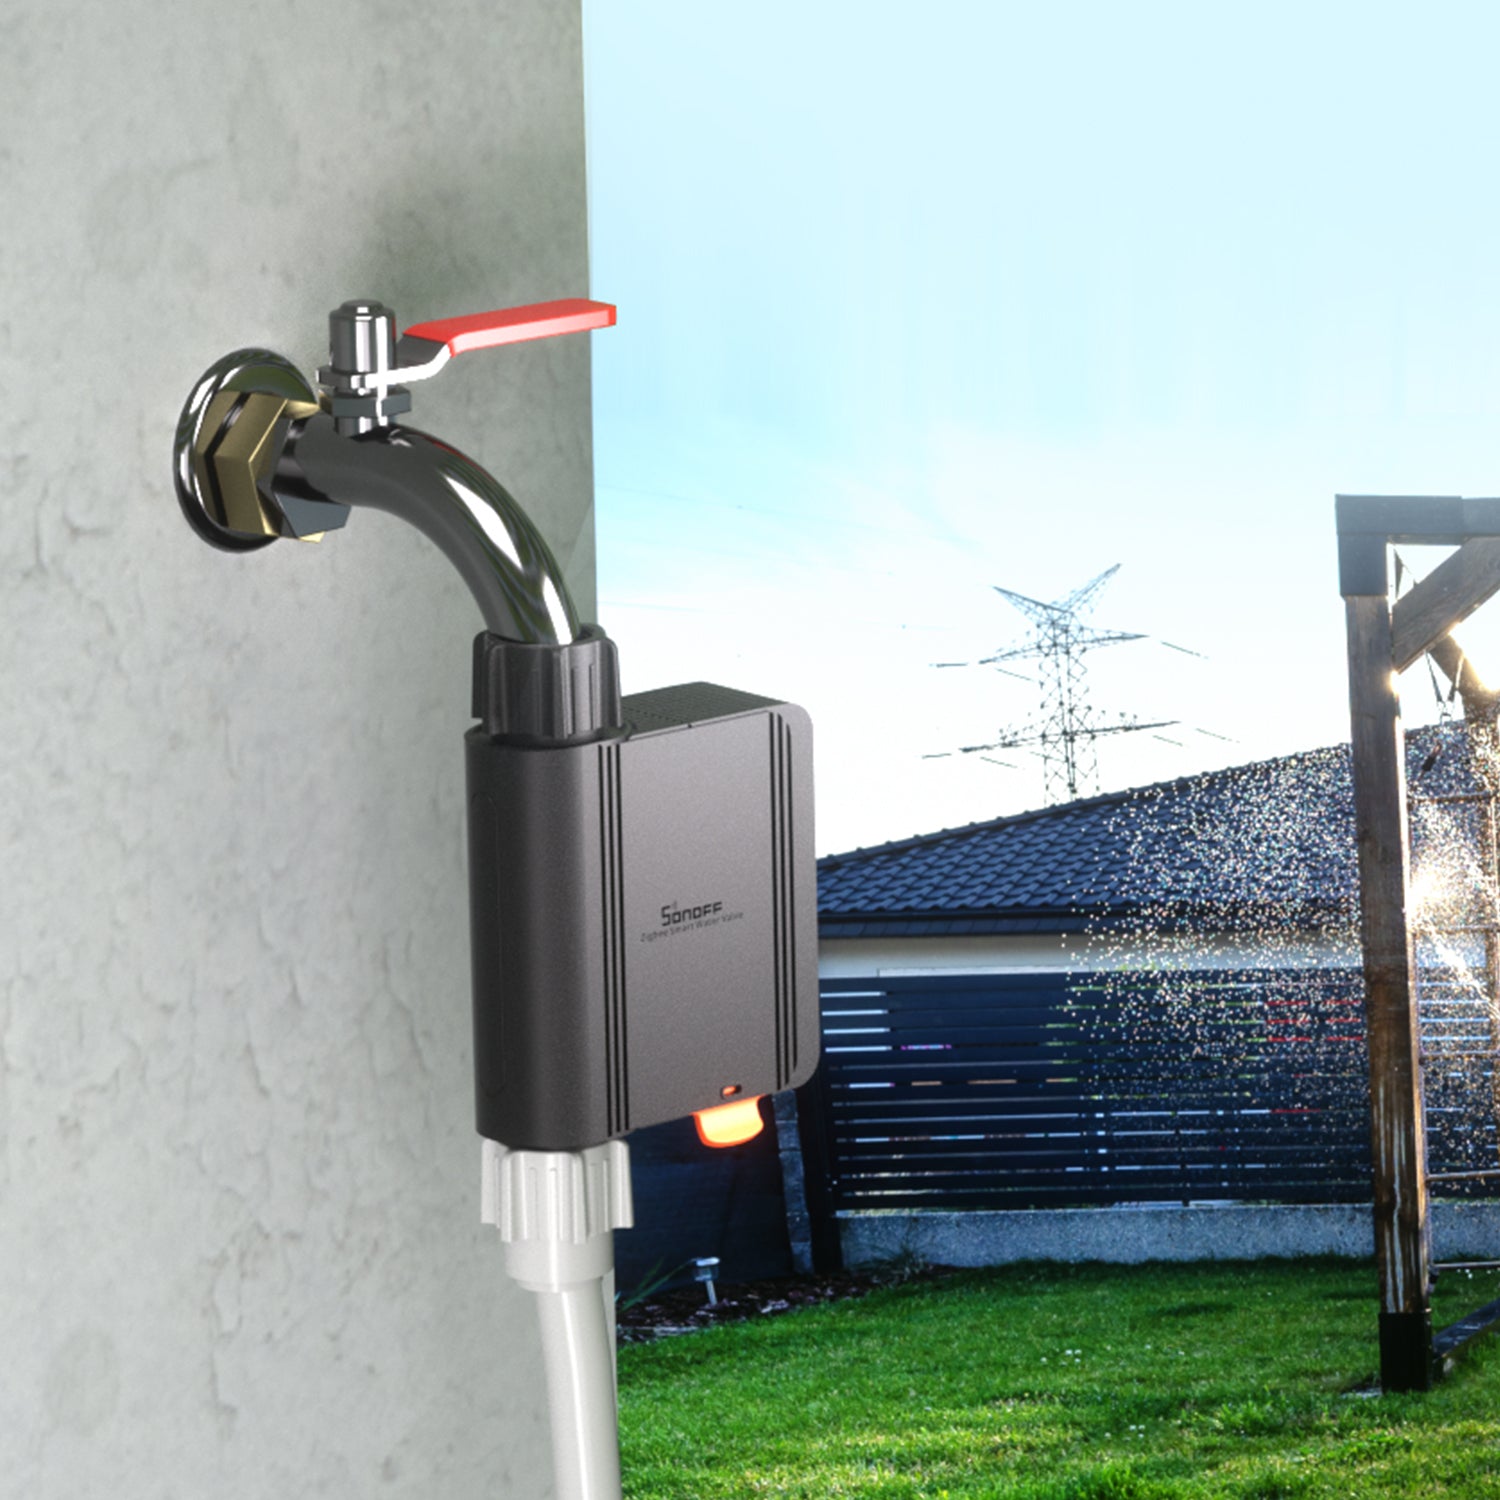
Scenario 2: Security Alert & Camera Snapshot
When motion is detected while you are away from home, the camera takes a snapshot and sends a notification message to your phone to enhance your home security.
Step 1: Create "Camera: Take Snapshot"
- Go to Settings > Automations & Scenes > Create Automation > Create New Automation.
-
Trigger:
- Click Add trigger > Device
- Select your motion sensor
-
Motion became occupied

-
Action:
- Click Add action > Perform action
- Camera: Take snapshot
- Targets: choose entity
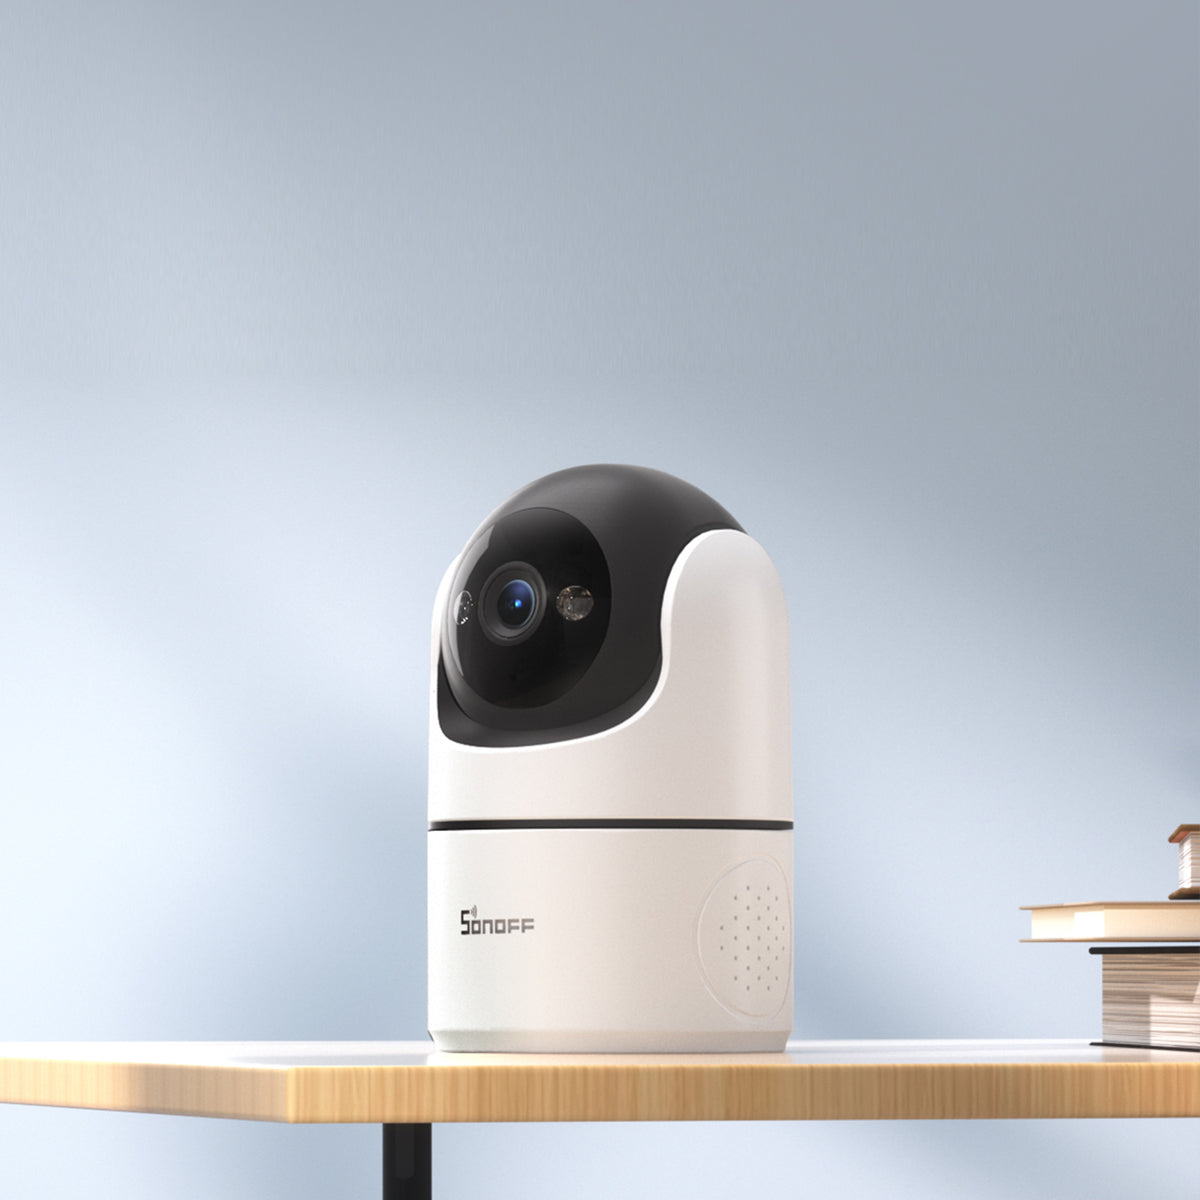
- Select your camera (make sure your camera has been integrated into Home Assistant)
- Set Filename

Step 2: Create "Send a Notification"
- Click Add action again > Perform action > Notifications: Send a notification
- Message: Edit the content of the text message, e.g. Warning! Abnormal movement detected in the backyard.
- Save
-
Name the automation (e.g., Motion Sensor Security Alert)

- Testing: You can walk up to your motion sensor and wave your hand in front of it; your phone should immediately receive an alert, and you can view the captured snapshot at the designated file path.
Key Requirements for Reliable Home Assistant Motion Automations
The automations above — automatic lighting, security snapshots, instant alerts — sound great, but in reality, many setups feel slow or unreliable. In most cases, the issue isn't your automation logic — it's your motion sensor. It all comes down to how quickly it detects motion, how fast it resets time, and how reliably it reports within your local network.
To achieve smooth, consistent automations, your sensor needs to meet three key requirements:
Short Reset Time
- Many motion sensors have a fixed 60–150 second cooldown after being triggered, which means you could walk back down the hallway and the lights won't respond.
- For smooth, responsive lighting, you need a sensor with a short reset time of around 5–10 seconds, not one that locks you out for a full minute or more.
Stable and Reliable Connectivity
- A motion sensor only matters if it works reliably every time. Random drop-offs or lost connections make automations unpredictable.
- A stable connection ensures your motion sensor consistently communicates with your system, keeping automations responsive and dependable over time.
Reliable Motion Detection
- Efficient power consumption enables 2–3 years of battery life, reducing maintenance and ensuring your motion sensor remains reliable over time without frequent battery changes.
- A broad detection angle and range help minimize blind spots, while flexible installation (e.g., magnetic base, adjustable angles) allows you to position the motion sensor exactly where it performs best.
SONOFF SNZB-03P: Best Zigbee Motion Sensor for Home Assistant
The SONOFF SNZB-03P is a high-performance, low-power Zigbee 3.0 PIR motion sensor designed for real-time movement detection. It stands out in the market by offering a superior balance of detection speed, reliable local control, battery longevity, and installation flexibility compared to traditional PIR motion sensors.

SONOFF SNZB-03P Motion Sensor
Zigbee 3.0 motion sensor with fast 5s reset, Home Assistant compatible.
View Product⚡ 5-Second Ultra-Fast Reset Time (Cooldown)
- Supports a fully customizable reset time (cooldown) from 5–60 seconds, far shorter than typical 60s+ sensors.
- Ideal for "walk-through" areas like hallways, corridors, staircases, and entrances, ensuring lights turn on and off automatically without frustrating delays, ultimately saving more energy.
💡 Tips: The SNZB-03P's default reset time (cooldown) is 60 seconds, but you can manually adjust it to as low as 5 seconds.
🔗 Seamless Home Assistant Compatibility (ZHA & Zigbee2MQTT)
- Compatible with ZHA and Zigbee2MQTT, and fully local operation, with no cloud dependency or latency.
- Delivers fast, reliable state updates directly inside Home Assistant.
📶 Stable Zigbee 3.0 Networking
- Built on the Zigbee 3.0 protocol, the SNZB-03P offers strong interoperability and reliable network performance.
- Runs entirely locally — no cloud required. As a Zigbee device, it does not connect to Wi-Fi. All communication is carried out via the Zigbee protocol, allowing you to build a fully local, low-latency network.
🔋 Long-Lasting 3-Year Battery Life
- Equipped with a high-capacity CR2477 battery, the SNZB-03P motion sensor offers over 3 years of battery life under normal usage, significantly reducing the hassle of frequent replacements.
- Install it, forget it, and enjoy reliable performance. Come back in three years.
⚙ Flexible Mounting and Wide-Area Detection & Range
- Features a magnetic base that supports 360° rotation and over 90° of angle adjustment, allowing for precise aiming to avoid false triggers from pets or heat sources.
- Supports 3M adhesive, screw mount, desktop placement, or direct attachment to any metal surface.
- Features a 110° field of view and an approximately 6-meter (20ft) detection range, ensuring that a single sensor can effectively monitor medium-to-large rooms and capture movement the moment someone enters the zone.
Conclusion
By choosing a high-performance Zigbee motion sensor and integrating it locally with Home Assistant, you eliminate the lag and privacy risks associated with cloud-based alternatives.
If you're just getting started, a Zigbee motion sensor like the SNZB-03P motion sensor is a reliable option. It offers a 5-second fast reset time, reliable motion detection, a stable Zigbee 3.0 mesh network, over 3 years of battery life, and flexible installation.
FAQs
Why is there a delay between motion detection and my lights turning on?
Latency usually comes from three places: cloud dependency, a weak Zigbee connection, or a slow-reporting sensor.
The most common fix is switching to a local Zigbee setup — when your sensor communicates directly with a local coordinator (e.g., SONOFF Zigbee 3.0 USB Dongle Plus-P / -E, Dongle Plus MG2, Dongle-LMG21) instead of routing through a cloud server, response time drops to under a second.
From there, make sure you have enough mains-powered Zigbee devices nearby to strengthen network reliability and maintain stable connections, and use a sensor with fast state reporting.
The SNZB-03P Zigbee motion sensor checks all three boxes: fully local operation, reliable Zigbee 3.0 connectivity, and fast motion reporting — keeping the response time between motion detection and lighting activation consistently low.
My lights turn off while I'm still in the room. How can I fix this?
Most PIR motion sensors have a 60–90 second cooldown after triggering — if there's little or no movement during that time, the sensor returns to a "no motion" state, which can cause your automation to turn the lights off.
The fix: use a motion sensor with a short, configurable reset time. The SNZB-03P Zigbee motion sensor lets you set cooldown as low as 5 seconds, so it re-triggers the moment you move again and keeps the lights on.
💡 Tips: For stationary activities such as bathroom use, reading, or office work, consider adding a human presence sensor (e.g., SNZB-06P Zigbee human presence sensor).
Does my motion sensor still work if my Wi-Fi goes down?
Yes — Zigbee motion sensors like the SNZB-03P do not rely on Wi-Fi at all. They communicate directly with a Zigbee coordinator, so Wi-Fi outages do not affect their operation. As long as your Home Assistant and Zigbee network are active, your automations will continue to work normally.
How do I stop my motion sensor from triggering false alerts (pets, HVAC)?
False triggers typically come from three sources: pets, heat vents, or sensor placement. Here's how to address each:
- Pets: Adjust the detection angle — with a 360° adjustable mount (like the SNZB-03P), tilt the sensor slightly upward so the detection zone starts above your pet's height.
-
Heat vents: Avoid pointing sensors at windows or HVAC outlets. PIR motion sensors detect infrared heat changes, so sudden warm airflow can trigger them.
ZHA or Zigbee2MQTT — which should I use for motion sensors?
Both ZHA and Zigbee2MQTT work well with motion sensors:
- ZHA — Best for beginners. It's built into Home Assistant, easy to set up, and works reliably for most motion sensors.
- Zigbee2MQTT — Better for advanced users. Requires a separate MQTT broker, supports more devices, and offers deeper customization and more control—but comes with a more complex setup.
Recommendation: Start with ZHA. If you need more advanced configuration options or parameter customization, move to Zigbee2MQTT.
👉 For a full comparison: ZHA vs. Zigbee2MQTT: The Best Zigbee Integration for Home Assistant?
How do I set the SNZB-03P motion sensor reset time (cooldown) in Home Assistant via ZHA?
By default, the cooldown is set to 60 seconds, but it can be reduced to as low as 5 seconds for faster response. See the tutorial below for step-by-step instructions.
Step 1: Open the Zigbee device settings
- Go to your SNZB-03P device page in Home Assistant and click "Manage Zigbee device".
Step 2: Select the correct cluster
- In the Clusters dropdown, choose "OccupancySensing (Endpoint 1, ID: 0x0406, Type: in)".
Step 3: Find the reset time parameter
- Select "ultrasonic_o_to_u_delay (id: 0x0020)" (This controls the sensor's reset/cooldown time.)
Step 4: Set your desired value
- Enter a value between 5–60 seconds:
- 60 = default cooldown
- 5–10 = fast response mode (recommended for lighting automations)
Step 5: Apply the configuration
- Click "Write attribute", then wait for the configuration to complete.
- Short press the button on the SNZB-03P to wake up the device.
- When you see ✅, it means the setup is successful.


Leave a comment
All comments are moderated before being published.
This site is protected by hCaptcha and the hCaptcha Privacy Policy and Terms of Service apply.