


Introduction

What to Look for in a Home Assistant Temperature & Humidity Sensor?
-
Communication Protocol: Most temperature and humidity sensors typically use Zigbee, Wi-Fi, Bluetooth, or Z‑Wave protocols.
-
-
- Zigbee — Low power consumption, local control, fast response, and stable connectivity.
- Wi-Fi — Connect directly to the router with no hub required, but most rely on cloud control, which may increase latency and higher power consumption.
- Bluetooth — Low power and affordable, but limited range and weaker Home Assistant integration compared to Zigbee.
- Z‑Wave — Similar to Zigbee but typically more expensive and requires a separate Z‑Wave coordinator.
-
-
- Temp & Humid Accuracy — Look for around ±0.2°C temperature accuracy and ±2% RH humidity accuracy for stable automations.
- Battery life — Depending on the model and battery type, battery life can range from 2 to 4 years.
- Waterproof rating — IP65 protection is important for bathrooms, kitchens, greenhouses, and other humid environments.
- LCD display — A built-in screen makes it easy to check temperature and humidity at a glance without opening Home Assistant.
- Refresh rate — Faster reporting intervals help Home Assistant automations respond more quickly to temperature or humidity changes.
- External probe — Required for measuring liquid temperatures or monitoring enclosed spaces like refrigerators and fish tanks.
- Mounting options — Magnetic mounts, adhesive backing, hanging loops, or desktop stands can make placement more flexible.
Recommended Zigbee Temperature & Humidity Sensors for Home Assistant
Quick Overview:
|
Price |
$15.90 |
$19.90 |
$16.90 |
$19.90 |
|
Display |
✅2.5" LCD |
✅ 2.2" LCD |
❌ |
✅ 2.2" LCD |
|
Temperature |
✅ |
✅ |
✅ |
✅ |
|
Humidity |
✅ |
✅ |
✅ |
❌ |
|
Temp Range |
-10~60℃ |
-20~60℃ |
-10~60°C |
-10~60℃ |
|
Humidity Range |
5~95%RH |
0~100%RH |
5~95%RH |
❌ |
|
Accuracy |
±0.2°C / ±2% RH |
±0.2°C / ±2% RH |
±0.2°C / ±2% RH |
±0.2°C / ±2% RH |
|
Configurable Refresh Rate |
5s |
5s |
5s |
5s |
|
Waterproof |
❌ |
✅ IP65 |
❌ |
✅ IP65 (body) |
|
External probe |
❌ |
❌ |
❌ |
✅ 1.5 m |
|
Battery Life |
Up to 2 years CR2450 |
Up to 2 years CR2477 |
Up to 4 Years CR2477 |
Up to 2 years CR2477 |
|
Mounting |
Stand Magnetic |
Hanging Magnetic |
Screw Adhesive Magnetic |
Hanging Magnetic |
|
Best For |
General indoor use |
Humid & wet environments |
Multi-room deployment |
Refrigerators & liquids |
Product Highlights:
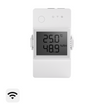
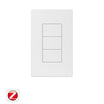
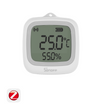
SNZB-02D
An all-round indoor sensor with a 2.5" LCD and ±0.2°C accuracy. Includes both a desktop stand and magnetic mounting for flexible placement around the home. Best for bedrooms, living rooms, offices, nurseries, incubators, humidors, wine cellars, instruments, reptile terrariums, etc.

SONOFF SNZB-02D Zigbee LCD Smart Temperature Humidity Sensor
$15.90
【Large LCD Display】Features a clear, easy-to-read LCD screen that dynamically shows real-time temperature and humidity. Intuitive icons also indicate room conditions and battery status at a glance...
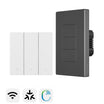
View ProductSNZB-02WD
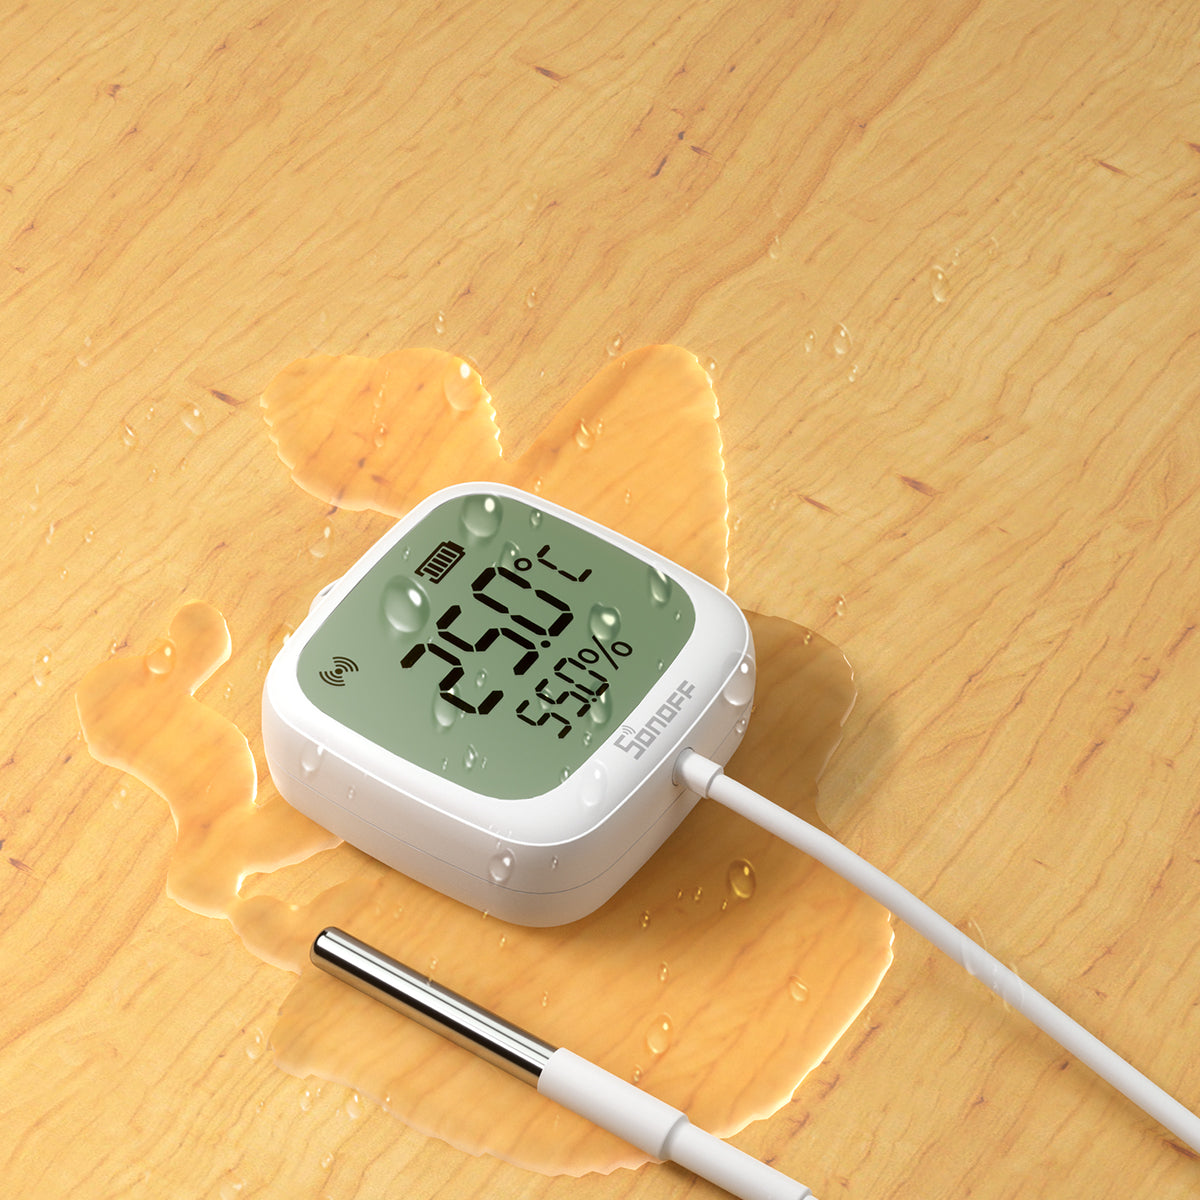
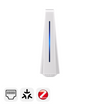
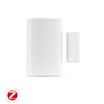
The IP65-rated body and waterproof breathable membrane make this the right pick for anywhere moisture is a regular factor. Magnetic or hanging mount works where adhesive won't hold. Best for bathrooms, greenhouses, laundry rooms, under the eaves, ecological tanks — any environment where moisture, condensation, or humidity is a regular factor.

SONOFF SNZB-02WD IP65 Zigbee LCD Smart Temperature Humidity Sensor
$19.90
【Advanced Waterproof Design】Encased in IP65-rated housing with an internal waterproof breathable membrane, ensuring reliable operation even in humid or misty conditions...
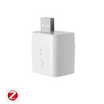
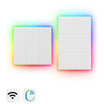
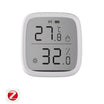
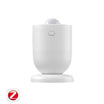
View ProductSNZB-02P
No screen, but the same ±0.2°C accuracy — and up to 4 years of battery life. Compact enough for discreet multi-room deployment. Best for multi-room deployments where battery replacement and aesthetics matter.

SONOFF Zigbee Temperature and Humidity Sensor | SNZB-02P
$16.90
【Long-Lasting Battery Life】Powered by a CR2477 coin cell battery, offering up to 4 years of battery life under typical use conditions (based on SONOFF lab data; actual performance may vary)...
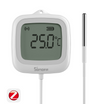
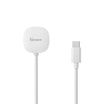
View ProductSNZB-02LD
Note: temperature only — no humidity sensor.

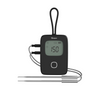
SONOFF SNZB-02LD IP65 Zigbee LCD Smart Thermometer (Probe Version)
$19.90
【Probe Temperature Measurement】The 1.5m probe enables accurate temperature readings in liquids or enclosed spaces, reaching areas beyond the range of standard sensors...
View Product
Features Available in Home Assistant (ZHA & Zigbee2MQTT)
|
Feature in Home Assistant |
SNZB-02D |
SNZB-02WD |
SNZB-02P |
SNZB-02LD |
|
Integration |
ZHA / Z2M |
ZHA / Z2M |
ZHA / Z2M |
ZHA / Z2M |
|
Temperature |
✅ |
✅ |
✅ |
✅ |
|
Humidity |
✅ |
✅ |
✅ |
— |
|
Temperature Offset |
✅ |
✅ |
✅ |
✅ |
|
Humidity Offset |
✅ |
✅ |
✅ |
— |
|
Battery Level |
✅ |
✅ |
✅ |
✅ |
|
Historical Records |
✅ |
✅ |
✅ |
✅ |
|
Automations |
✅ |
✅ |
✅ |
✅ |
|
OTA Firmware Updates |
✅ |
✅ |
✅ |
✅ |
How to Add a Zigbee Temperature and Humidity Sensor to Home Assistant via ZHA & Zigbee2MQTT?
What you'll need:
- A Zigbee Temperature and Humidity Sensor (e.g., SNZB-02D, SNZB-02WD, SNZB-02P, SNZB-02LD)
- Home Assistant is installed and running
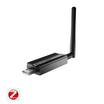
- A Zigbee coordinator (e.g., ZBDongle-P, ZBDongle-E, PoE Dongle | Dongle-M, Dongle Plus MG24, Dongle-LMG21)
Via ZHA (Recommended for Beginners)
- Go to Settings → Devices & Services.
- Click "Add Integration" and search for Zigbee Home Automation (ZHA).
- Follow the wizard to initialize your Zigbee network
- Go to Settings → Devices & Services
- Click ZHA (Zigbee Home Automation) → Add devices
- ZHA will begin searching for nearby Zigbee devices.


- Put the temperature and humidity sensor into pairing mode (usually hold the button on the sensor until the LED flashes)
- The temperature and humidity sensor should appear in the ZHA pairing dialog within a few seconds.
- Once discovered, you can rename the device (e.g., "Living Room Sensor") and assign it to an Area.

- Go to Settings > Devices & Services > ZHA > Devices.
- Find the sensor in the ZHA device list.

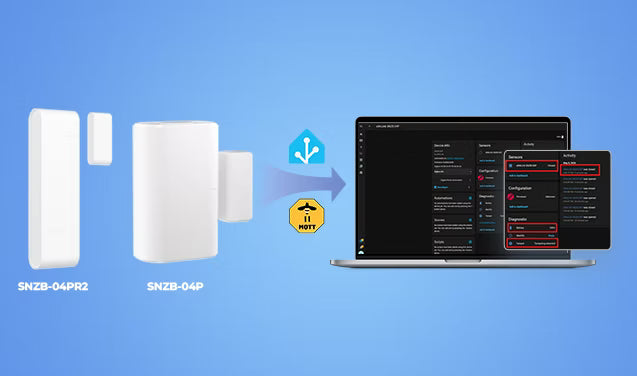
On the device page, you should now see several entities and diagnostic details, typical exposed entities include:
- Temperature
- Humidity
- Configuration — comfort thresholds (comfort humidity max/min, comfort temperature max/min), calibration offsets (humidity/temperature offset), display unit (°C/°F)
- Activity — a real-time log of state changes and configuration updates.
- Diagnostic — battery level, signal strength (LQI/RSSI), Identify button
- Automation, scene, and script shortcuts for quickly building local automations inside Home Assistant

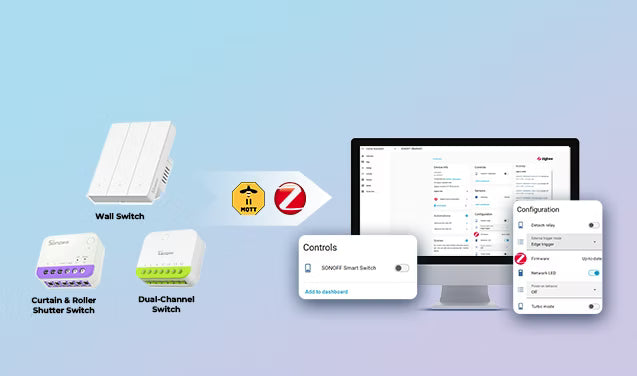
Via Zigbee2MQTT (Recommended for Advanced Users)
Test Temperature and Humidity Updates
- Room with the air conditioner running
- A bathroom after a hot shower
- Near a humidifier, near a heater or radiator (avoid direct contact)
- A laundry room during drying cycles, or a kitchen while cooking
- Within a short time, you should see the temperature and humidity readings gradually update on the Home Assistant entities.
Historical Data in Home Assistant


5 Practical Home Assistant Temperature & Humidity Automation Ideas
Fan or AC control by temperature
Automatically turn on a fan or air conditioner when a room gets too warm, and turn it off once the temperature drops back to a comfortable level.
Bathroom exhaust fan by humidity
Humidifier or dehumidifier control
Fridge or freezer monitoring
Nursery or bedroom alerts
Tutorial: Temperature-Based Fan Control in Home Assistant
Automation 1: Temperature is Too High → Turn Fan ON


Automation 2: Turn Fan OFF When Temperature Returns to Normal


Conclusion
FAQs
Q1: Do Zigbee temperature and humidity sensors work locally in Home Assistant?
● Automations continue working even if the internet is down
● Response times are faster
● Reliability is generally better than cloud-dependent setups
Q2: Why is my Home Assistant humidity sensor not updating instantly?
● Temperature changes beyond a certain threshold
● Humidity changes noticeably
● A reporting interval is reached
Q3: Where should I place a temperature and humidity sensor for accurate readings?
● In direct sunlight
● Near heaters or radiators
● Directly beside air conditioners
● Near humidifiers
● In direct airflow from fans
A central location at normal room height usually provides the most representative readings. Proper placement is especially important for reliable Home Assistant automations.
Q4: What automations can I build with a Home Assistant temperature and humidity sensor?
● Fan or AC control based on room temperature
● Humidifier or dehumidifier automation
● Bathroom ventilation control
● Smart radiator valve (TRV) automation
● Mold prevention alerts
● Greenhouse monitoring
● Freezer temperature notifications
● Nursery climate monitoring
Q5: Can I use Home Assistant temperature sensors for HVAC or radiator control?
● Smart thermostats
● Zigbee TRVs (thermostatic radiator valves)
● Fans
● Air conditioners
● Heaters
This allows Home Assistant to create room-based climate automations using real-time temperature data instead of relying only on built-in thermostat sensors.
Q6: How do I add a Zigbee temperature and humidity sensor to Home Assistant?
● Put your sensor into pairing mode by holding its button for 5 seconds. The sensor will appear in the ZHA pairing dialog within 10–30 seconds.
● Once confirmed, ZHA automatically creates all the relevant entities — temperature, humidity, battery, and configuration — on the device page.
For more details, please view the above setup guide
Leave a comment
All comments are moderated before being published.
This site is protected by hCaptcha and the hCaptcha Privacy Policy and Terms of Service apply.