


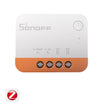
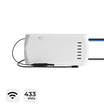


SONOFF iHost Smart Home Hub
Tax excluded. Shipping calculated at checkout
【Local Control Center】The iHost Smart Home Hub acts as your local control hub, delivering a faster, more secure, and highly reliable home automation experience—no cloud dependency required.
【Local Automation】Supports setting up local security modes and smart scenes. Future firmware updates will unlock even more flexible and customizable automation features.
【Local Data Storage & Management】Enjoy a private and responsive smart home system with all automation data stored and managed locally—ensuring enhanced security and data privacy.
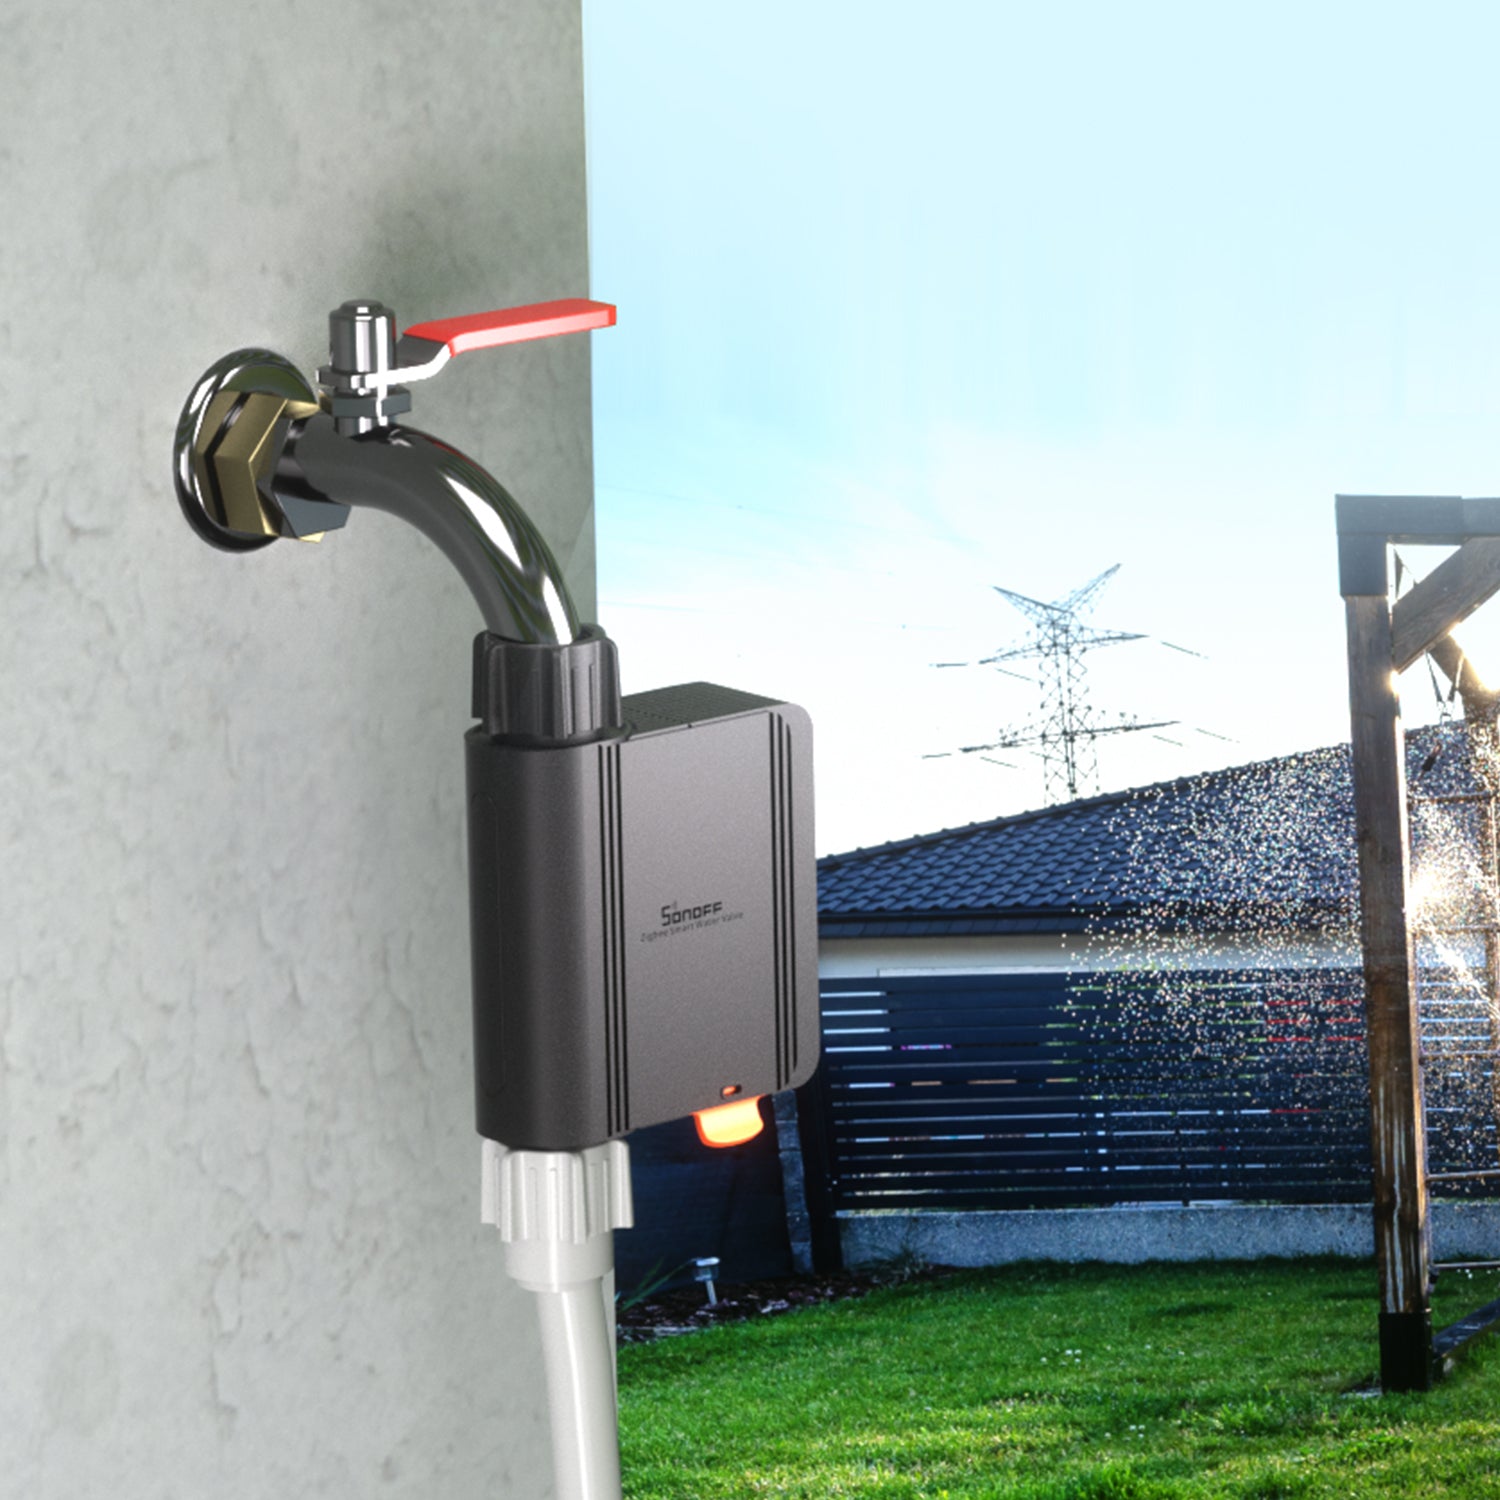
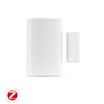
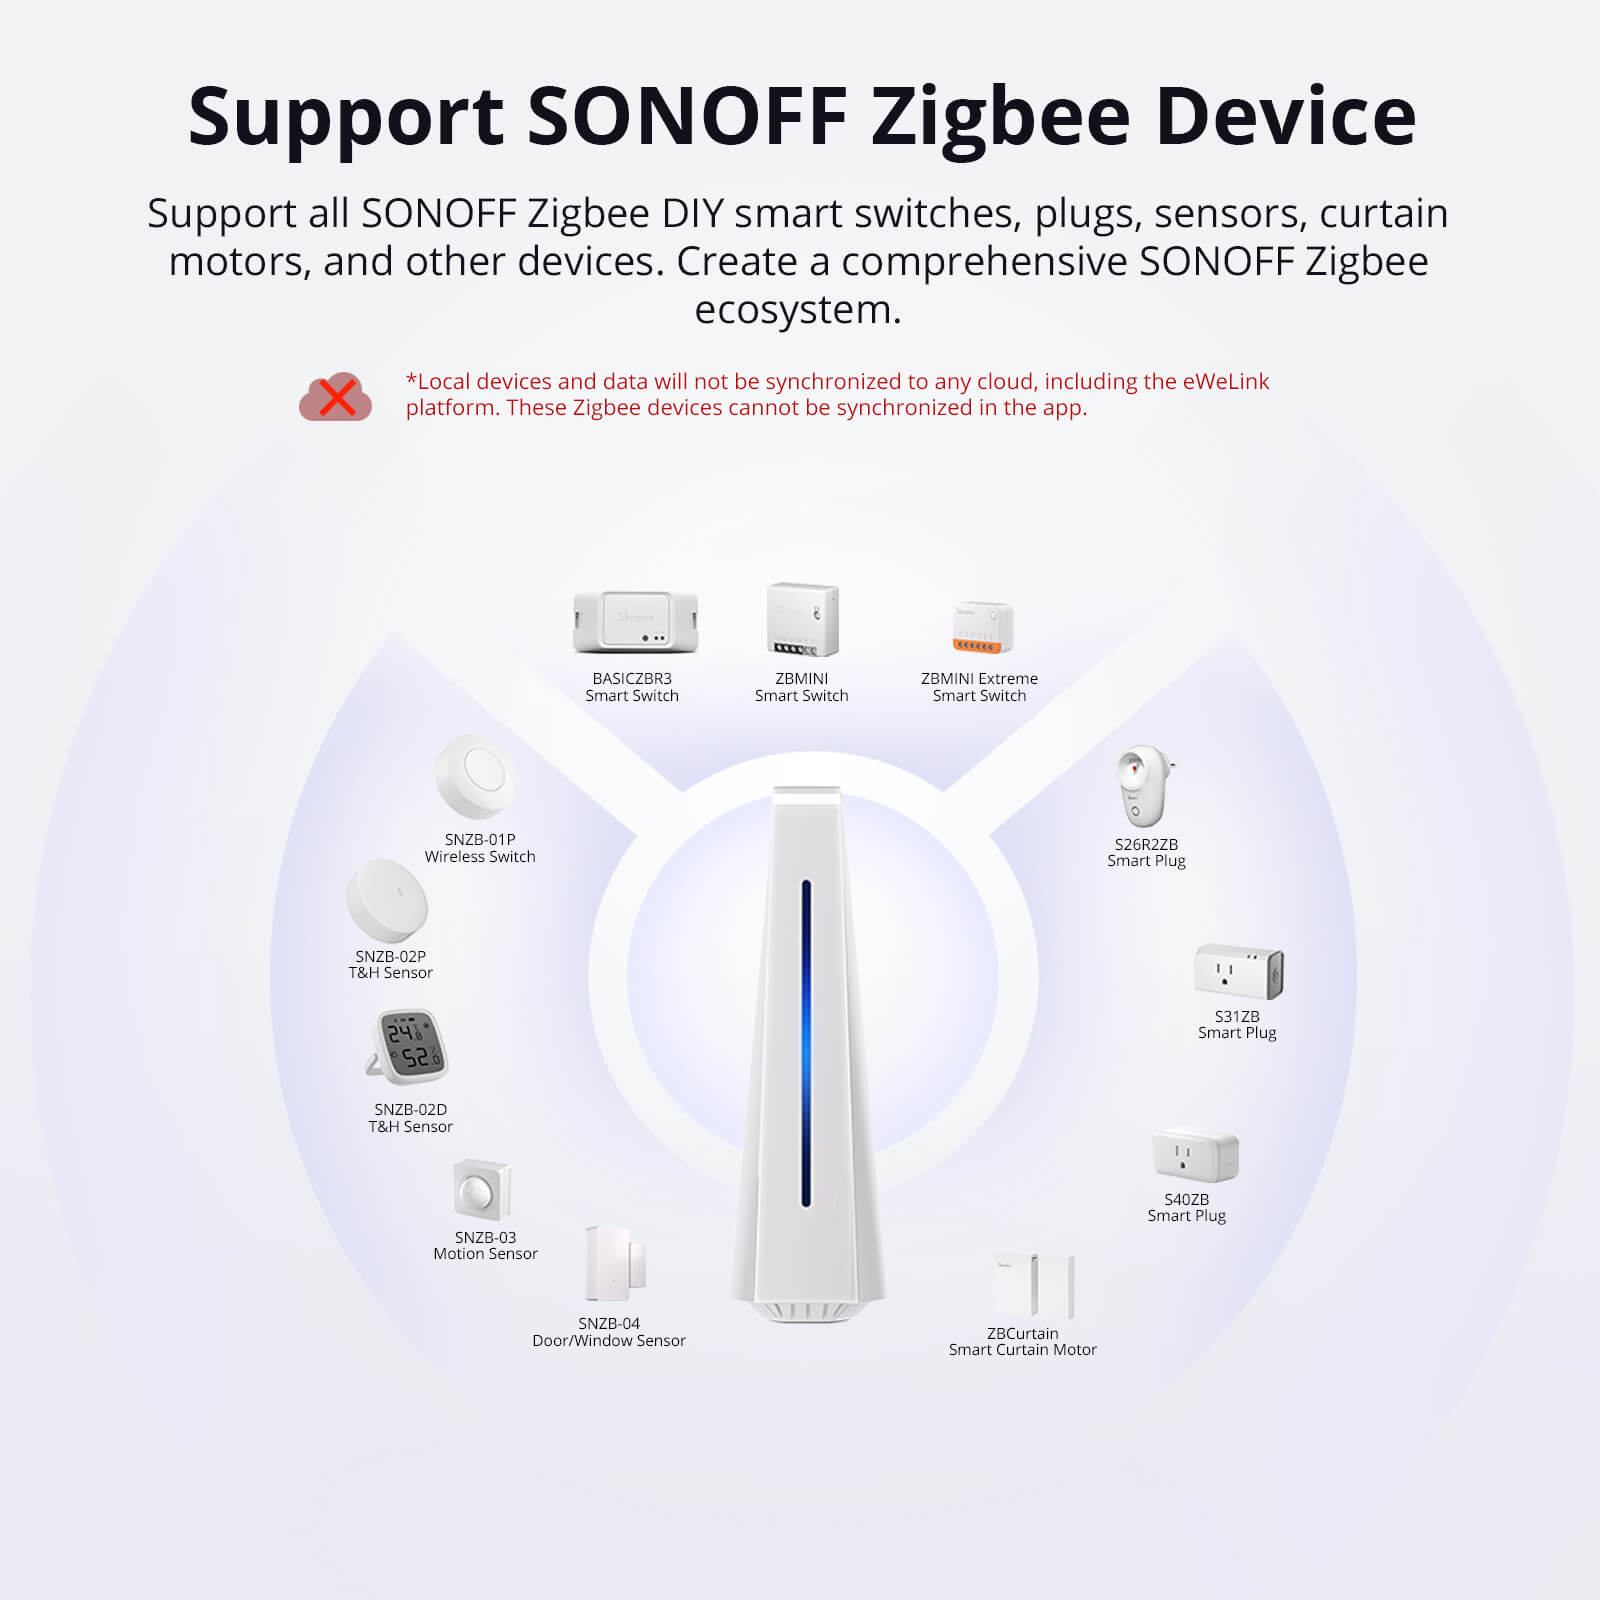
【Broad Compatibility】Fully compatible with Zigbee protocol devices and Wi-Fi LAN devices. Supports up to 128 Zigbee sub-devices, and can extend coverage using Zigbee routers. Integrates SONOFF LAN-compatible Wi-Fi devices via the eWeLink Smart Home add-on.
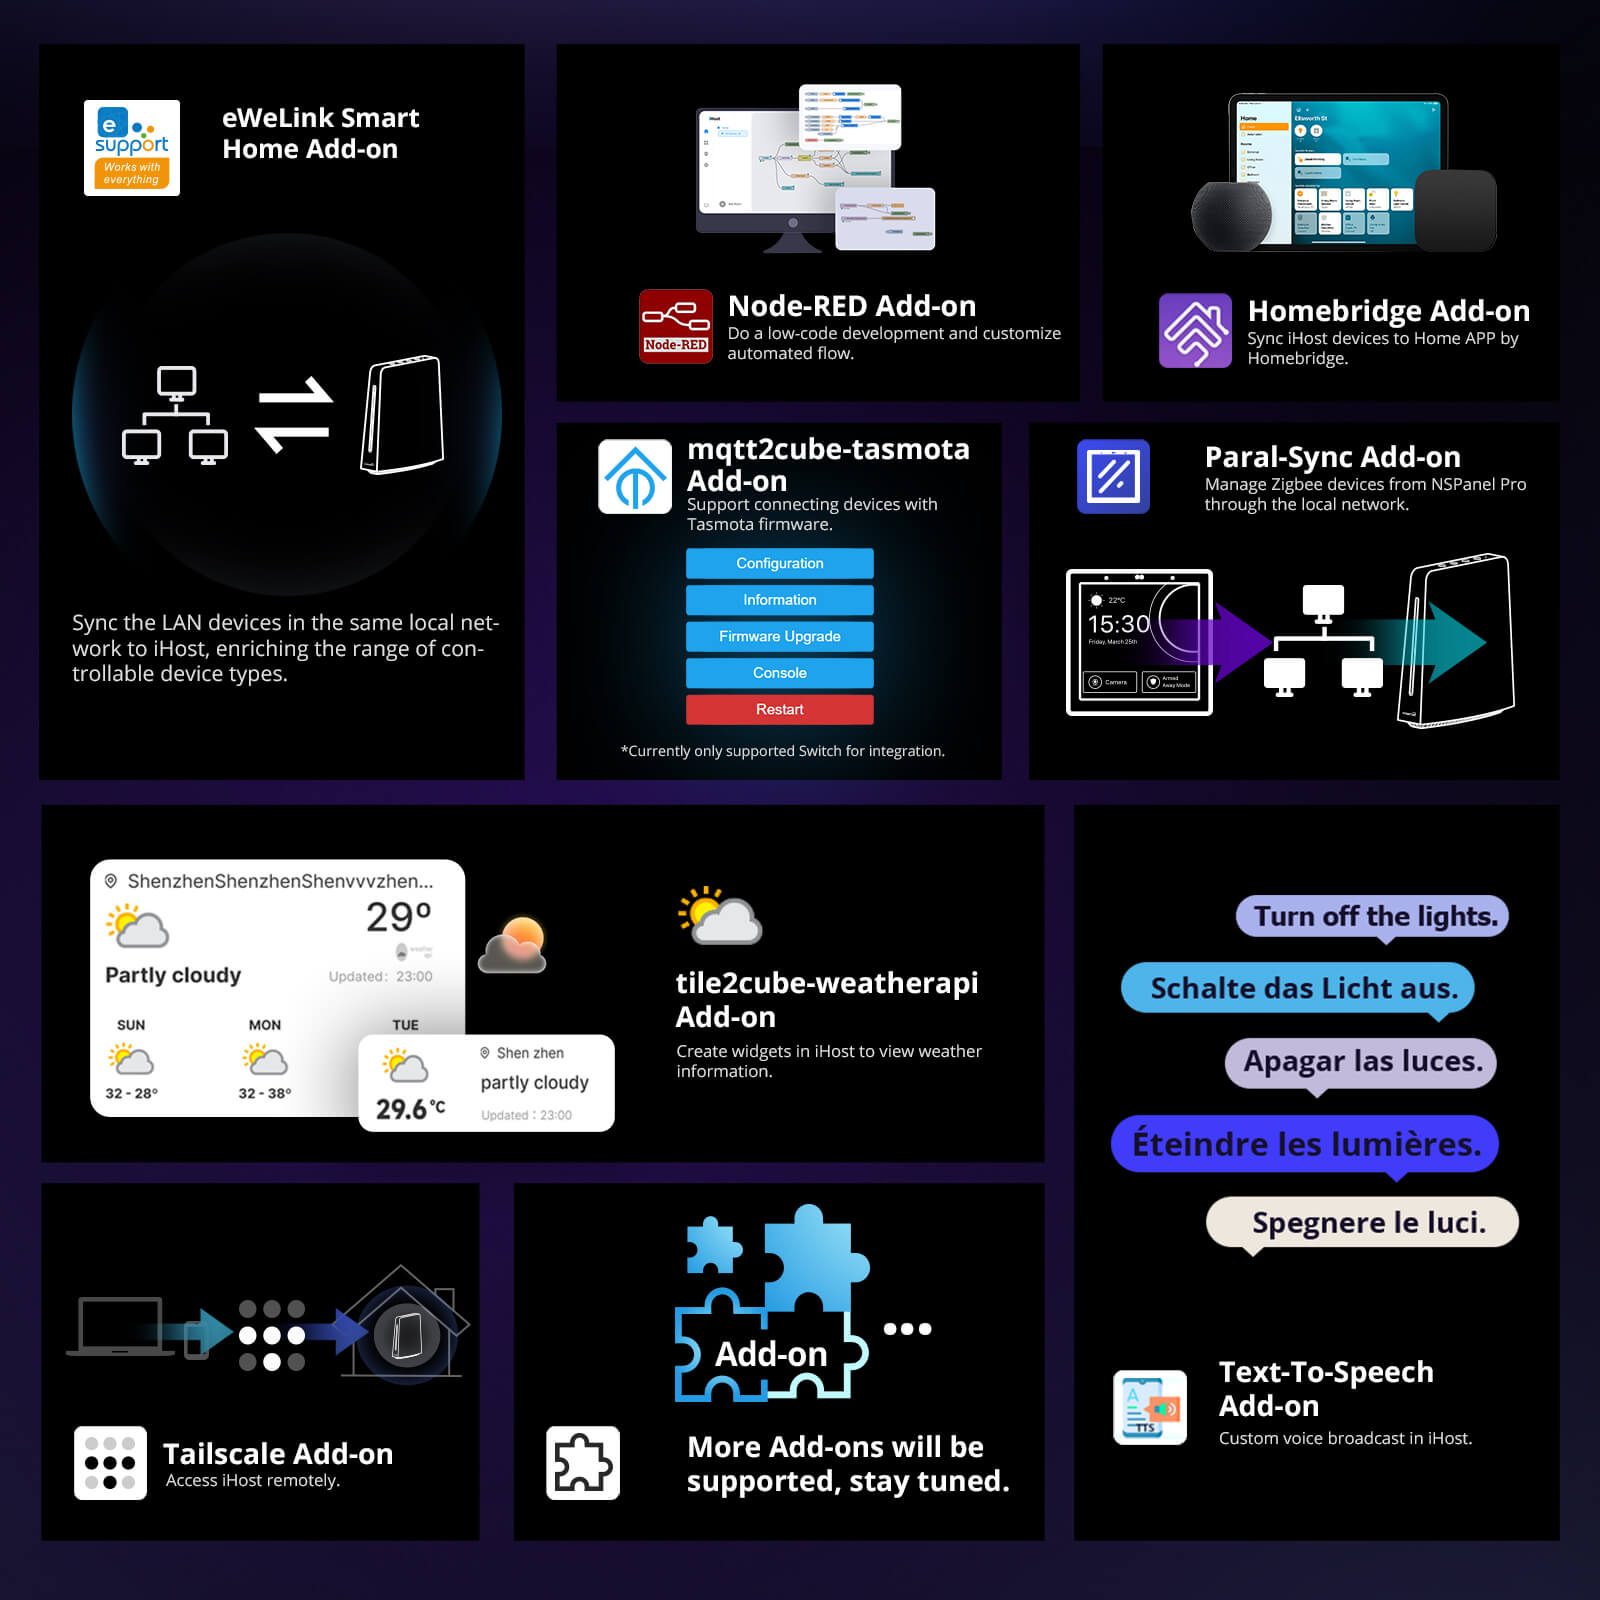
【Expandable Add-ons】Unlock extended functionality through various software add-ons, ensuring your smart home evolves with your needs.
Technical details, troubleshooting or setup tips? Access the iHost knowledge center for all the info you need.

A Local Private Server
For Your House
SONOFF Smart Home Hub - iHost
Hardcore Specifications of Hardware


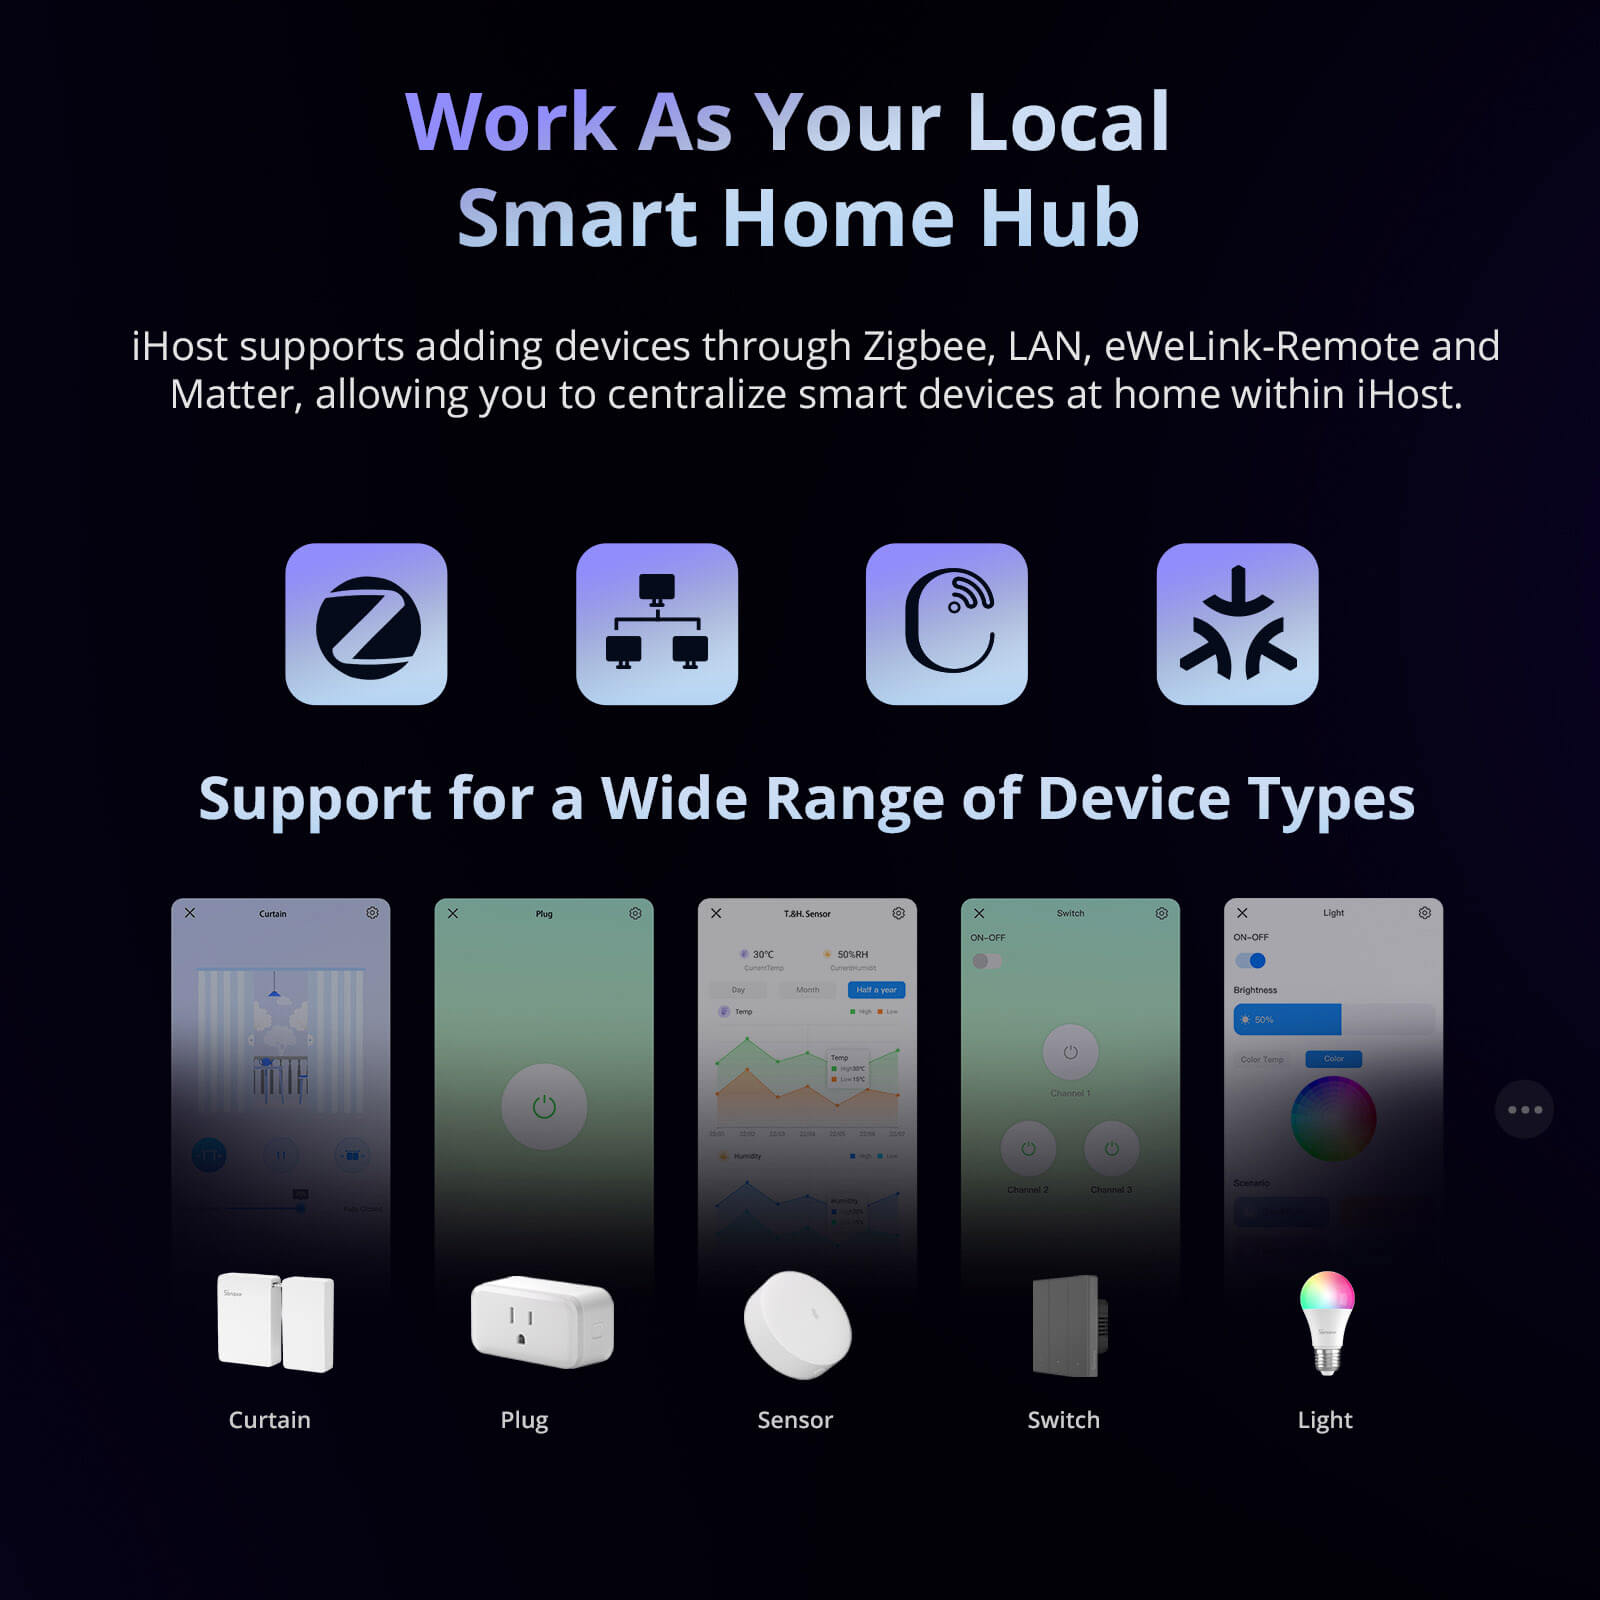
Work As Your Local
Smart Home Hub
iHost supports adding devices through Zigbee, LAN, eWeLink-Remote and Matter,
allowing you to centralize smart devices at home within iHost.


Zigbee
Enhanced Zigbee Performance
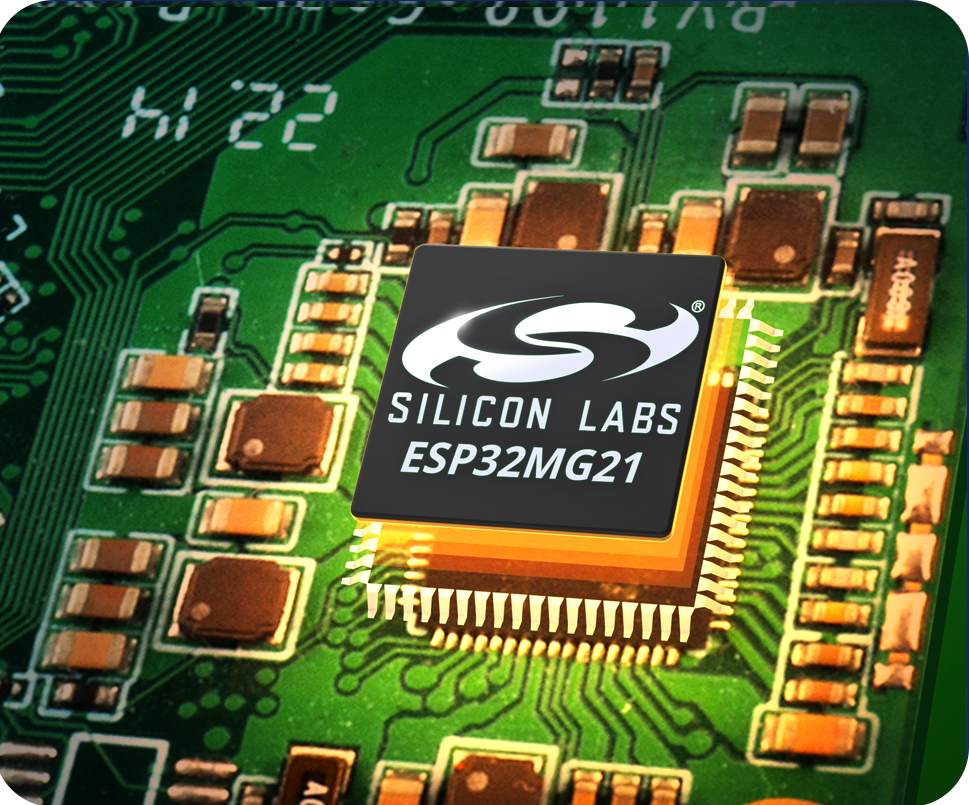
With the enhanced control performance provided by the ESP32MG21 chip, iHost is capable of building a topology network
consisting of up to 128 Zigbee devices.
Up to 128 Zigbee Devices
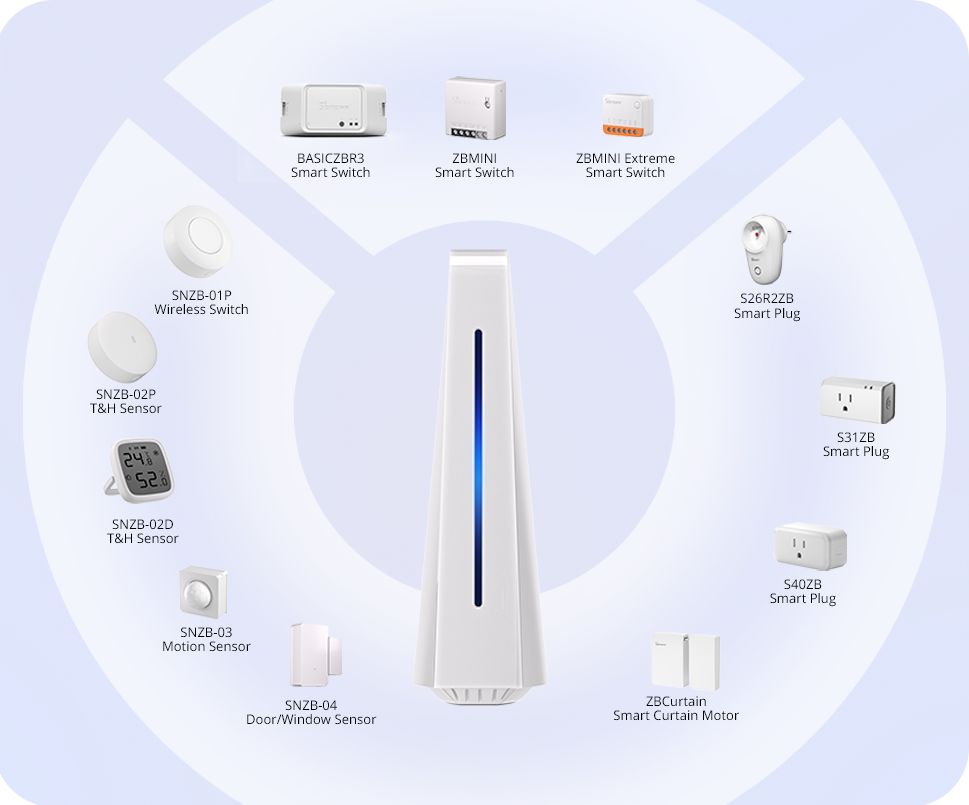
Support SONOFF Zigbee Device
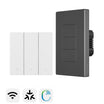
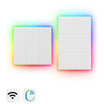
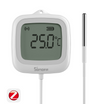
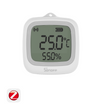
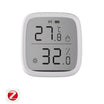
Support all SONOFF Zigbee DIY smart switches, plugs, sensors, curtain motors, and other devices.
Create a comprehensive SONOFF Zigbee ecosystem.
**Local devices and data will not be synchronized to any cloud, including the eWeLink platform. These Zigbee devices cannot be synchronized in the app.
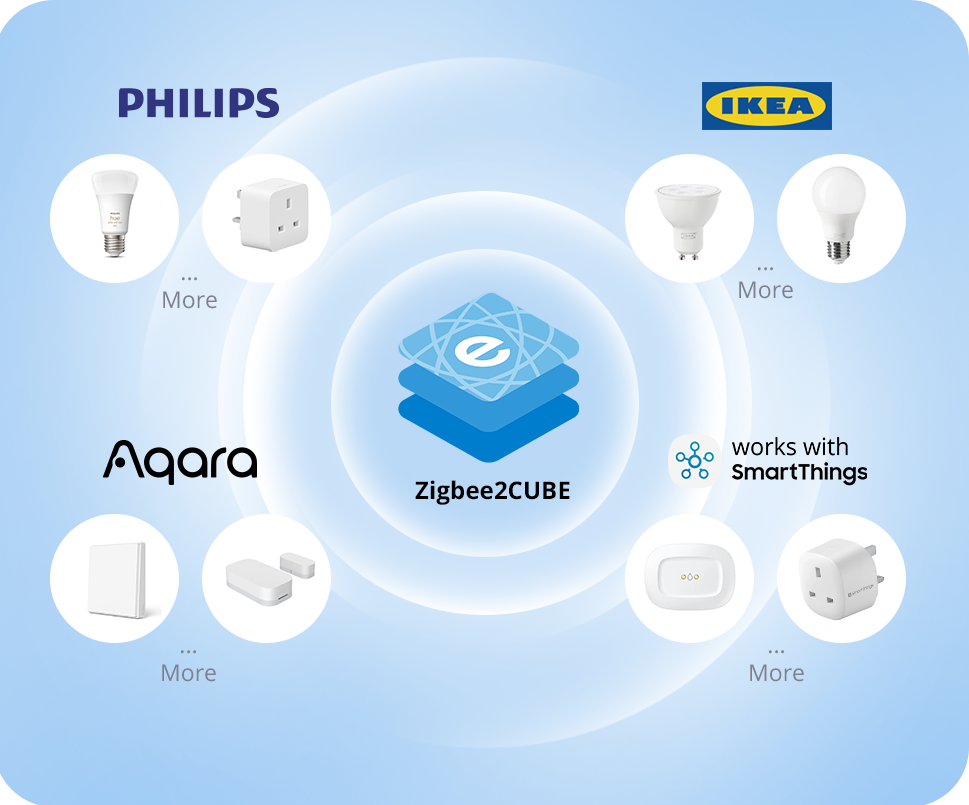
Take Compatibility Capabilities to the Next Level
After enabling Zigbee2CUBE, iHost will have stronger compatibility, allowing it to connect to a wider range
of third-party devices such as Philips, IKEA, and others.
Compatibility will continue to improve with software upgrades. Check the current supported list by clicking on the link below:https://bit.ly/3pFFN8Iothers.
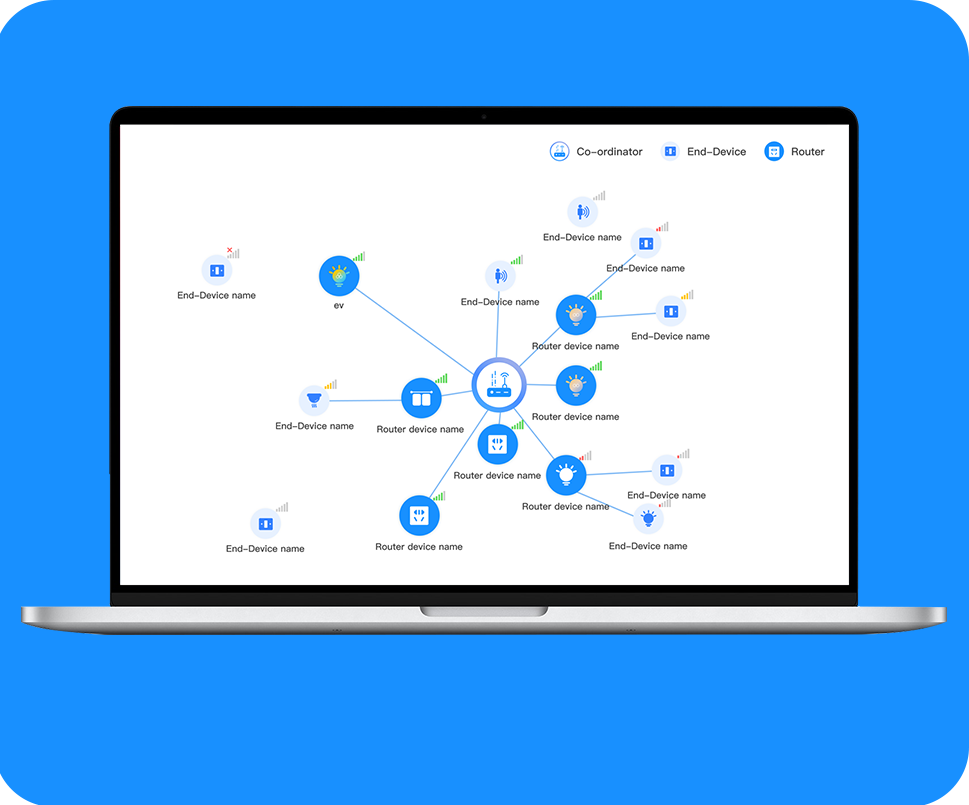
Check Device Status in the Zigbee Map
Viewing the Connectivity Status of all Zigbee Devices in the Zigbee Map, facilitating better device management
and optimizing the Zigbee network in your home.
Zigbee
Enhanced Zigbee Performance
With the enhanced control performance provided by the ESP32MG21 chip, iHost is capable of building a topology network
consisting of up to 128 Zigbee devices.
Up to 128 Zigbee Devices
Support SONOFF Zigbee Device
Support all SONOFF Zigbee DIY smart switches, plugs, sensors, curtain motors, and other devices.
Create a comprehensive SONOFF Zigbee ecosystem.
**Local devices and data will not be synchronized to any cloud, including the eWeLink platform. These Zigbee devices cannot be synchronized in the app.
Take Compatibility Capabilities to the Next Level
After enabling Zigbee2CUBE, iHost will have stronger compatibility, allowing it to connect to a wider range
of third-party devices such as Philips, IKEA, and others.
Compatibility will continue to improve with software upgrades. Check the current supported list by clicking on the link below:https://bit.ly/3pFFN8Iothers.
Check Device Status in the Zigbee Map
Viewing the Connectivity Status of all Zigbee Devices in the Zigbee Map, facilitating better device management
and optimizing the Zigbee network in your home.
LAN
One-Click to Trigger eWeLink-Remote
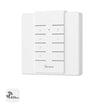
iHost can work as an eWeLink-Remote Gateway, allowing you to add R5 or S-mate devices. By creating smart scenes,
you can quickly control the devices in iHost and achieve local remote control.


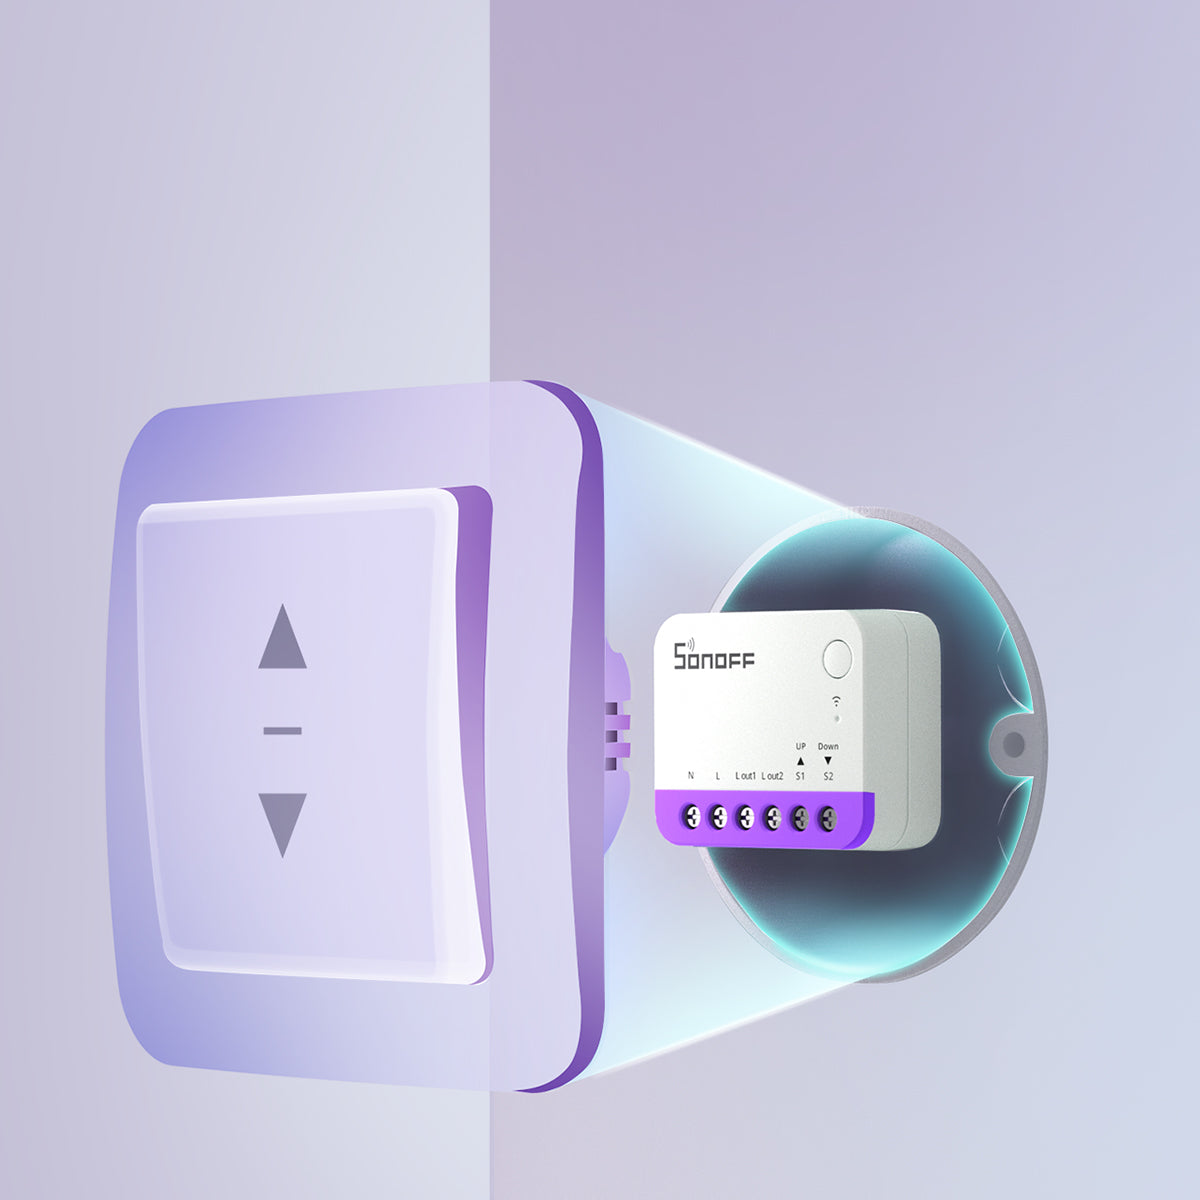
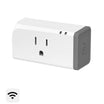
Support SONOFF LAN Device
Synchronize LAN-controllable SONOFF devices within the local network. Wall switches, retrofit modules, sockets,
and more can be controlled locally.

*Check the detailed supported list by clicking on the link https://bit.ly/43eoNDZ
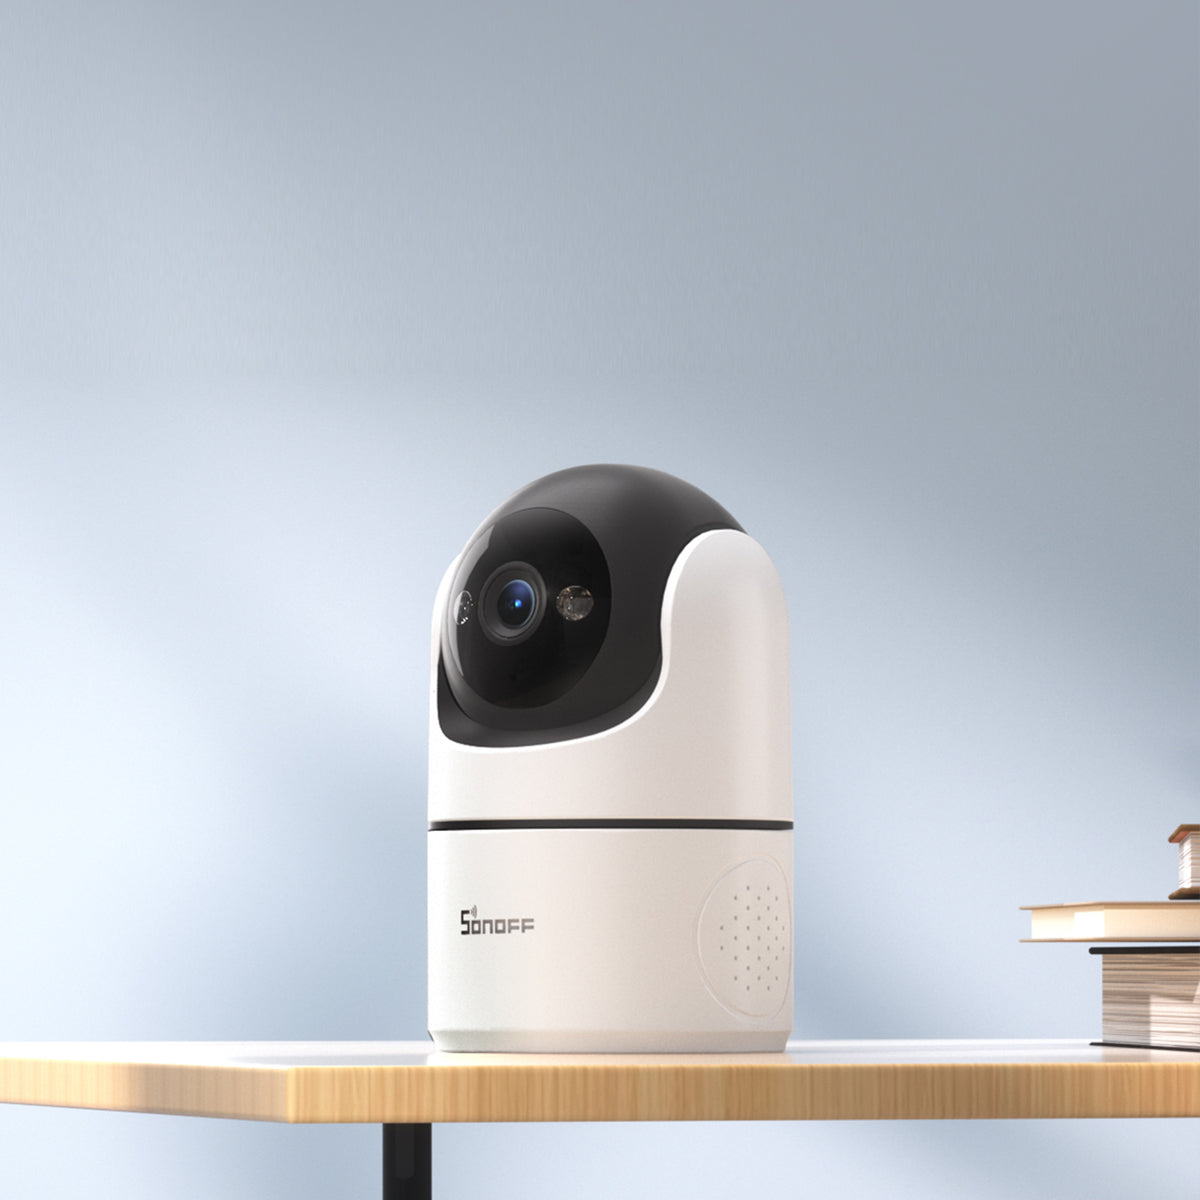
Real-time Viewing of ONVIF and RTSP Camera
Search and add ONVIF or RTSP cameras within the local network to view surveillance footage at any time on the center console.


eWeLink-Remote
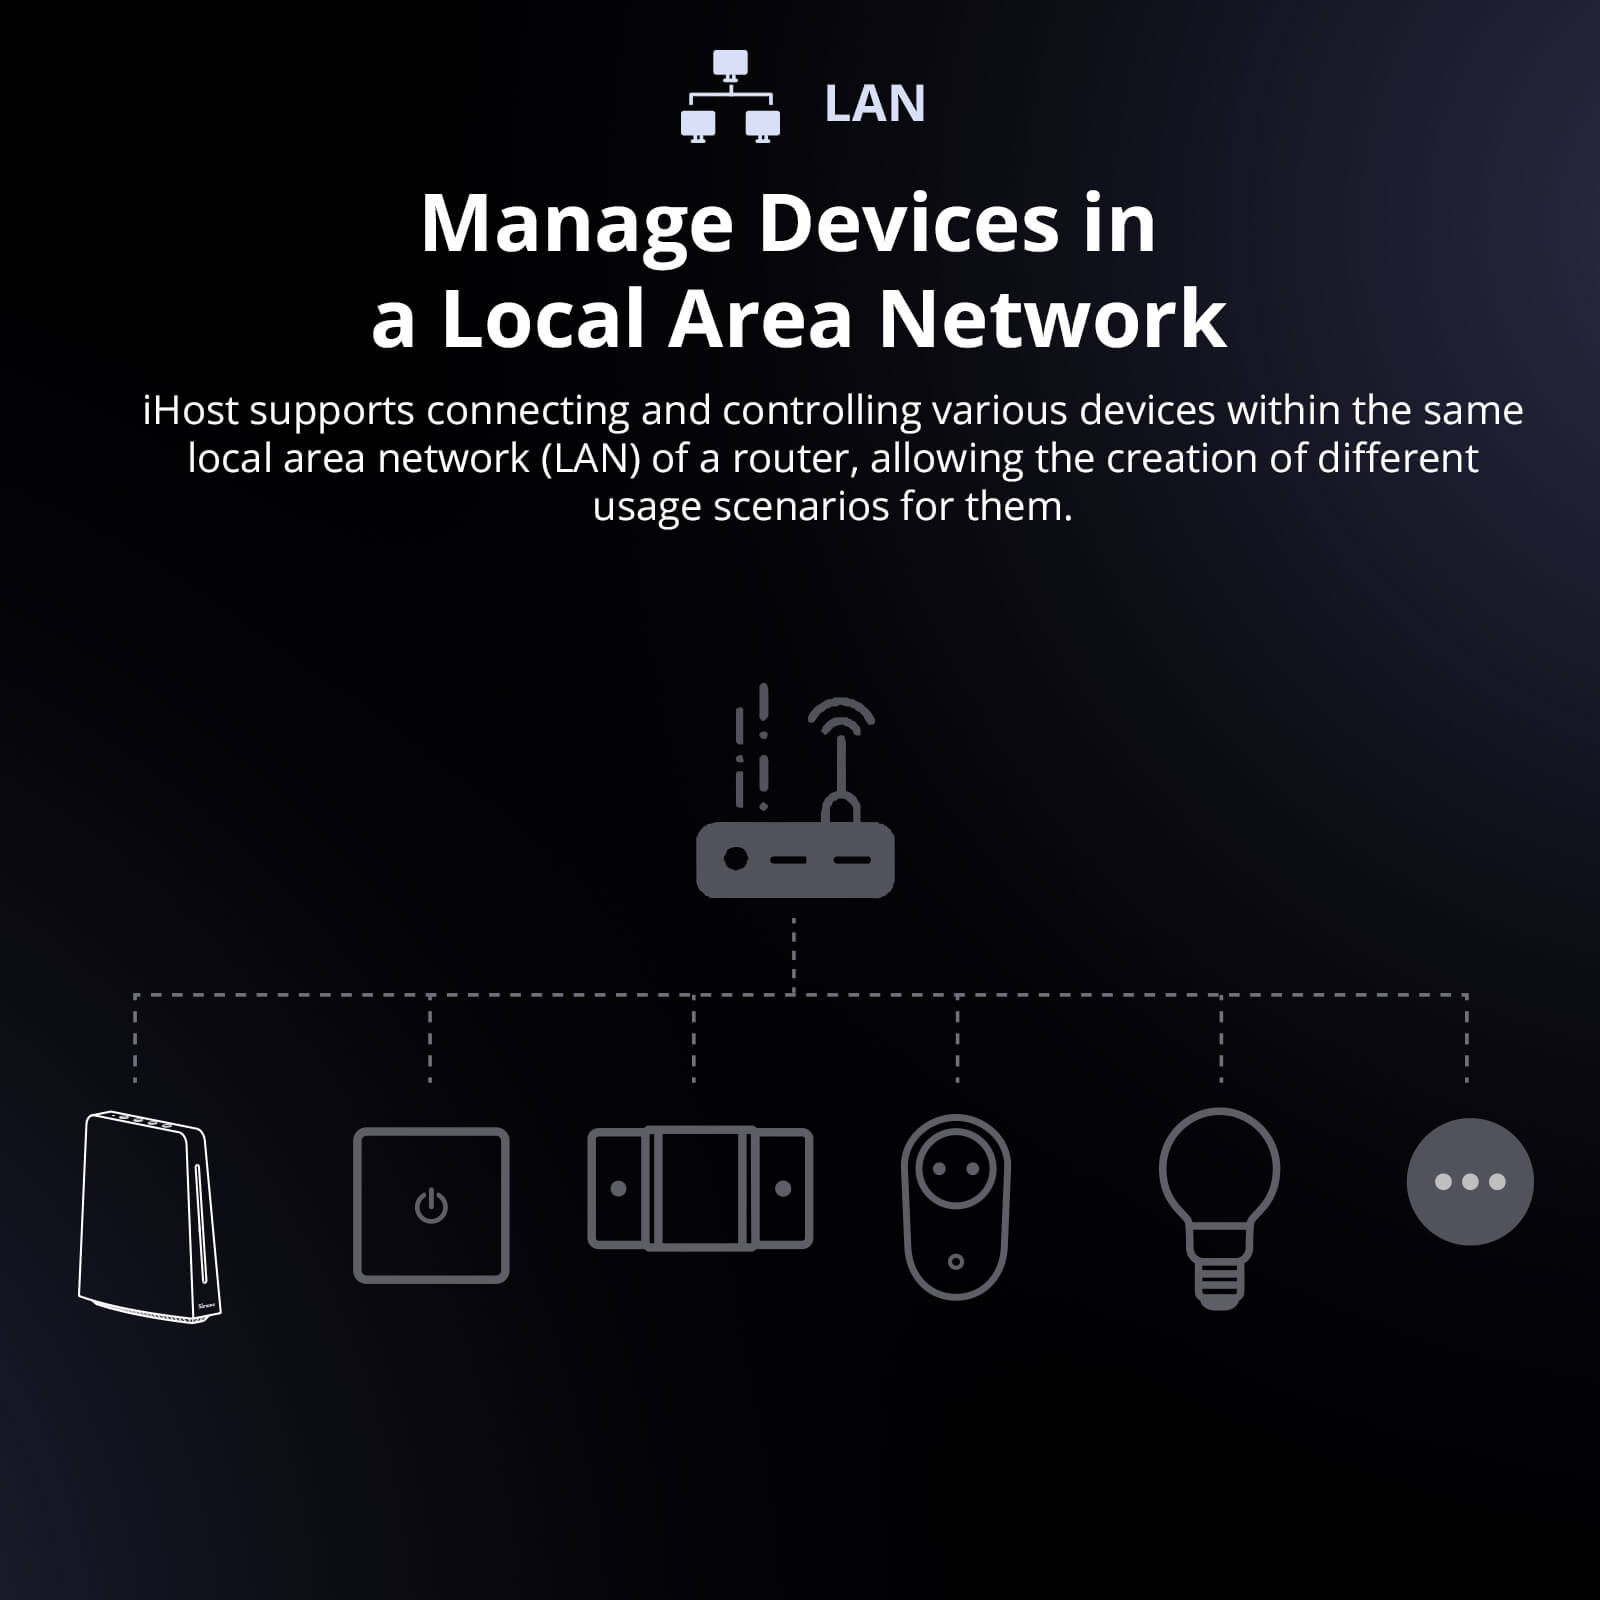
Manage Devices in a Local Area Network
iHost supports connecting and controlling various devices within the same local area network (LAN) of a router,
allowing the creation of different usage scenarios for them.


Matter Hub
iHost can serve as a Matter hub to add and manage other brands' devices that support Matter,
enabling control within the iHost platform.
*Matter Hub is currently under development and expected to be launched in early 2024.

This manufacturer information is from https://csa-iot.org/members/
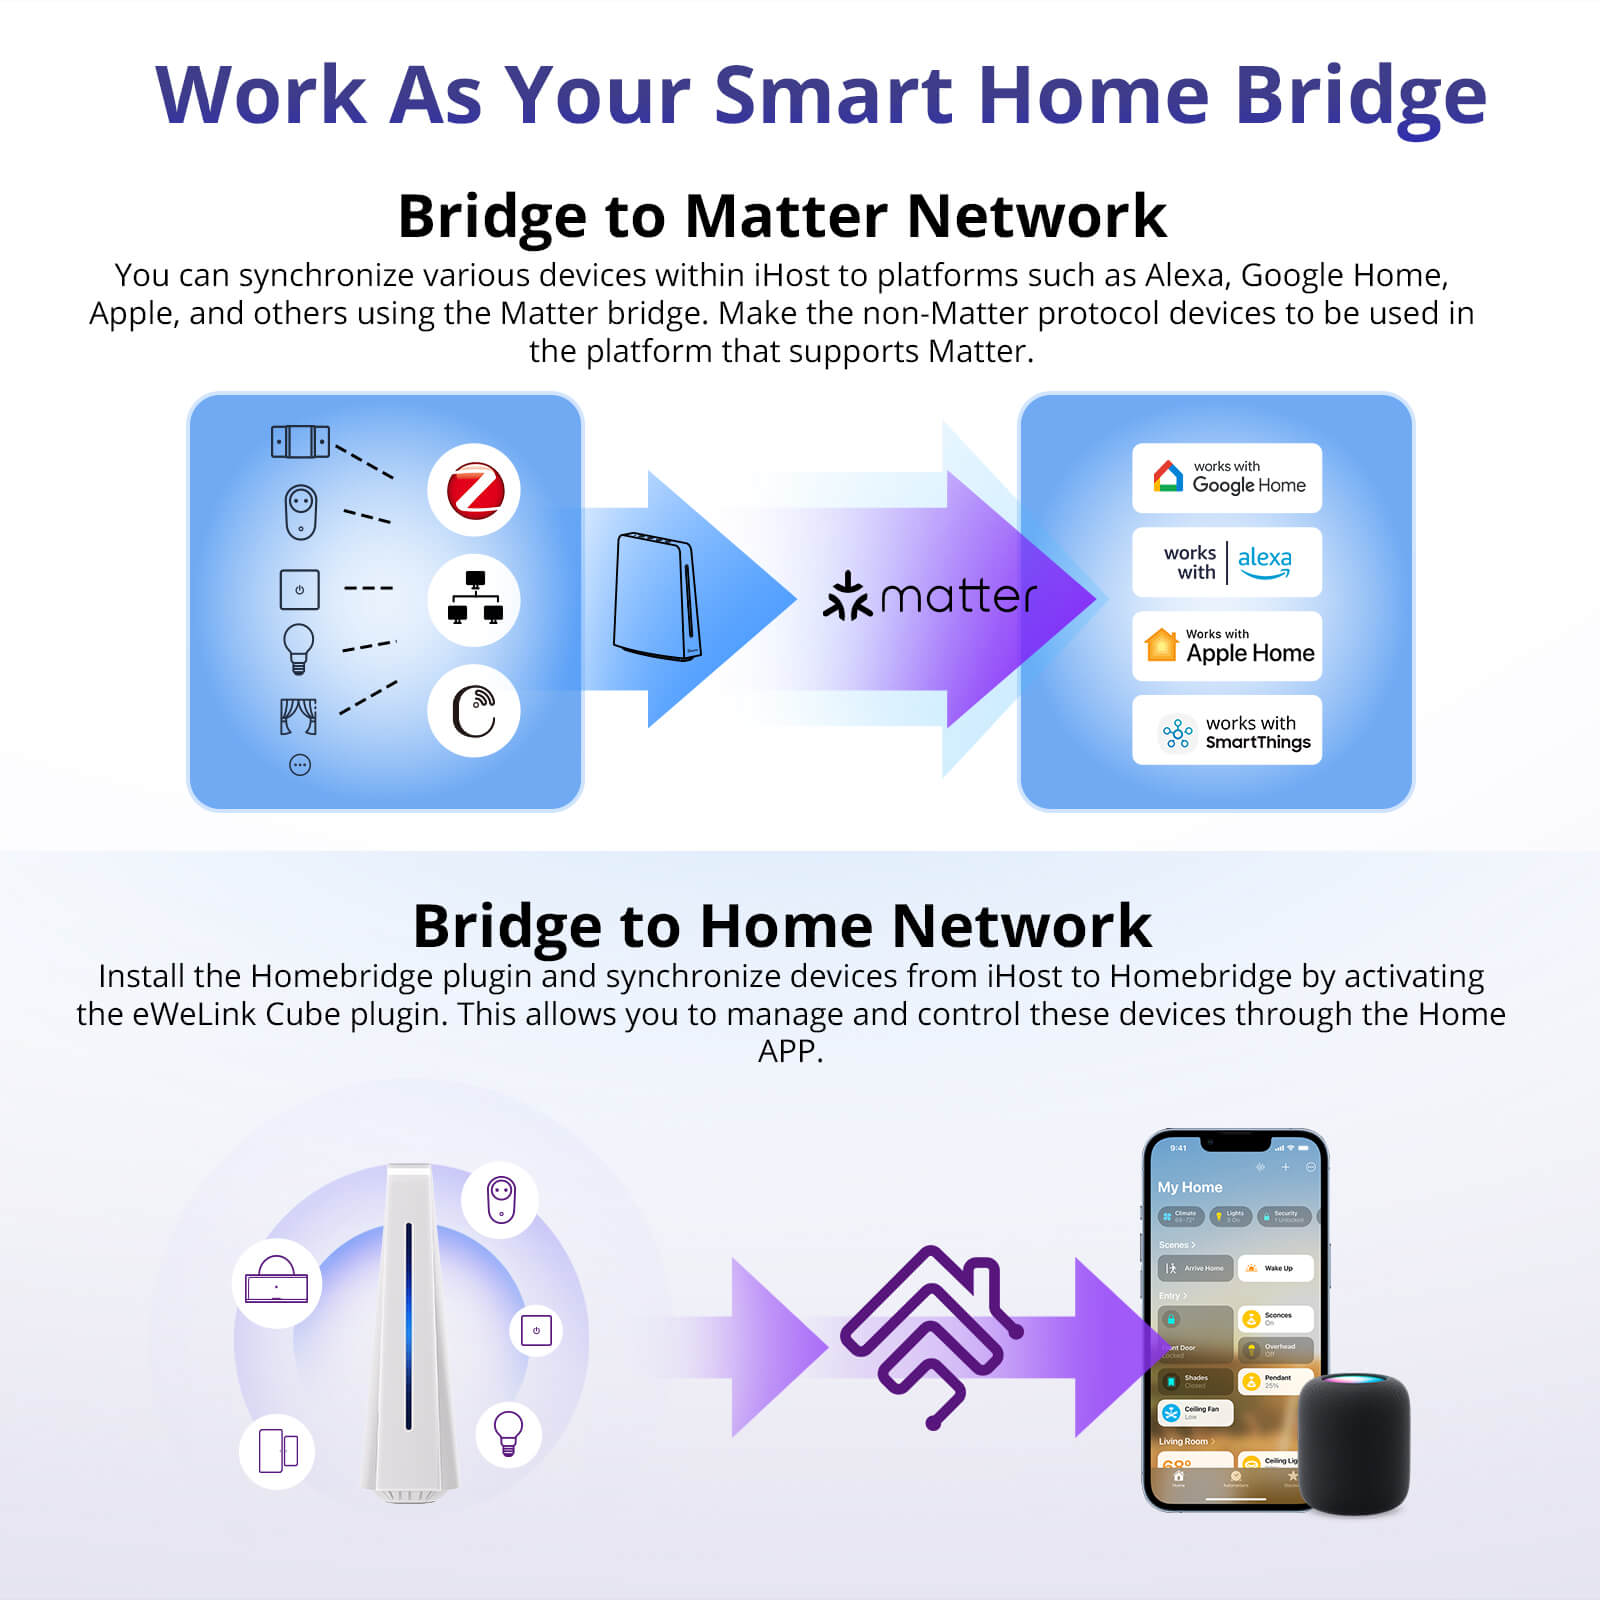
Work As Your Smart Home Bridge
Bridge to Matter Network
You can synchronize various devices within iHost to platforms such as Alexa, Google Home, Apple, and others using the Matter bridge. Make the non-Matter protocol devices to be used in the platform that supports Matter.


Bridge to Home Network
Install the Homebridge plugin and synchronize devices from iHost to Homebridge by activating the eWeLink Cube plugin. This allows you to manage and control these devices through the Home APP.


Work As Your Local
Smart Home Server
iHost is equipped with a powerful built-in rule engine that allows customizing various complex automation rules. These rules are stored locally and do not require external network or cloud support. Even in the event of network disconnection, iHost can still function normally, ensuring low-latency operation.
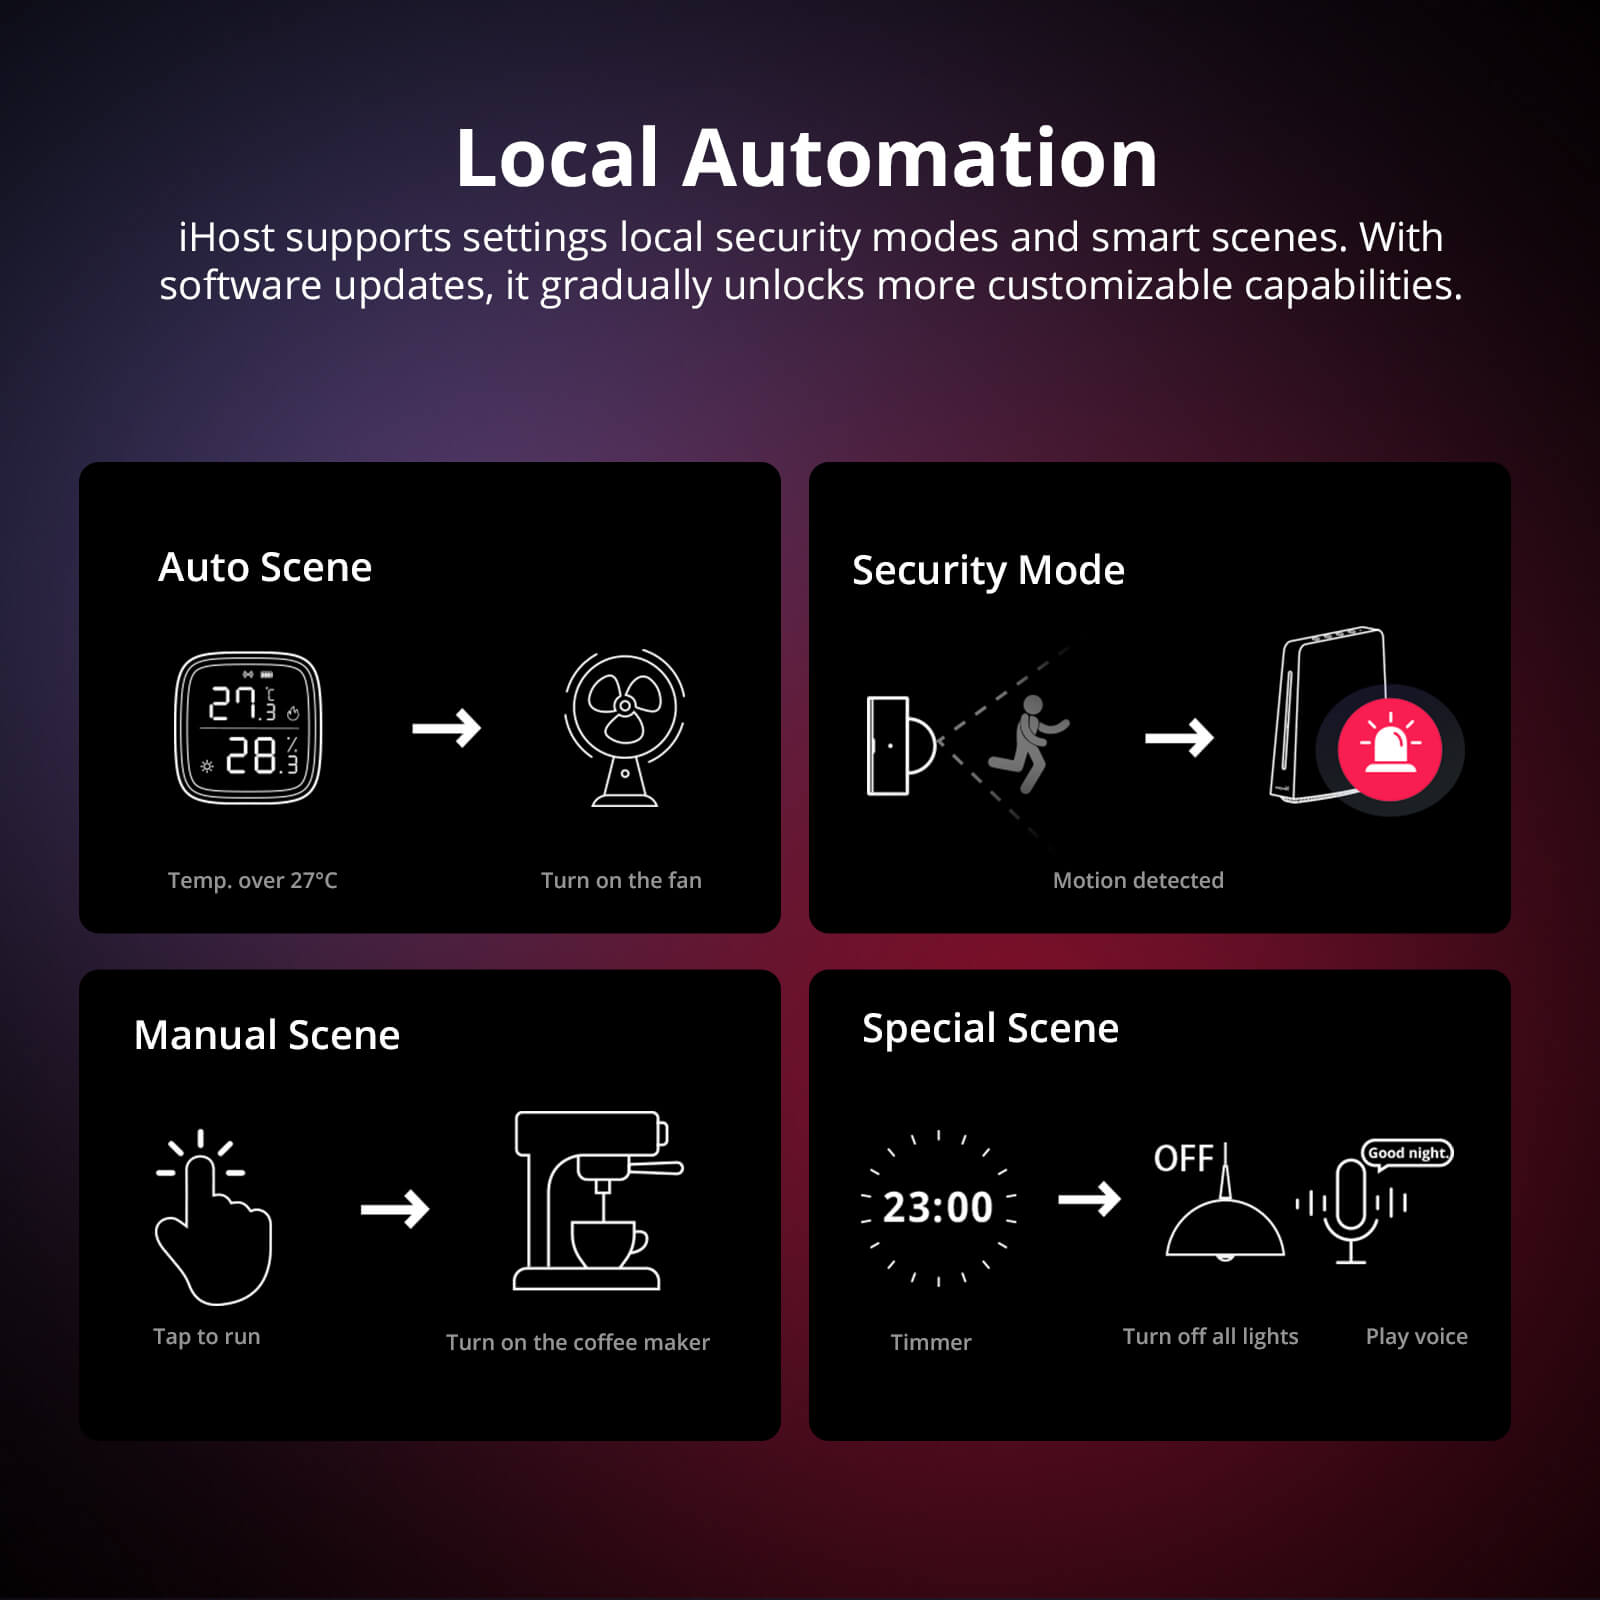
Local Automation
iHost supports settings local security modes and smart scenes. With software updates, it gradually unlocks more customizable capabilities.


Expanding Automation Possibilities
with Node-RED
Install Node-RED Add-on in iHost to create scenes with more versatility. Weather triggers? Create data tables? Implement a wide range of scenes through third-party nodes.


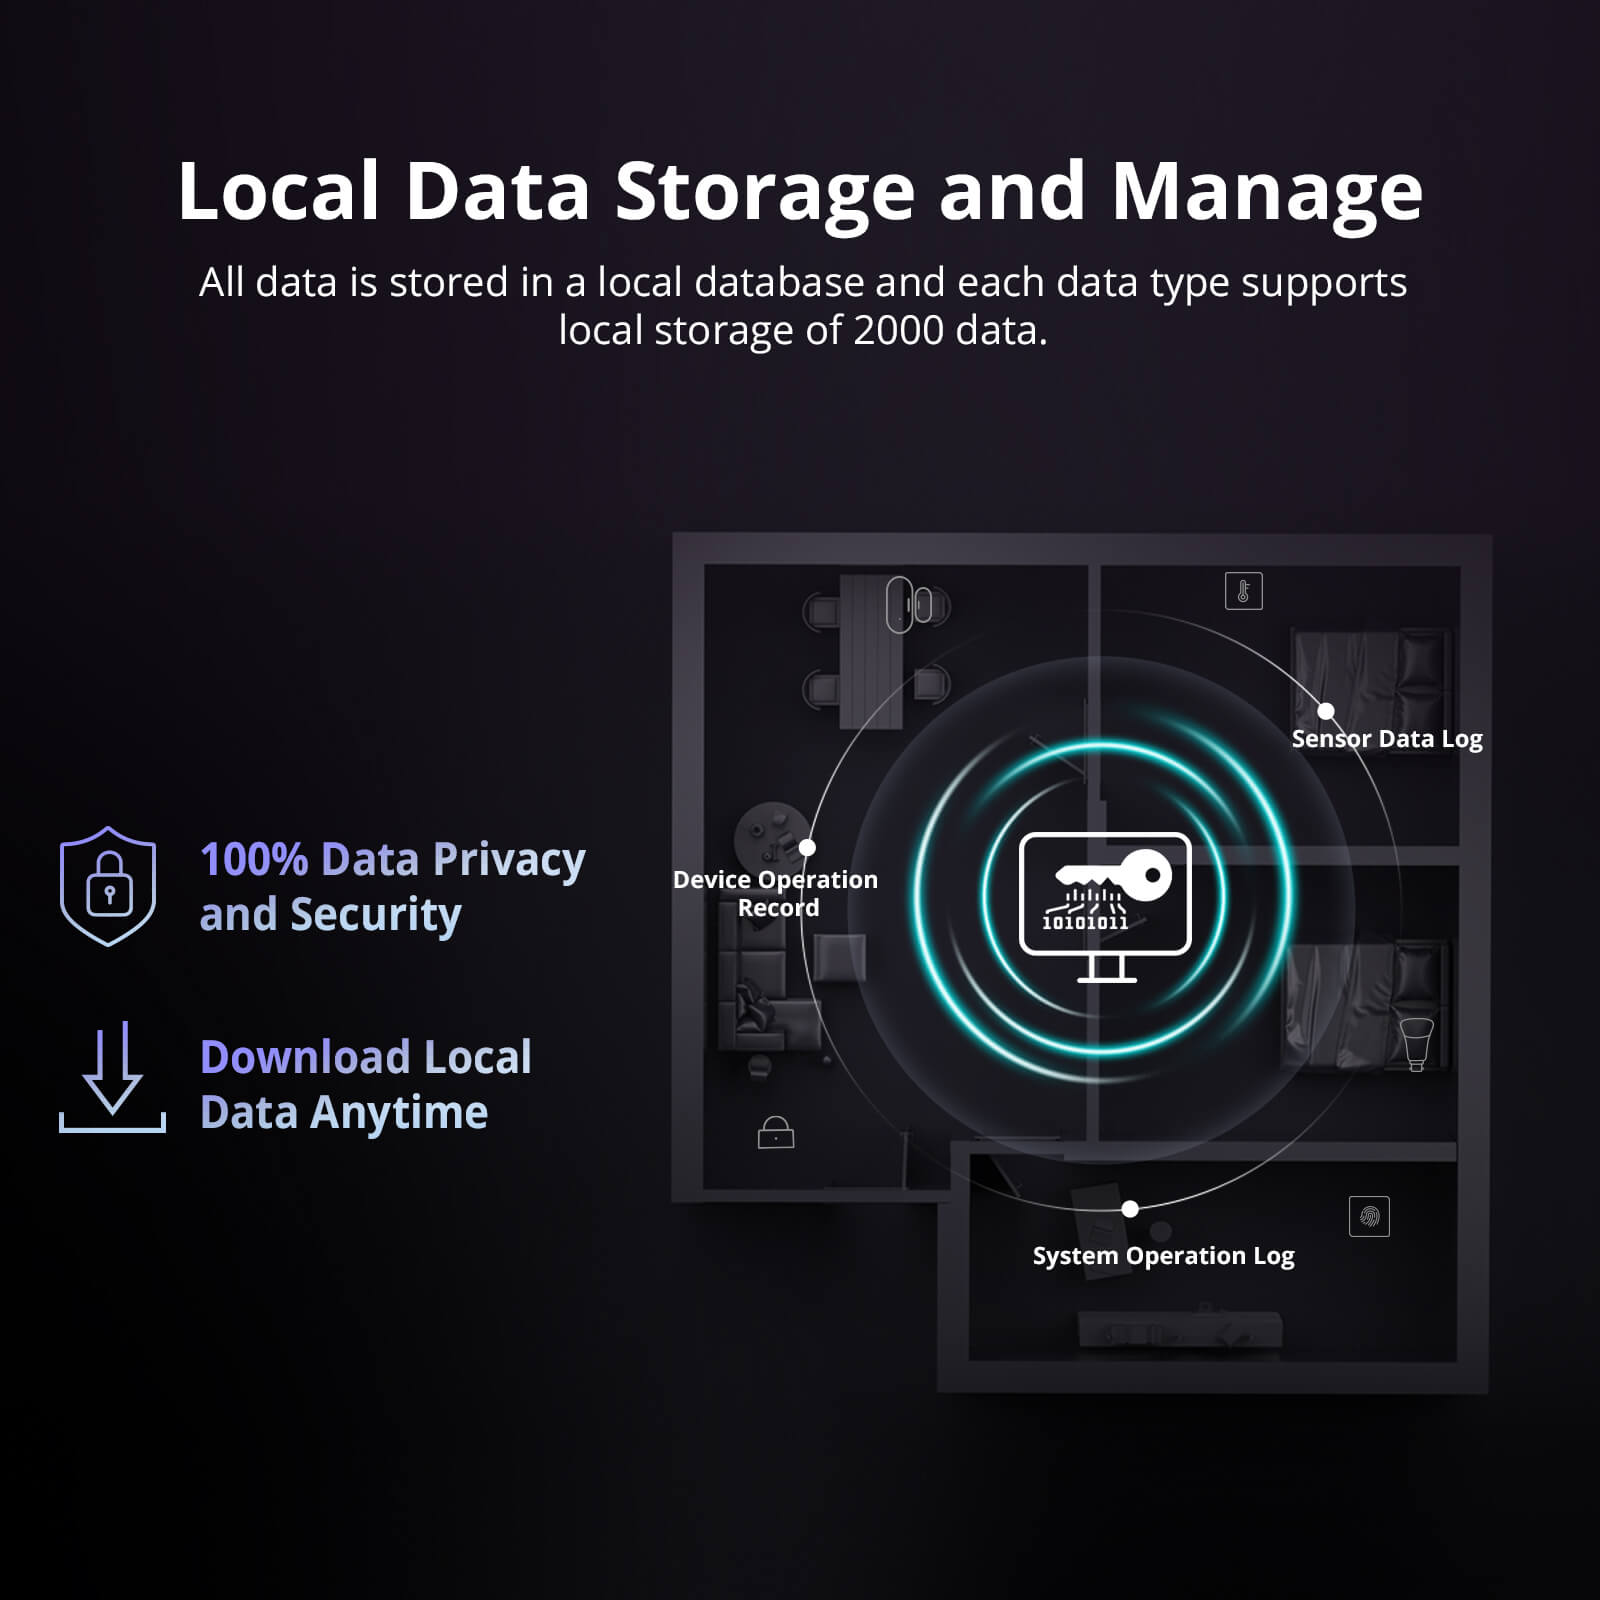
Local Data Storage
and Manage
All data is stored in a local database
and each data type supports local
storage of 2000 data.

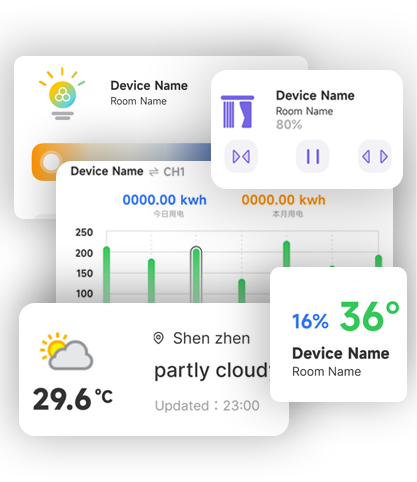
Feature-Rich Center Console for Your Needs
Access the iHost center console through a web browser, where manage devices, set up smart scenes, configure dashboards, and install Add-ons, among other features.
Personalized Configuration Dashboard
You can configure eWeLink CAST in the central console to create a personalized dashboard. By accessing the dashboard through a browser or the eWeLink CAST app, collectively manage your devices.
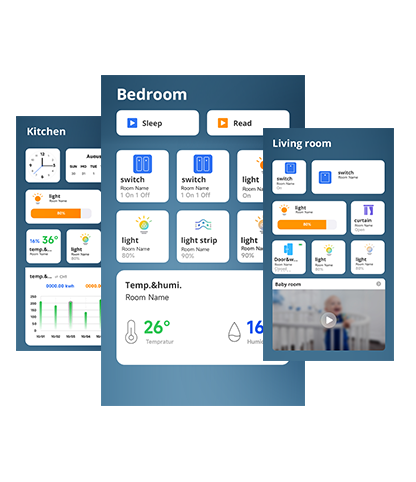
Custom Different Dashboard
Configure Widget
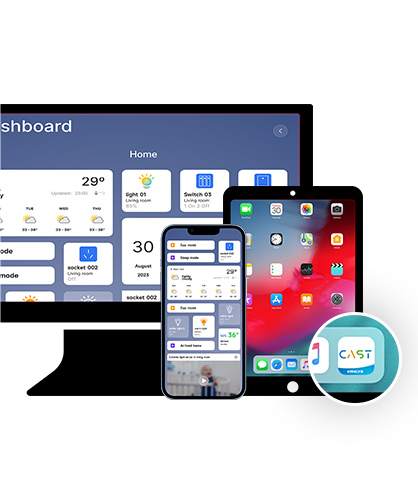
Quick Access on Different Devices

More Possibilities
From Various Add-ons
By installing different Add-ons, you can expand the functionalities of iHost and bring in new capabilities.


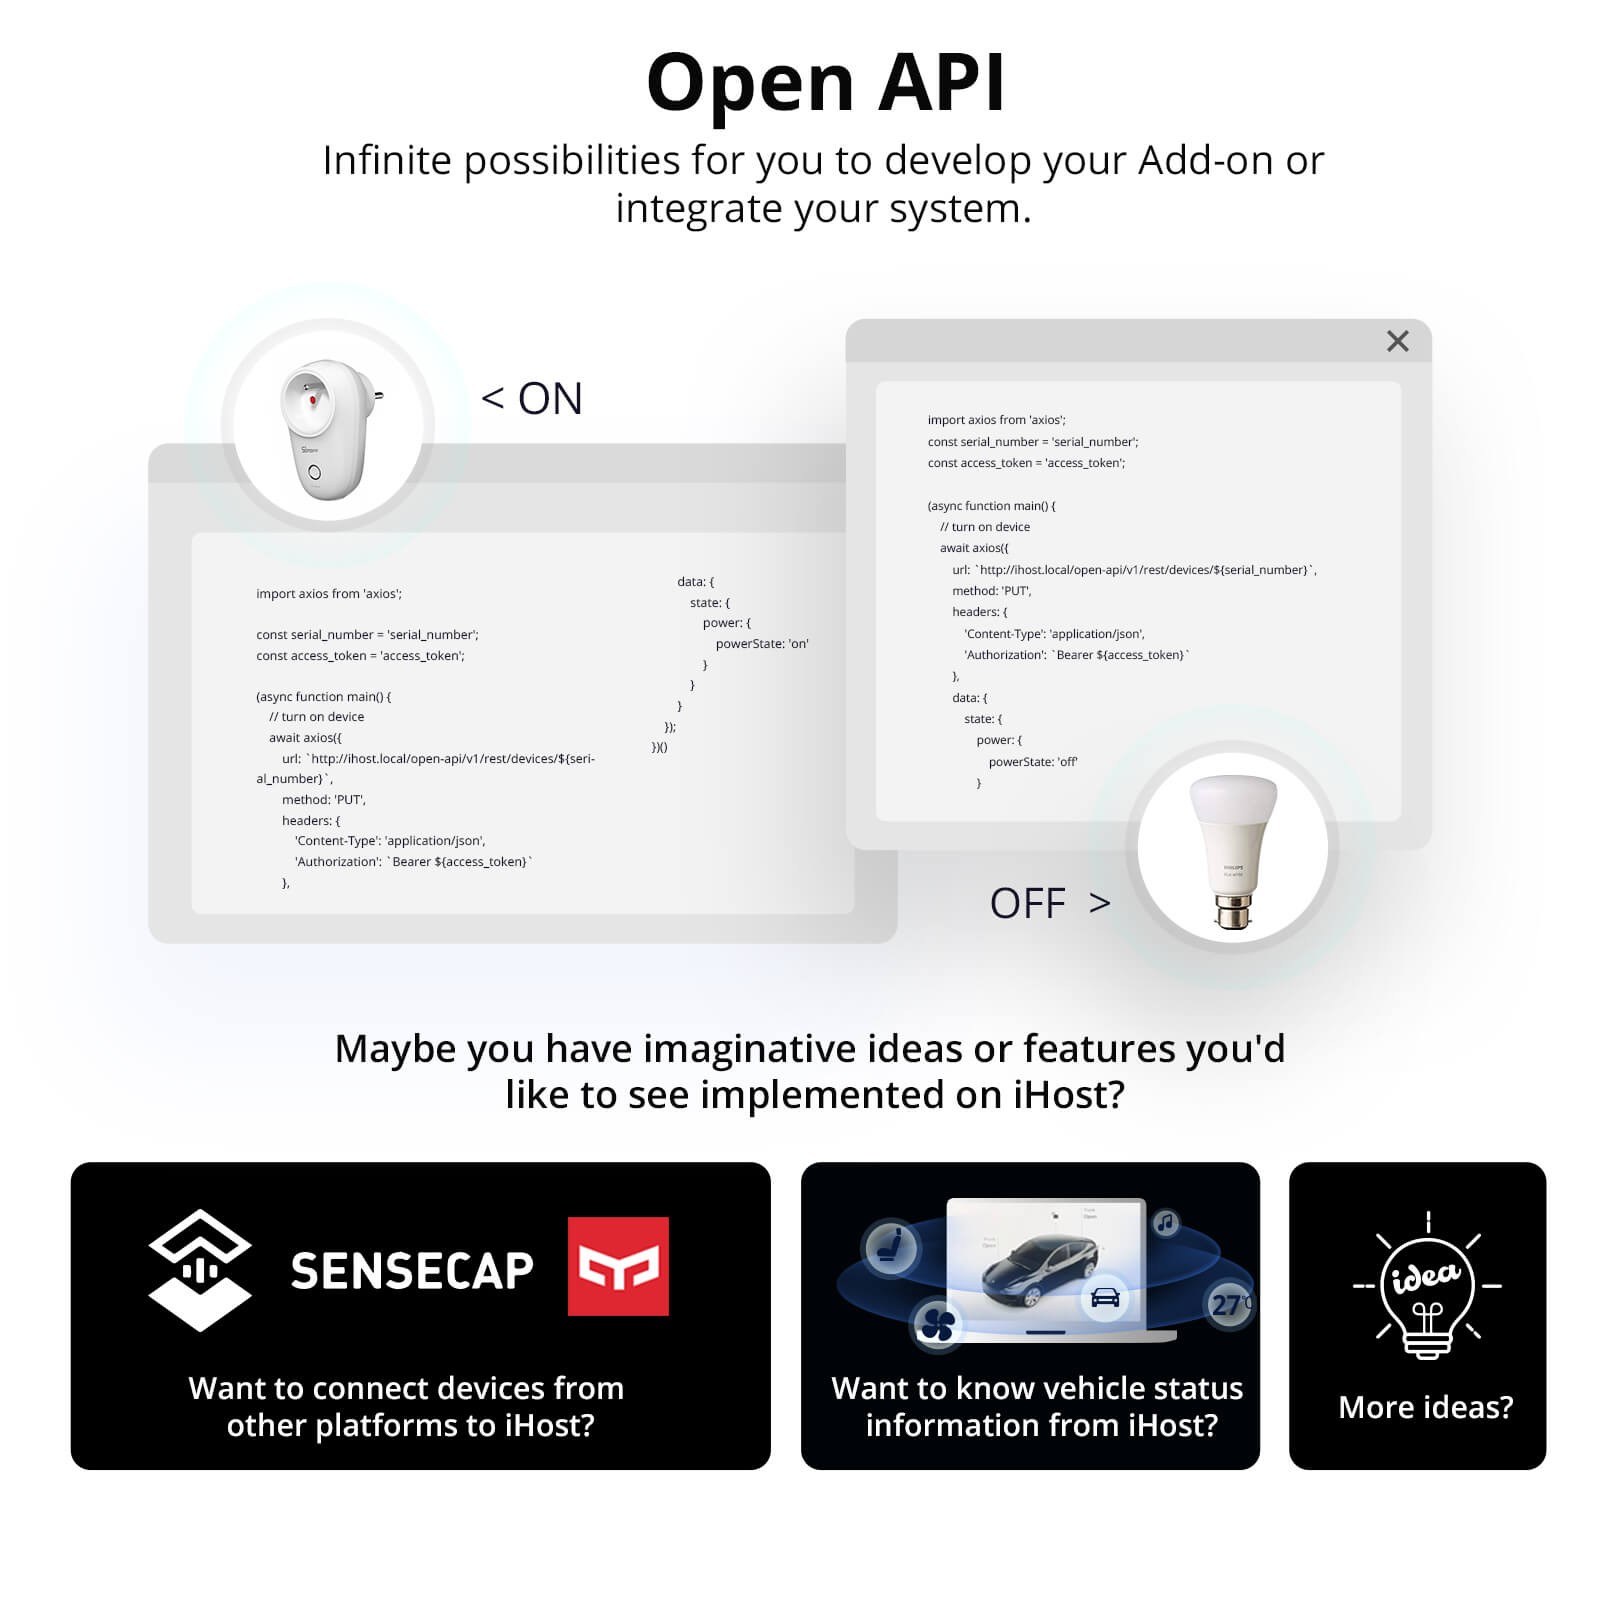
Open API
Infinite possibilities for you to develop your Add-on or integrate your system.


Maybe you have imaginative ideas or features you'd like to see implemented on iHost?


Official Community Support
We welcome and encourage all users and developers to join the community. When you encounter issues or have new ideas, let's engage in discussions together, making iHost's features more abundant and powerful.


Specs & User Manual
SONOFF iHost Smart Home Hub is a powerful local automation center that ensures speed, reliability, and privacy—no cloud required. It's compatible with Zigbee protocol devices and Wi-Fi LAN devices via eWeLink Smart Home add-on. Supports up to 128 Zigbee devices and enables flexible smart scene automation and security modes. With local data storage and expandable add-ons, iHost delivers a fully private, customizable, and future-ready smart home experience.
User Manual (PDF)RV1109 DDR4 2GB, RV1126 DDR4 4GB
Silicon Labs EFR32MG21 SoC
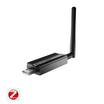
2.4G Wi-Fi&BLE RTL8723 Wireless Module
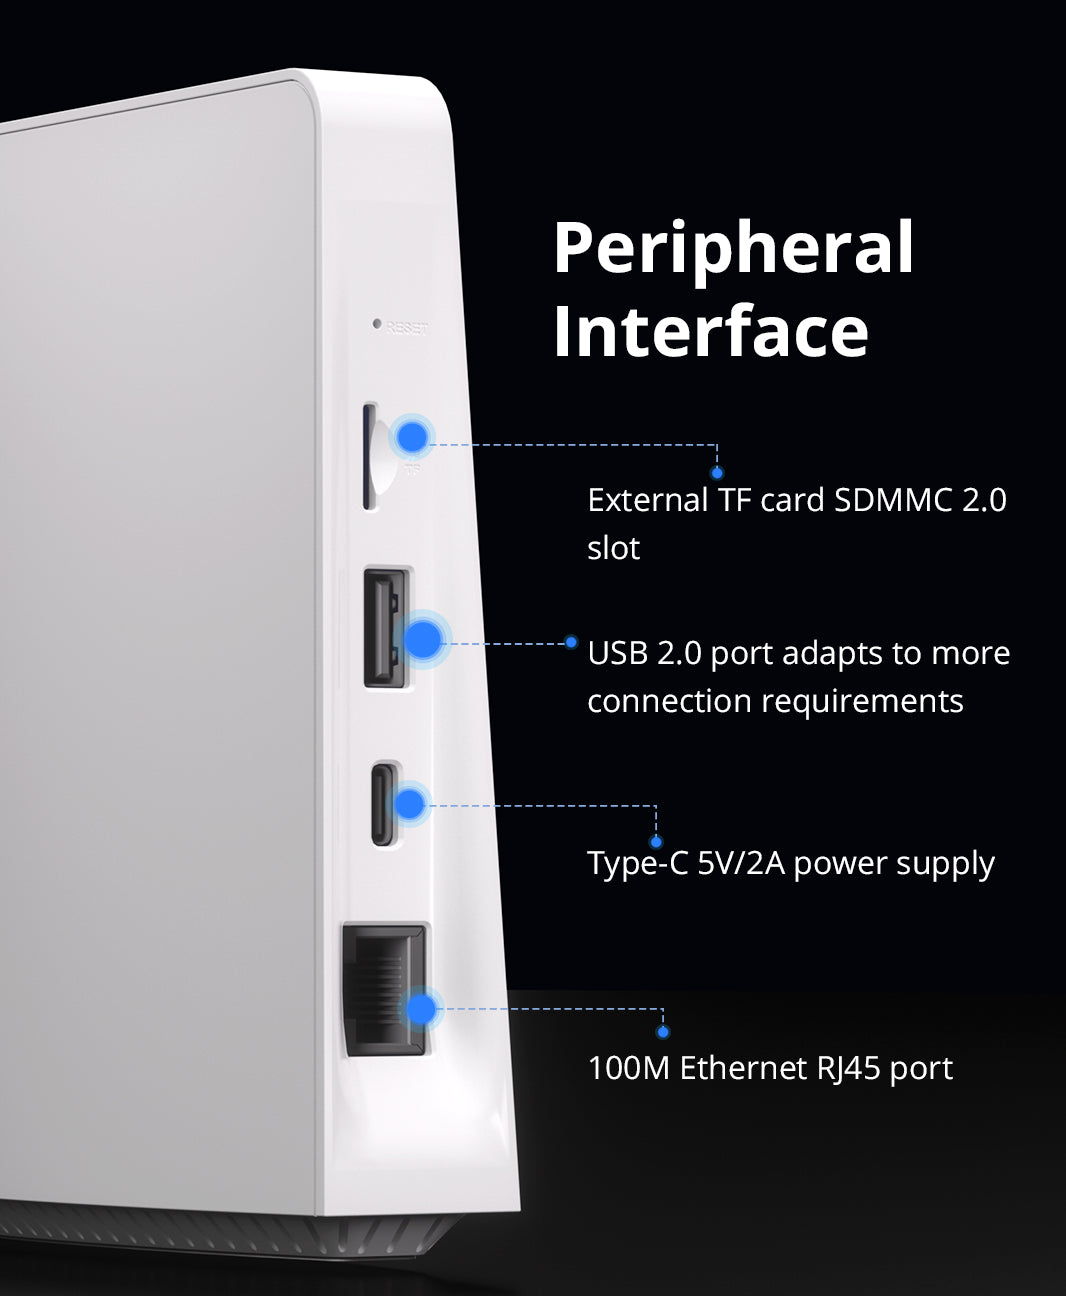
USB and TF card(Max. 256GB for TF card)
5V 2A
Type-C
ABS
RJ45
Wi-Fi IEEE 802.11 b/g/n 2.4GHZ, Zigbee 3.0
White
120mm X 41mm X135mm
FAQ
1. How to reset the iHost?
Long press the Reset button by the reset pin until the indicator turns red marquee.
2. How to OTA the iHost?
Link your eWeLink account on the 'Setting', and you can OTA the iHost via the app.
3. How to reset password?
Click the 'Forgot Password' on the login page, and press the reset button on the device 2 times in 5 seconds until the indicator light blinks twice quickly, that is, you can reset your password within 5 minutes. In addition, you can change the password in the settings of the Web center admin console.
4. How to submit feedback?
Click the button, fill in your name, Email address, and the problem detail (including firmware version and device ID), and maybe provide the related uploading pictures, videos, or log files.
5. How many Zigbee sub-device does the Hub support?
Can add up to 128 sub-devices, the max number of direct children is 32.
6. How many cameras does the Hub support?
No restrictions.
7. How many rooms, groups or scenes can be added in the iHost Web center admin console?
Can add up to 100 rooms, 50 groups and 300 scenes.
8. How many trigger conditions and actions does the scene support?
The upper limit number of the "If" conditions and the "then" actions is all 10.
9. Failed to access the URL after switching the network?
Find out the iHost IP address by visiting the backend of the router, and then enter the corresponding IP address on your browser to access it. ( iHost and the PC side are required to connect to the same LAN. )
10. How to access the Web center admin console when the router connects with several iHost?
Find out the iHost IP address by visiting the backend of the router, and then enter the corresponding IP address on your browser to access it. ( iHost and the PC side are required to connect to the same LAN. )
11. If I reboot the device, does the setting will be cleaned?
Rebooting the device on the Web center admin console won't clean the settings while resetting the device with the Reset button will clear all settings.
12. What kinds of TF Card is supported or recommended to install Addon?
iHost supports TF cards with formats such as ext2, ext3, ext4, fat, msdos, and vfat (fat32).
13. What external devices can the USB port support?
We have reserved the USB 2.0 interface for subsequent hanging on mobile storage and external accessories. In the future version, the USB port will support external mobile storage devices for storing audio and video content and backing up/exporting local storage data. In addition, various external accessories will be launched successively to expand the capabilities of iHost, such as external IR receiving and transmitting modules to realize the ability of infrared remote control; External Thread dongles to realize access to Thread and Thread-matter devices, etc.
14. Is the eWeLink CUBE system used by iHost open source?
eWeLinkCUBE is a localized device connection management system, which is an open but not open-source system. We choose not to open source, because this system involves a large number of outsourced development partners during the development process, and also purchases and uses some commercial functional components, and these codes are also closed source to us or copyright restrictions do not allow open source. Although the system code is not open source, we have always adhered to an open attitude and will continue to provide open interfaces of various capabilities for developers who want to carry out secondary development based on the system to meet the needs of various application scenarios. If the current interface capabilities cannot meet your scenario requirements, please feel free to contact us.
We will open source most of the Add-ons developed based on these interfaces.
15. Can the hardware such as button, LED indicator group, speaker and microphone be used in Add-on?
You can use the speaker in Add-on now, but the interfaces of the microphone, buttons and LED indicators are not provided yet. We consider packaging the hardware capabilities and open to developers in subsequent continuous updates.
16. How can I check and control the devices if I am not at home?
You need to configure your home router to bind and map iHost to your external network IP address, so that you can access the iHost host by accessing the IP address, and view and control the device through the console or Cast. Later, we will publish a more detailed operation guide to demonstrate how to realize remote access by binding route mapping.
17. Does iHost support MQTT? How to integrate with Tasmota firmware devices?
iHost does not support MQTT, however, there is an open API available, the iHost open API is based on HTTP rather than MQTT as the MQTT interface can not meet the requirement of some iHost feature development. so we currently have no plans to develop an MQTT interface. Based on the open API, it is not that difficult for users to develop their own HTTP to MQTT Add-on. We will also release the Addon for Tasmota integration, which is an MQTT service that connects to the MQTT protocol Tasmota device, then integrate devices into the system through the HTTP interface of iHost.
iHost open API link: https://help.sonoff.tech/docs/ihost#Part_of_Core_Feature
18. How to install Add-on to expand more features of iHost? Which Add-ons are currently supported by iHost?
Please check the tutorial link for the Add-on introduction and installation guide.
https://help.sonoff.tech/docs/ihost#Part_of_Core_Feature
We have developed 3 add-ons and more will be launched in the future.
● eWeLink Smart Home add-on allows you to synchronize your SONOFF WiFi devices to iHost for local control and local scene trigger.
● HomeBridge add-on to synchronize your iHost child devices to HomeBridge so you can control the devices from Apple Home application.
● Node-RED add-on to create the flow for device integrations and events-driven with endless possibilities.
Please follow our iHost update for more information about add-on development.
19. Does iHost support synchronizing the SONOFF WiFi device of the eWeLink account to iHost? Which SONOFF WiFi devices are currently supported?
Yes, you are able to sync the SONOFF WiFi device of the eWeLink account to iHost via the official add-on of eWeLink Smart Home. Please check it out from this link for the eWeLink Smart Home add-on introduction as well as the supported device list.
https://help.sonoff.tech/docs/ihost#Part_of_Core_Feature