When you found this blog, we have officially released an online quick flash tool for ZBDongle. With this official tool, you can flash your Dongle quickly and effortlessly — just insert your Dongle into the computer and follow the steps within several clicks. The whole process takes just about one minute.
View the tutorial here: SONOFF Dongle Quick Flasher: Effortless Firmware Updates in 1 Minute
1. Use Dongle Plus on Home Assistant via ZHA Integration
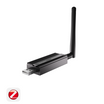
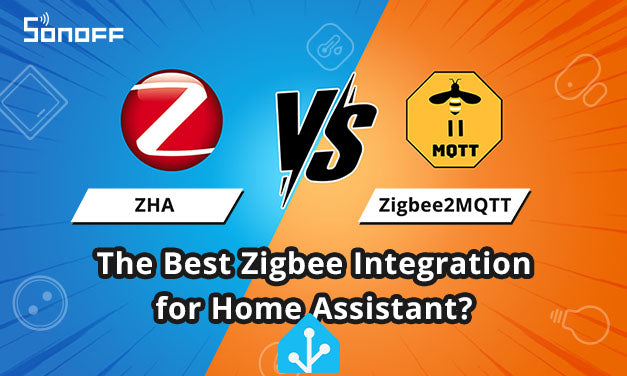
There are two ways to use the SONOFF Zigbee 3.0 USB Dongle Plus to manage your Zigbee devices on Home Assistant: ZHA or Zigbee2MQTT. Here I will introduce ZHA, which is simpler in configuration.
Precondition:
- Install Home Assistant
A Raspberry Pi with Home Assistant installed. Connect your computer to the same Wi-Fi as the Raspberry Pi and enter the address into your browser to open the Hass page.
If you have not yet successfully installed Home Assistant, please find the relevant tutorials on the Internet to complete the installation and I will not repeat them here.
- Install Driver
Raspberry Pi (Linux) is recommended, if you use Windows or macOS, you need to install Driver first.
If you’re using Windows 10 or higher, the driver will usually install automatically within a few minutes.
Windows: CH343SER
macOS: ch34xser_macos-main
As the “Product Description String” of the dongle plus has been customed to a unique identifier “Sonoff Zigbee 3.0 USB Dongle Plus”, which has been also added to Home Assistant’s whitelist of auto-discovered devices, the configuration of the dongle in Hass can be very simple. Just plug the dongle into your computer, it will be automatically discovered, click “CONFIGURE” to complete the configuration automatically, and then add sub-devices to use.


If your dongle can’t be auto-discovered, it may be because your version of Hass hasn’t integrated this feature yet, you can follow the normal configuration steps below.
Normal Configuration Steps:
- Insert the dongle and add ZHA Integration

2. Select the corresponding port

3. Select access method
ZBDongle-E:

ZBDongle-P:

4. Data flow control
ZBDongle-P: do not select, just click next
Reserve the hardware flow control DIP switch, see the following document on how to generate the corresponding firmware, but no platform support currently.

ZBDongle-E: choose software flow control
5. Add successfully

6. Add sub-devices to the gateway dongle


7. Make the sub-devices enter the pairing mode, and you can control it after adding successfully

2. Use ZBDongle-E on openHAB
Refer to the official website tutorial to install and start openHAB.


3. Control device


3. Firmware Flashing
We’ve officially released an easy-to-use flashing tool for our Zigbee 3.0 USB Dongle Plus!
With this official tool, you can flash your Dongle quickly and effortlessly — just insert your Dongle into the computer and follow the steps within several clicks. The whole process takes just about one minute.
👉 Click here to get started: https://dongle.sonoff.tech/sonoff-dongle-flasher/
The Zigbee 3.0 USB Dongle Plus comes pre-flashed with coordinator firmware. However, if you want to update the firmware, switch to router mode, or generate a version that supports hardware flow control, our quick flasher makes it incredibly simple.
If you prefer manual flashing or want to dive deeper, you can also follow the detailed steps provided in the documentation below:
- ZBDongle-P (CC2652P) & ZBDongle-E (EFR32MG21) Firmware Flashing
- Enable Hardware Flow Control and Generate Corresponding Firmware
4. Configuring ZBDongle-P Transmit Power Tutorial
End~








Leave a comment
All comments are moderated before being published.
This site is protected by hCaptcha and the hCaptcha Privacy Policy and Terms of Service apply.