

1. Configuração Local do ZBBridge-U
Para gerenciar o ZBBridge-U localmente, ligue o dispositivo e conecte-o ao seu roteador doméstico usando um cabo Ethernet. Certifique-se de que ZBBridge-U e o Home Assistant estejam na mesma rede local.
Abra seu navegador preferido e acesse o painel web local em: http://zbbridgeu.local/. Alternativamente, você pode acessar o painel usando o endereço IP atribuído pelo seu roteador.
A interface web local é totalmente responsiva e otimizada para diferentes dispositivos, facilitando o acesso e gerenciamento a partir de um smartphone ou tablet.
Ao entrar na interface pela primeira vez, você será guiado para definir o fuso horário e criar uma senha para logins futuros.

Visão Geral do Portal ZBBridge-U
Após fazer login e concluir o guia de configuração, você será direcionado para a página inicial. No lado esquerdo, o menu principal oferece acesso rápido a todos os recursos e configurações principais. A página inicial destaca as funções centrais e exibe o status de sincronização do dispositivo.
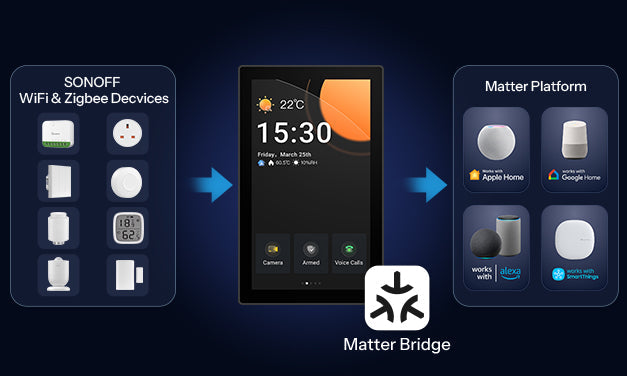
Os dispositivos são agrupados em quatro categorias com base na forma como foram adicionados:
- Zigbee
- eWeLink-Remote
- eWeLink Wi-Fi
- Home Assistant
Para cada categoria, você pode ver o número total de dispositivos, quantos estão online e quantos foram sincronizados via a ponte Matter.

2. Configurar o Broker MQTT no Home Assistant
Certifique-se de que o Home Assistant esteja rodando em um servidor (mini PC, Raspberry Pi, Home Assistant Green, etc.). Ative a configuração MQTT no Home Assistant e instale o add-on Mosquitto Broker.
Crie um nome de usuário e senha na configuração do Mosquitto Broker. Eles serão usados para conectar o ZBBridge-U ao Home Assistant.


3. Adicionar Dispositivos Zigbee ao ZBBridge-U
Na página inicial, selecione Adicionar Dispositivos → Dispositivos Zigbee para iniciar o modo de pareamento. Alternativamente, acesse a página Zigbee pelo menu lateral.

Uma vez ativado, o modo de pareamento permanece ativo por 180 segundos. Coloque seus dispositivos Zigbee em modo de pareamento e mantenha-os próximos ao ZBBridge-U para um pareamento estável. Após adicionar os dispositivos, gerencie-os pela lista de dispositivos.
Quando o roteador conectado ao ZBBridge-U tiver acesso à internet, atualizações OTA de firmware são suportadas para dispositivos SONOFF Zigbee.

4. Sincronizar Dispositivos com o Home Assistant
Acesse a página do Home Assistant na interface do ZBBridge-U e selecione Sincronizar Subdispositivos Zigbee com o Home Assistant. Em seguida, configure a conexão com o Broker MQTT.

Configurações do Broker MQTT
- Detecte automaticamente o endereço IP do Home Assistant, ou insira manualmente
- Porta: Insira a porta MQTT padrão configurada no Mosquitto Broker
- Nome de usuário e senha: Use as credenciais criadas no Mosquitto Broker
- Criptografia: Definida como Nenhuma por padrão, ou ajuste conforme a configuração do seu broker
Ative o MQTT e salve as configurações. 
Após a configuração, selecione os dispositivos que deseja sincronizar na lista.
Os dispositivos sincronizados aparecerão então no Home Assistant → configuração MQTT.


Alternativa: Complete a Configuração via App eWeLink
- Adicione o ZBBridge-U ao app eWeLink e pareie os subdispositivos Zigbee
- Configure o Broker MQTT no Home Assistant e crie nome de usuário/senha
- No eWeLink, vá para ZBBridge-U → Configurações do Dispositivo → Home Assistant → Sincronizar Subdispositivos Zigbee com o Home Assistant, configure as configurações MQTT conforme descrito anteriormente e então ative o MQTT.

- Selecione os dispositivos que deseja sincronizar. Os dispositivos sincronizados aparecerão na configuração MQTT do Home Assistant.


Deixar comentário
Os comentários precisam ser aprovados antes da publicação.
Este site é protegido por hCaptcha e a Política de privacidade e os Termos de serviço do hCaptcha se aplicam.