


Introdução
Se usar um interruptor da Série SONOFF Fusion, poderá estar a perguntar-se como alcançar o controlo bidirecional. Este guia apresenta soluções inteligentes de controlo bidirecional para interruptores Fusion com diferentes protocolos de comunicação. Ao usar cenas inteligentes, estas soluções permitem controlo em múltiplos locais sem cablagem adicional — flexível, conveniente e altamente prático.
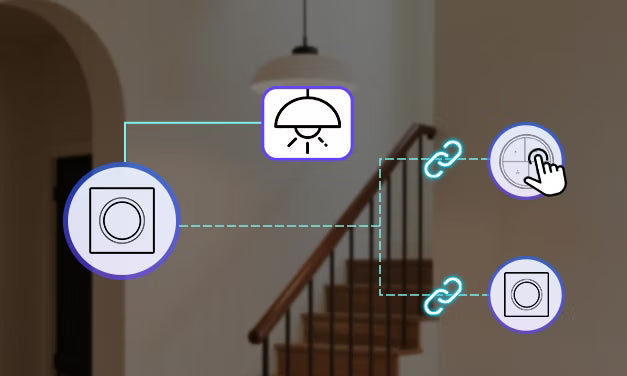
Solução 1 — Ligação de Cena Inteligente
Na plataforma eWeLink ou Home Assistant, os botões sem fios Zigbee (por exemplo, SNZB-01P / SNZB-01M) podem ser usados como gatilhos de cena através da configuração de cena inteligente ou automação. Eles ligam-se aos interruptores da Série Fusion para executar ações de ligar/desligar, permitindo controlo bidirecional sem fios.

Dispositivos Necessários
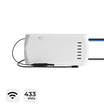
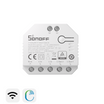
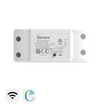
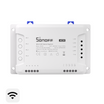
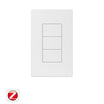
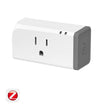
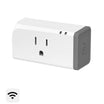
✅1 × interruptor da Série Fusion (por exemplo, Orb-MW1 / Orb-MW2 / Orb-ZBW1 / Orb-ZBW1L / Orb-ZBW2 / Orb-ZBW2L)
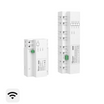
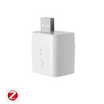
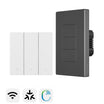
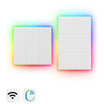
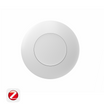
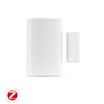
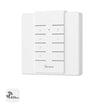
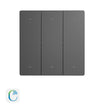
✅1 × botão sem fios Zigbee (por exemplo, SNZB-01P / SNZB-01M)
|
SNZB-01P vs. SNZB-01M (Orb 4 em 1) |
||
|
Botão sem fios Zigbee |
SNZB-01P |
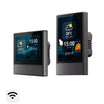
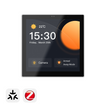
SNZB-01M (Orb 4 em 1) |
|
Número de botões |
1 botão |
4 botões |
|
Ações suportadas |
Pressão simples / Pressão dupla / Pressão longa |
Cada botão suporta pressão simples / dupla / tripla / longa |
|
Protocolo |
Zigbee |
Controlo remoto Zigbee & eWeLink |
|
Bateria |
CR2477 |
CR2477 |
|
Montagem |
Magnético / Adesivo / Parafuso |
Magnético / Adesivo / Parafuso |
|
Uso principal |
Ativação simples de cena |
Controlo centralizado multi-cena |
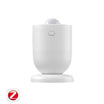
✅1 × gateway Zigbee (por exemplo, SONOFF ZBBridge-P / ZBBridge-U / NSPanel Pro / iHost)
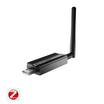
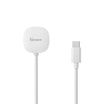
Nota: Se pretende adicionar dispositivos a um ambiente ZHA ou Z2M, também é necessário ter um Dongle Zigbee (por exemplo, SONOFF Dongle Plus MG24 / Dongle Max / ZBDongle-P/E / Dongle Lite MG21)
Emparelhamento & Configuração de Cena
Passo 1: Adicionar Dispositivos à APP
Adicione o botão sem fios Zigbee (SNZB-01P / SNZB-01M) e o interruptor Fusion à APP eWeLink ou à plataforma Home Assistant.
Passo 2: Criar uma cena de automação
- Definir gatilho: Selecione "Dispositivo Inteligente" → Escolha SNZB-01P ou SNZB-01M (para SNZB-01M, selecione o botão alvo) → Selecione gatilho (Toque simples / Toque duplo / ...)
- Definir ação: Selecione "Dispositivo Inteligente" → Escolha o interruptor Fusion Zigbee alvo (para interruptores multicanais, selecione o canal alvo) → Selecione ação (Inverter)
- Guarde e ative a cena de automação.
Passo 3: Verificar
Pressione o botão sem fios Zigbee para ativar a cena. A luz ligada ao interruptor Fusion deve ligar/desligar em conformidade. Tanto o interruptor de parede como o botão sem fios Zigbee podem controlar a mesma luz de forma sincronizada.
Solução 2 — Desanexar Relé
O Interruptor A está ligado à carga, enquanto o Interruptor B tem o Modo de Desanexar Relé ativado e serve como gatilho de cena sem fios. Através da ligação de cena inteligente, um único toque no Interruptor B alterna o estado do Interruptor A, permitindo que dois dispositivos controlem a mesma luz.

Dispositivos Necessários
✅ 2 × interruptores Fusion (por exemplo, Orb-MW1 / Orb-MW2 / Orb-ZBW1 / Orb-ZBW1L / Orb-ZBW2 / Orb-ZBW2L)
Nota:
- Para dispositivos Zigbee, é necessário um gateway Zigbee (por exemplo, SONOFF ZBBridge-P / ZBBridge-U / NSPanel Pro / iHost).
- Se pretende adicionar dispositivos a um ambiente ZHA ou Z2M, também é necessário o Dongle Zigbee (por exemplo, SONOFF Dongle Plus MG24 / Dongle Max / ZBDongle-P/E / Dongle Lite MG21).
Passos de Emparelhamento e Configuração
Passo 1: Preparação da Fiação
- Interruptor A: Ligado à luz da carga.
- Interruptor B: Não ligado a nenhuma carga, usado apenas como gatilho de cena.
Passo 2: Adicionar Dispositivos à APP e Ativar o Modo de Desanexar Relé
Adicione ambos os interruptores Fusion à APP eWeLink. Para dispositivos Zigbee, também pode adicioná-los a uma plataforma Z2M ou ZHA e ativar o Modo de Desanexar Relé.
Passo 3: Criar uma Cena de Automação
- Definir ativação: Selecione "Dispositivo Inteligente" → Escolha "Interruptor B" (para interruptores multicanal, selecione o canal alvo) → Selecione ativação (Pressão Simples).
- Definir ação: Selecione "Dispositivo Inteligente" → Escolha "Interruptor A" (para interruptores multicanal, selecione o canal alvo) → Selecione ação (Inverter).
- Guarde e ative a cena de automação.
Passo 4: Verificar
Pressione o Interruptor B para ativar a cena. A luz ligada ao Interruptor A deve ligar/desligar em conformidade. Ambos os interruptores podem controlar a mesma luz de forma sincronizada.
Solução 3 — Ligação por Emparelhamento (Apenas para Home Assistant)
Nos ambientes ZHA (Zigbee Home Automation) ou Z2M (Zigbee2MQTT), o botão sem fios Zigbee, como dispositivo de ativação, pode estabelecer uma ligação de emparelhamento com um interruptor Zigbee Fusion (como alvo). Isto permite controlo direto de dispositivo para dispositivo, alcançando controlo bidirecional sem fios.

Dispositivos Necessários
✅ 1 × Botão sem fios Zigbee (por exemplo, SNZB-01P / SNZB-01M)
✅ 1 × Interruptor Zigbee da Série Fusion (por exemplo, Orb-MW1 / Orb-ZBW1L / Orb-ZBW2 / Orb-ZBW2L)
✅ 1 × Dongle Zigbee (por exemplo, SONOFF Dongle Plus MG24 / Dongle Max / ZBDongle-P/E / Dongle Lite MG21).
Emparelhamento & Configuração de Cena
Passo 1: Adicionar dispositivos à gateway Zigbee
Adicione dispositivos via ZBDongle ao ambiente ZHA ou Z2M.
Passo 2: Emparelhamento
- No ZHA/Z2M, selecione o dispositivo de ativação (por exemplo, SNZB-01M) e vá para Gestão de Emparelhamento.
- Selecione o dispositivo alvo (por exemplo, produto interruptor Zigbee) e especifique o Cluster (por exemplo, Cluster Ligar/Desligar).
- Uma vez concluído o emparelhamento, pressionar o botão correspondente no dispositivo de ativação controlará diretamente o dispositivo alvo (Ligar / Desligar / Inverter).
Passo 3: Verificar
Pressione o botão sem fios Zigbee para ativar a cena. A luz ligada ao interruptor Fusion deve ligar/desligar em conformidade. Tanto o interruptor de parede como o botão sem fios Zigbee podem controlar a mesma luz de forma sincronizada.
Deixe um comentário
Todos os comentários são moderados antes de serem publicados.
Este site está protegido pela Política de privacidade da hCaptcha e da hCaptcha e aplicam-se os Termos de serviço das mesmas.