


Introduction
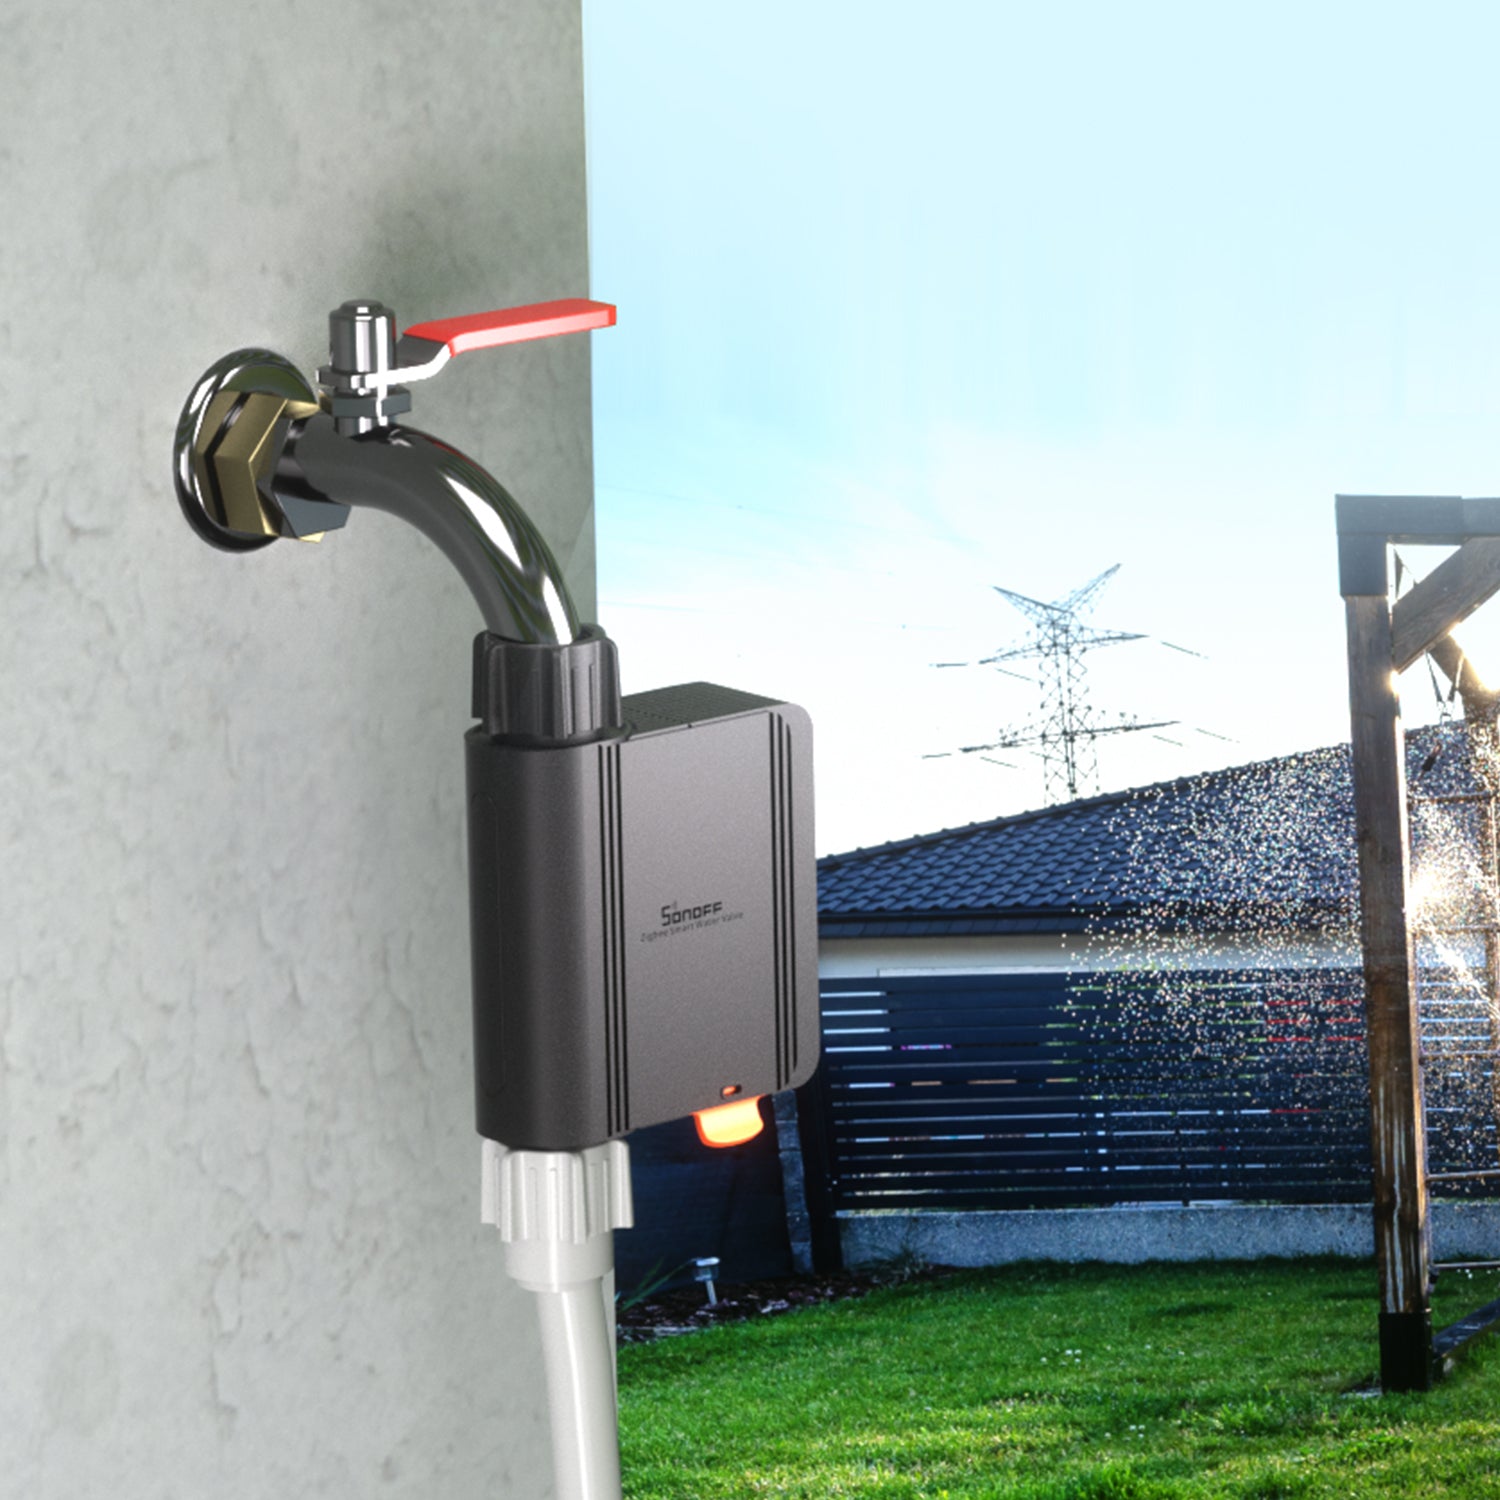
Zigbee Smart Water Valve Installation
Step 1: Power On the Device
- Hold both ends of the battery compartment cover and pull out the battery slot.
- Install four AA batteries.
- Firmly press the battery slot into the device until the snap at the arrow is visible.
- After powering on, the button LED light flashes.

Step 2: Scan QR Code to Add Device
- Enter "Scan".
- Scan the QR code on the device.
- Select "Add Device".
- Long-press the button for 5 seconds.
- The LED indicator flashes slowly for 180s.
- Select Zigbee gateway.
- Wait until the addition is done.


|
Matched Gateways |
|
|
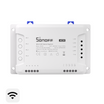
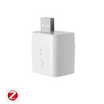
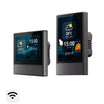
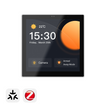
Recommended SONOFF gateway models: |
|
|
Other compatible SONOFF gateway models: |
ZBDongle-P, ZBDongle-E, ZBDongle-M, ZBDongle Plus MG24, ZBDongle Lite MG21 |
🎯Note: Before adding the device, please ensure that the gateway firmware is updated to the latest version.
Step 3: Installation
- Wrap the thread seal tape around the faucet threads.
- Screw the water inlet nut onto the faucet.
- Test for leaks and ensure the connection is secure.
- Connect the hose to the device's water outlet. (If leaking, wrap thread seal tape around the outlet thread.)

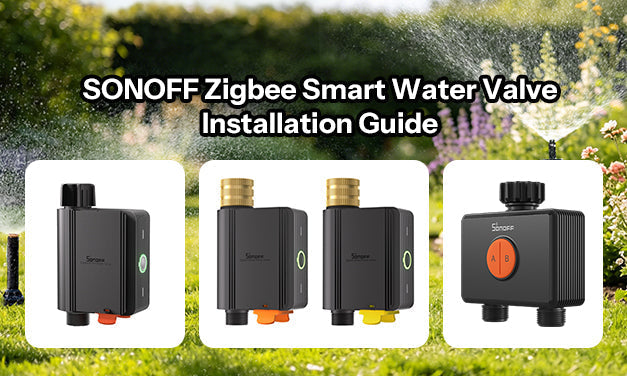
Hydro ONE & Hydro ONE Lite Zigbee Smart Water Valve Installation
The SONOFF Hydro Series includes two Zigbee smart water valves:
Hydro ONE (SWV-ZFU/SWV-ZFE) with Flow Meter: Supports Zigbee 3.0 and proximity communication, enabling integration with a Zigbee gateway or coordinator and compatible smart home systems. Even if the gateway goes offline, essential irrigation control and basic settings can still be operated locally. An upgraded brass water inlet enhances durability against long-term water pressure and sun exposure. With flexible time- or volume-based schedules, weather-based skip, and seasonal adjustment, it enables precise irrigation. Real-time alerts, child lock, and detailed water usage reports ensure safer, smarter water management.
Hydro ONE Lite (SWV-ZNU/SWV-ZNE) without Flow Meter: Features dual communication modes (Zigbee 3.0 and proximity mode), integrates with Home Assistant, Google Home, or operates locally without a gateway. The upgraded brass inlet provides long-lasting durability, while flexible watering schedules adapt to odd/even days, weekly cycles, and weather conditions to save water. Real-time monitoring alerts you to low battery or frost risk, and a built-in child lock prevents accidents. Device sharing and group control allow easy management of multiple irrigation zones.
Upgrade your outdoor irrigation system with a quick, easy installation that takes just a few minutes. Follow the steps below for a quick setup:
📍Quick Device Pairing & Installation Video Guide:
💡Detailed Device Pairing & Installation Video Guide:
Step 1: Power On the Device
- Hold both ends of the battery compartment cover and pull out the battery slot.
- Install four AA batteries.
- Firmly press the battery slot into the device until the snap at the arrow is visible.
- When the device is powered on for the first time, it will automatically enter pairing mode, and the LED indicator will flash slowly.

💡Note:
- If pairing is not completed within 3 minutes, the device will exit pairing mode.
- To re-enter pairing mode, press and hold the device button for 5 seconds until the LED indicator flashes slowly again.
Step 2: Add Device
Method 1: Zigbee Pairing (Suggested)
①Add SONOFF Zigbee gateway
|
Matched Gateways |
|
|
Recommended SONOFF gateway models: |
|
|
Other compatible SONOFF gateway models: |
ZBDongle-P, ZBDongle-E, ZBDongle-M, ZBDongle Plus MG24, ZBDongle Lite MG21 |
② Add device
- Enter "Scan".
- Scan the QR code on the device.
- Select "Zigbee Pairing".
- Long-press the button for 5 seconds (If the device exits pairing mode).
- Check the LED indicator flashing status (slow flash).
- Select Zigbee gateway.
- Wait until the addition is done.


Method 2: BLE Pairing
- Enter "Scan".
- Scan the QR code on the device.
- Select "BLE Pairing".
- Long-press the button for 5 seconds. (If the device exits pairing mode).
- Check the LED indicator flashing status (slow flash).
- Tap "Next".
- Choose the device and tap "connect".


🔔Note:
- When connected to the Zigbee gateway, the eWeLink App provides a more complete experience, including remote access, smart scenes, and push notifications.
- Without a Zigbee gateway, the device can connect directly to a mobile phone, and the eWeLink App supports basic functions such as schedule setting.
Step3: Installation
- Wrap the thread seal tape around the thread of the faucet.
- Screw the nut of the water inlet of the equipment onto the faucet.
- Testing that there is no leakage.
- Connect the hose to the device's water outlet. (If the water outlet leaks, please wrap thread seal tape around the thread of the water outlet.)
*Recommended for vertical installation.

Hydro DUO Zigbee Smart Water Valve Installation
Smart features including water usage tracking, seasonal adjustments, weather-based irrigation automation, low-battery and frost alerts, water shortage notifications, leak detection alerts, and a child lock help keep watering efficient and worry-free. With Zigbee 3.0 and proximity communication, it offers flexible control with or without a gateway. IP65-rated for reliable outdoor use, it supports both 4 x AA battery power and Type-C power, with a durable brass inlet for a more reliable water connection and an anti-slip texture for easier hand-tightening.
SWV-ZF2E and SWV-ZF2U are smart water shut off valve designed for different regions. They offer the same features but differ in inlet and outlet thread specifications. Choose the version that matches your local piping standard.
- SWV-ZF2E: Uses British Standard Pipe (BSP) thread (G3/4-14, 3/4" nominal). Recommended for the UK, Europe, and most regions that follow BSP standards.
- SWV-ZF2U: Uses National Hose (NH) thread (NH3/4-11.5, 3/4" nominal). Recommended for North America.
Step 1: Power On the Smart Water Valve
3. Install the battery cover and tighten the battery compartment screw
4. When the device is powered on for the first time, it will automatically enter pairing mode, and the LED indicator will flash slowly in green

- If pairing is not completed within 3 minutes, the device will exit pairing mode.
- To re-enter pairing mode, press and hold the device button for 5 seconds until the LED indicator flashes slowly again.
Step 2: Add Zigbee Gateway and Smart Water Valve
Method 1 : Zigbee Pairing (Suggested)
① Add SONOFF Zigbee gateway
|
Matched Gateways |
|
|
Recommended SONOFF gateway models: |
|
|
Other compatible SONOFF gateway models: |
ZBDongle-P, ZBDongle-E, ZBDongle-M, ZBDongle Plus MG24, ZBDongle Lite MG21 |
② Add the smart water valve
- Enter "Scan"
- Scan the QR code on the device
- Select "Zigbee Pairing"
- Long press the button for 5 seconds (If the device exits pairing mode)
- Check the LED indicator flashing status (slow flash)
- Select a Zigbee gateway
- Wait until the addition is done


Method 2: BLE Pairing
- Enter "Scan"
- Scan the QR code on the device
- Select "BLE Pairing"
- Long press the button for 5 seconds (If the device exits pairing mode)
- Check the LED indicator flashing status (slow flash)
- Tap "Next"
- Choose the device and tap "Connect"


- When connected to the Zigbee gateway, the eWeLink App provides a more complete experience, including remote access, smart scenes, and push notifications.
- Without a Zigbee gateway, the device can connect directly to a mobile phone, and the eWeLink App supports basic functions such as schedule settings.
Step 3: Install the Smart Water Valve

- It is recommended to install vertically as horizontal installation may increase the error in flow rate measurement.
- In low-temperature environments (below 3–5°C), to prevent residual water from freezing and causing the pipe to crack, be sure to drain all remaining water, remove the device, and store it indoors.
17 comments
Dr Clare Dyer
Can you connect via WiFi to Alexa or only Bluetooth to phone.
Abdullah alslaeem
Thanks
Meinecke
Ich hoffe wird gelingen
Philipp Scott
I am trying to connect my sonoff water valve (swv – bsp) with a zigbee 3.0 hub
MR BAFANA D THOMO
Hi
Leave a comment
All comments are moderated before being published.
This site is protected by hCaptcha and the hCaptcha Privacy Policy and Terms of Service apply.