


Introduction
Water damage is costly for homeowners and a major headache for renters. A small leak often goes unnoticed for a long time and is only found when the damage is significant. If you own a rental property or a vacation home that sits empty for long periods, the risk multiplies.
A water leak sensor solves this by detecting moisture and sending instant alerts — even when you're thousands of miles away. But when your sensor and other smart devices come from different brands, they live in separate apps or ecosystems, making it difficult to build the automations you actually want.
By integrating the Zigbee water leak sensor into Home Assistant — a free, open-source smart home platform — you can unify all of your home devices for local control and no cloud dependency.
In this guide, you'll learn how to connect a Zigbee water leak sensor to Home Assistant, set up automation, and discover the best water leak sensor for 2026.

Why Use a Zigbee Water Leak Sensor for Home Assistant?
When it comes to water leak sensors for Home Assistant, Zigbee is the most popular protocol choice. Compared to Wi-Fi, Z-Wave, Bluetooth, Matter, and other protocols, Zigbee strikes the best balance of local control, fast response, low power consumption, and stability for a sensor that needs to run 24/7 without maintenance.
Local Control
- Zigbee water leakage detection sensors run entirely on your local network — no cloud relay needed. When the sensor detects moisture, the alert reaches Home Assistant in 1–2 seconds, even if your internet is down.
Fast Response
- Zigbee water leak sensors respond almost instantly when moisture is detected. For water leaks, where every second of delay means more damage, this matters.
Low Power Consumption
- Zigbee's power-efficient design means a water leak sensor like the SNZB-05P battery-powered water leak detector can run up to 5 years.
Network Stability
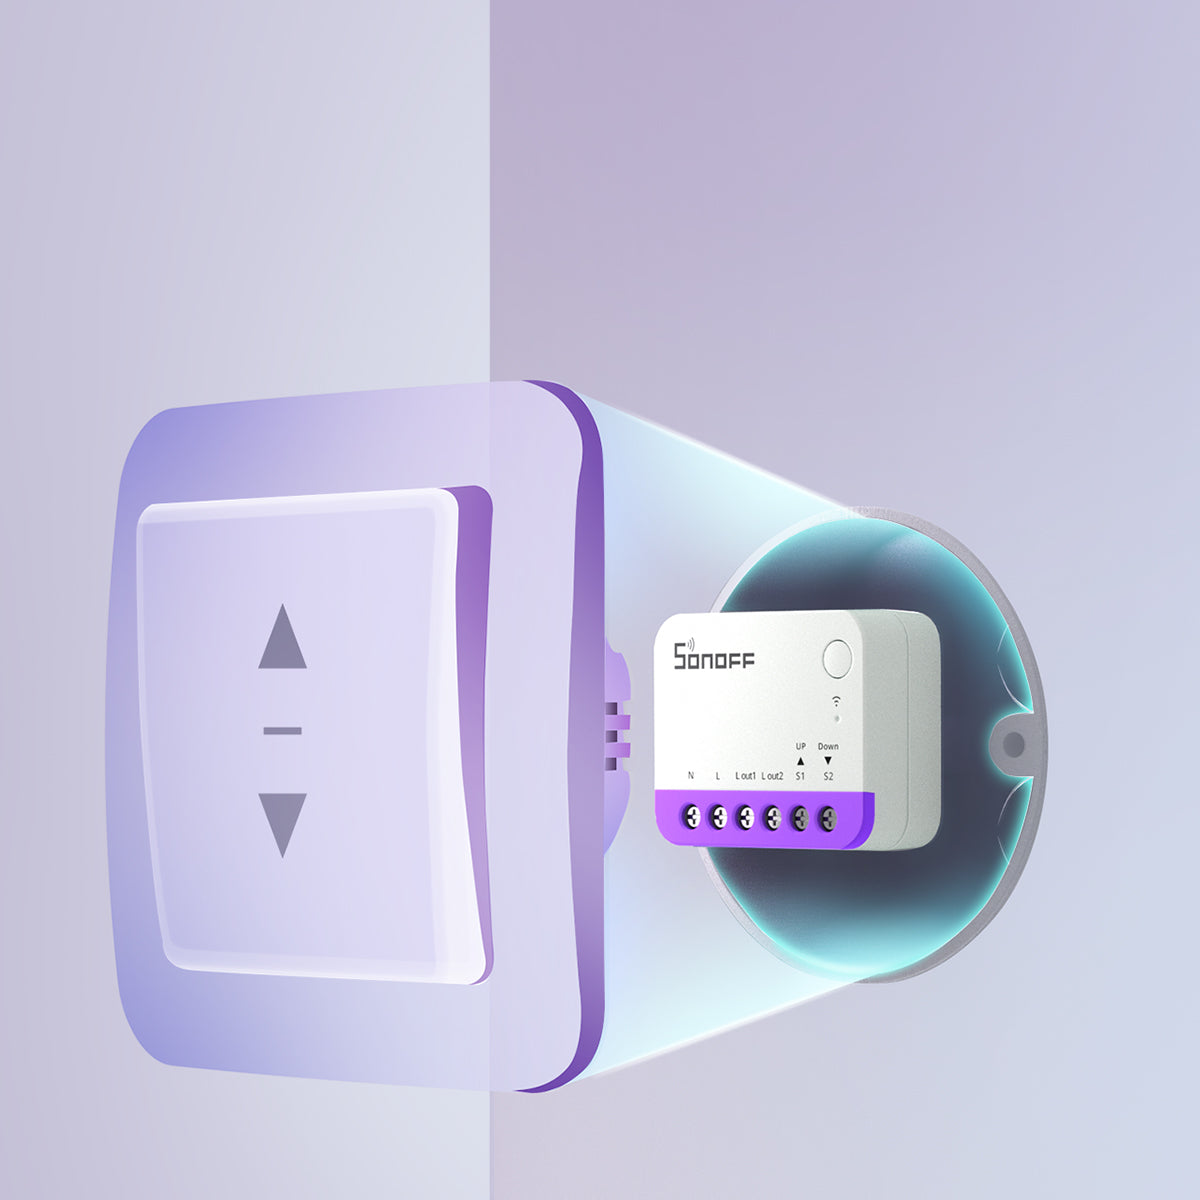
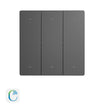
- Unlike point-to-point Wi-Fi connections, Zigbee builds a mesh network where mains-powered Zigbee devices — such as smart plugs, switches, and bulbs — can act as routers to relay signals. This improves coverage and stability, especially in larger homes or areas like basements and kitchens.
Best Zigbee Water Leak Sensor for Home Assistant
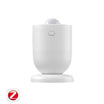
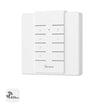
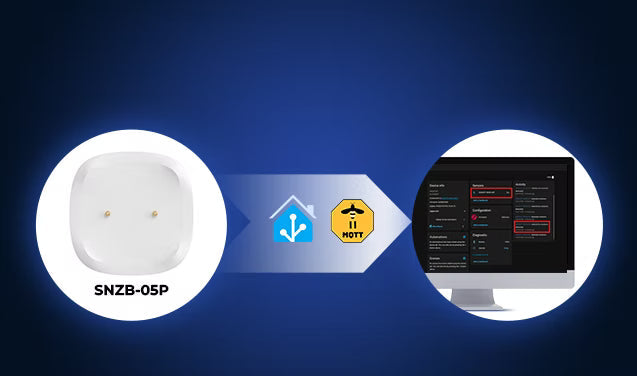
If you're looking for a reliable Zigbee water leak sensor for Home Assistant, the SONOFF SNZB-05P combines seamless Home Assistant integration, fast local reporting, long battery life, and high-sensitivity leak detection in a compact Zigbee 3.0 design.
It works with both ZHA and Zigbee2MQTT, supports local automations without cloud dependency, and can detect both floor leaks and overhead drips. Optional extension cables also make it suitable for larger monitoring areas such as basements, laundry rooms, and water heater installations.

SONOFF Zigbee Water Leak Sensor | SNZB-05P
$19.90
【Home Assistant Support】Easily integrates with Home Assistant via ZHA or Zigbee2MQTT (requires Zigbee dongle like SONOFF ZBDongle-P or ZBDongle-E) for seamless home automation...
View ProductKey Features:
- Compatible With Both ZHA and Zigbee2MQTT
- Fast local "Dry" or "Wet" status reporting
- Up to 5-year battery life
- Supports leak and drip detection
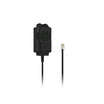
- Optional extension cable for larger areas
- Gold-plated probes help improve corrosion resistance in humid environments
- UV-Resistant Housing reduces discoloration and material aging caused by long-term light exposure
- IP67 rating for dust and temporary water immersion under specified conditions
Note: Supported temporary water immersion up to 1 meter for 30 minutes, helping the sensor continue operating even if brief flooding occurs before the leak is resolved.
Compatibility in Home Assistant:
|
Feature |
ZHA |
Zigbee2MQTT |
|
Leaking Detection |
✅ |
✅ |
|
History Record |
✅ |
✅ |
|
Local Automation |
✅ |
✅ |
|
Battery Percentage |
✅ |
✅ |
|
OTA |
✅ |
✅ |
How to Add a Zigbee Water Leak Sensor to Home Assistant?
Preparation: What You'll Need?
- Home Assistant is installed and running.
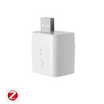
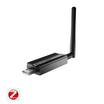
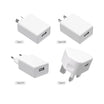
- A Zigbee Coordinator or Dongle (e.g., SONOFF ZBDongle-P/ZBDongle-E, PoE Dongle | Dongle-M, Dongle Plus MG24, Dongle-LMG21).
- A Zigbee water leak sensor (e.g., SNZB-05P ).
Add a Zigbee Water Leak Sensor to Home Assistant via ZHA
- Navigate to Settings > Devices & Services in Home Assistant.
- Click "Add Integration" and search for Zigbee Home Automation (ZHA).
- Once completed, you should see ZHA successfully configured in Home Assistant.

- Open the ZHA device pairing page: Navigate to Settings > Devices & Services > ZHA > devices.
- Put your leak sensor into pairing mode: Press and hold the pairing button according to the manufacturer's instructions until the LED starts flashing slowly.
- Wait for discovery: The water leak sensor should appear in the pairing dialog within a few seconds.


- Once found, you can rename the device (e.g., Kitchen Sink Leak Sensor, Boiler Room Leak Sensor, Laundry Room Leak Sensor, etc.) and assign it to an Area.

- Once added successfully, your sensor will appear in the device list of ZHA. (Go to Settings > Devices & Services > ZHA > Devices.

- Click the sensor, then enter the device page. Home Assistant should expose entities such as:
-
- Sensors status ("Dry" or "Wet")
-
- Battery level
- Activity logs
- Automations
- Link quality (depending on device support)

Add a Zigbee Water Leak Sensor to Home Assistant via Zigbee2MQTT
Zigbee2MQTT is preferred for users who want more control, broader device support, and deeper configuration options.
To use Zigbee2MQTT in Home Assistant, you typically need:
- Mosquitto broker (MQTT Broker)
- Zigbee2MQTT
Basic workflow:
- Enable device pairing ("Permit Join") in the Zigbee2MQTT web UI.
- Put the water leak sensor into pairing mode according to the manufacturer's instructions.
- Wait for the device to appear in Zigbee2MQTT.
- It will automatically appear in Home Assistant with entities such as Wet/Dry status, battery level, and signal quality (depending on device support).
👉 For detailed step‑by‑step instructions, refer to our guides:
- 📖 How to Sync Zigbee Devices to Home Assistant via MQTT – complete MQTT Broker setup and device sync walkthrough.
- 📖 SONOFF Zigbee Devices Work with Home Assistant via Zigbee2MQTT – Zigbee2MQTT installation and configuration guide.
⚠️ Before setup, always check whether your device is supported: Zigbee2MQTT official supported devices list
3 Practical Home Assistant Water Leak Automations
A water leak sensor on its own only tells you there's a problem. The real value comes from pairing it with Home Assistant automations that respond the moment moisture is detected. Here are three practical automation ideas worth setting up:
Instant Leak Notification (Core Setup)
- When moisture is detected, Home Assistant immediately pushes an alert to your phone — including which sensor triggered and the exact time. So you can respond immediately even when you are away from home.
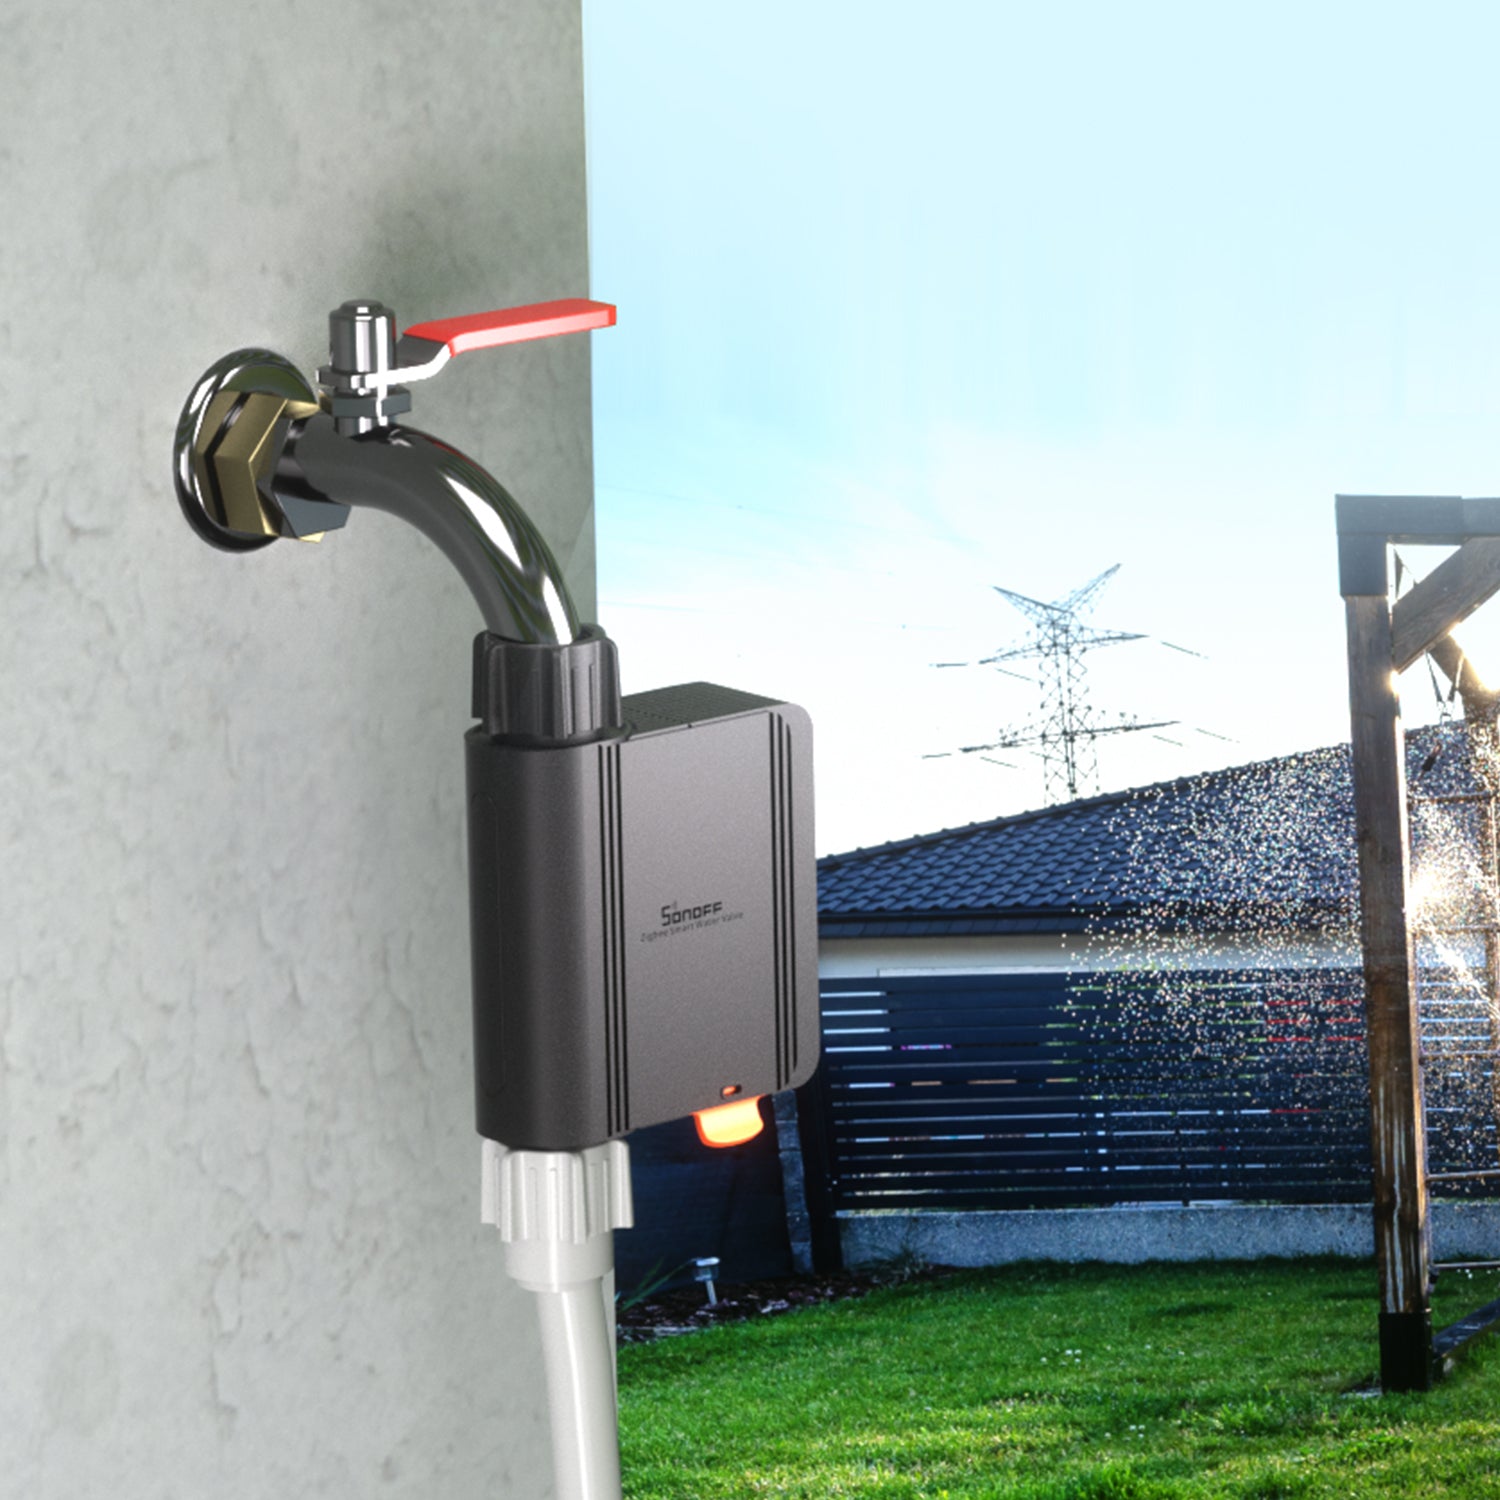
Automatically Shut Off a Smart Water Valve
- When paired with a smart valve, the system can automatically shut off water flow within 5–10 seconds after detection, helping prevent major flooding. Pairs especially well with sensors placed at high-flow appliances.
Flash Smart Lights as a Backup Alert
- If your phone is on silent or out of reach, a flashing light automation ensures the alert doesn't go unnoticed — trigger all lights in the house to flash 3 times the moment moisture is detected.
📍All of these automations run entirely locally — they trigger within seconds and keep working even if your internet goes down.
✅ You can place the sensor under kitchen sinks, behind washing machines, near dishwashers, under water heaters — anywhere you want instant awareness, regardless of where you are.
Home Assistant Water Leak Automation: How to Get Instant Leak Alerts?
Next, we will guide you to set up the practical automation — instant leak notification. This basic automation setup ensures you receive instant notifications the moment water is detected, helping you react before minor leaks turn into serious damage.
The logic:
- When the sensor detects moisture → Home Assistant immediately sends a push notification to your phone.
✅ Works for any placement — under kitchen sinks, behind washing machines, near dishwashers, under water heaters.
Step 1: Create an Automation
- Go to Settings > Automations & Scenes > Create Automation > Create New Automation.
- You can also go to SONOFF SNZB-05P Device Page > click "+" icon in the Automations card > select Create New Automation.
Step 2: Add a Trigger
- Click Add Trigger.
- Select Device.
- Device: Select your water leak sensor entity.
- Trigger: water leak sensor became moist.


Step 3: Add an Action
- Click Add Action.
- Select Notifications.
- Notifications: Send a persistent notification.
- Message: Enter "Water detected under the Kitchen Sink!" (Edit the message based on the actual location and scene.)
- Title: Enter "Emergency: Water Leak Alert".


Step 4: Save and Rename
- Click Save, and name it — e.g., "Kitchen Water Leak Alert".
💡 Tips: Make sure the Home Assistant Companion App is installed and logged in on your phone — without it, the mobile_app notification service won't appear.
Conclusion
In most Home Assistant setups, adding a Zigbee water leak sensor takes only a few minutes, but the protection it provides can help prevent costly water damage long before a leak becomes serious. Once it's running, it works silently in the background, 24/7, with no cloud dependency and no ongoing maintenance.
If you're ready to upgrade your smart home safety setup, explore the SNZB-05P in more detail or start building your own leak protection system in Home Assistant today.
FAQs
Q1: How does the water leak sensor work in Home Assistant?
- When water bridges the gap between them, it completes an electrical circuit, and the sensor immediately sends a Zigbee signal to your coordinator, which passes the "Wet" state to Home Assistant via ZHA or Zigbee2MQTT. Home Assistant then triggers your automation, such as notifications, alarms, or valve shutdowns.
- When the water is removed and the electrodes dry out, the sensor returns to the "Dry" state, and Home Assistant updates the state accordingly.
Q2: Do I need a Zigbee hub for Zigbee water leak sensors?
Q3: Where should I place water leak sensors in my home?
- Common installation locations include under kitchen sinks, behind washing machines, near water heaters, below bathroom vanities, around refrigerators with ice makers, and in basements near sump pumps or along areas where water typically seeps in.
- For larger coverage areas, such as around washing machines or water heaters, the SNZB-05P's optional 2-meter detection cable can help monitor a wider area beyond the sensor's single detection point.
Q4: Does the Zigbee water leak sensor work if the internet goes down?
Yes. Zigbee water leakage sensors connected via ZHA or Zigbee2MQTT run locally through a Zigbee coordinator. Automations in Home Assistant continue to work even if the internet goes down.
Q5: How long does the battery last, and can I monitor it in Home Assistant?
In practice, battery life can vary depending on signal quality and trigger frequency, but many Zigbee leak sensors are designed for multi-year operation.
Q6: Does the Zigbee protocol water sensor work well in basements or large homes?
Q7: How do I prevent false alarms on metal surfaces?
Q8: Can the SNZB-05P water leak sensor detect "drips" from a leaky pipe above it?
Q9: Are the SNZB-05P's extension cables reusable after getting wet?
Q10: The Zigbee water leak sensor isn't pairing — what should I do?
- First, ensure the battery insulation tab has been fully removed, and the LED on the sensor blinks when you press the button.
- Keep the sensor within 1–2 meters of your Zigbee coordinator during pairing — distance and obstacles can affect initial pairing success.
- If the sensor was previously paired to another coordinator, perform a factory reset by pressing and holding the reset button. Perform a factory reset according to the manufacturer's instructions before retrying pairing.
- Using a USB extension cable to separate your Zigbee dongle from USB 3.0 ports can dramatically improve pairing reliability by reducing radio interference.
Q11: Can a Home Assistant water leak sensor automatically shut off the water supply?
Yes. In Home Assistant, a Zigbee water leak sensor can be combined with a smart water valve to automatically shut off the water supply when a leak is detected.

Leave a comment
All comments are moderated before being published.
This site is protected by hCaptcha and the hCaptcha Privacy Policy and Terms of Service apply.