


Introduction
Presence sensors use microwave radar technology to detect micro-movements like breathing and subtle body motion, or even when you're completely still. Sounds great, right?
But the challenge is cross-brand compatibility— your presence sensor and smart lights may be from different brands. Luckily, Home Assistant (HA) solves this by unifying your devices into a single, locally controlled platform for faster responses and flexible, cross-brand automations.
This guide walks you through integrating Zigbee presence sensors into Home Assistant via ZHA and Z2M. You'll learn how to choose the right human presence sensor for Home Assistant and set up reliable automations.
Presence Sensor vs Motion Sensor: What's the Difference?
Many users often confuse motion sensors and presence sensors, assuming they work the same way. In reality, they differ significantly in how they work, what they detect, and where they perform best.
- Motion sensors (PIR) detect changes in infrared radiation caused by movement —great at noticing when you walk into a room, but they stop detecting you once you're still.
- Presence sensors use microwave radar technology to detect both movement and static occupancy, such as breathing, subtle posture changes, and even a person sitting still.
👉 In practice:
- Motion sensor → turns lights on
- Presence sensor → keeps lights on
To help you choose the right sensor for your needs, the table below provides a clear, side-by-side comparison of their key differences
|
Feature |
Presence Sensor |
Motion Sensor |
|
Detection Principle |
Using Microwave Radar to detect moving objects |
Using Passive Infrared (PIR) to detect changes in infrared radiation |
|
Detection Objects |
|
|
|
Motion Detection |
✅ Yes |
✅Yes |
|
Stationary Detection: |
✅ Yes |
❌ No |
|
Power Requirements |
Almost USB-C power supply |
Usually battery-powered (low power) |
|
Heat/Light Source Effect |
❌ Not affected |
✅ Easily affected by heat and light sources |
|
Ambient Temperature Effect |
❌ Not affected by temperature |
✅ Sensitivity decreases when the ambient temperature is close to human body temperature |
|
Penetration Ability |
Penetrates most non-metallic materials, such as drywall, wood, glass, fabric, and plastic. |
Only penetrates some transparent plastics or specific types of glass. |
|
Best For |
Stationary areas, such as offices, living rooms, bathrooms, bedrooms, and other scenarios, where you might stay for a long time without making large movements. |
Transitional areas, such as entrances, hallways, stairs, and other scenarios where you enter and leave quickly |
🔔This doesn't mean one is strictly better than the other—just that different use scenarios call for different sensors.
💡Expert Tip: For the best smart home experience, use both sensors together. A motion sensor for an instant "lights-on" trigger, while a presence detection sensor keeps the lights on until you actually leave the room.
🔦 Want to add motion sensors in Home Assistant? Check out our Home Assistant motion sensor setup guide.
How to Choose the Right Human Presence Sensor for Home Assistant?
Choosing the right presence sensor is key to building reliable automations in Home Assistant. Focusing on key factors such as local Zigbee integration, true static presence detection, configurable presence detection timeout (also called "reset time"/ "cooldown time"), and adjustable sensitivity & range & angle.
📌 Quick Checklist: choosing the right human presence sensors for Home Assistant
|
Factor |
What to Look For |
|
Communication Protocol |
|
|
HA Compatibility |
|
|
Static Presence Detection |
*If a sensor can't detect you sitting still, it's functionally just a motion sensor |
|
Detection Sensitivity |
|
|
Detection Range & Angle |
|
|
Detection Timeout (Reset Time/Cooldown Time/ Occupancy Timeout) |
|
|
Power Supply |
Microwave presence sensors require continuous power due to high energy consumption:
*Battery power only for hybrid PIR+Microwave radar sensors |
|
Flexible Mounting Options |
|
How to Add a Zigbee Presence Sensor to Home Assistant via ZHA? (Step-by-Step)
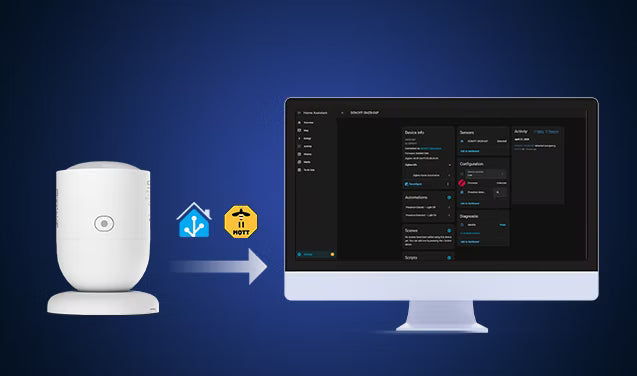
For Zigbee devices, there are two main integration methods: ZHA (Zigbee Home Automation) and Zigbee2MQTT (Z2M). In this guide, we'll focus on ZHA (Zigbee Home Automation), as it's the most beginner-friendly option with native support and no extra software required.
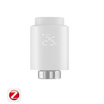
To make this guide practical and easy to follow, we'll use the SONOFF SNZB-06P Zigbee Human Presence Sensor as an example and walk through the complete setup process step by step.
Preparation: What You Need?
Before you begin to set up, ensure you have the following:
- Home Assistant is up and running
- A computer or a Raspberry Pi
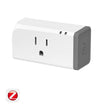
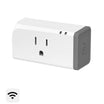
- A Zigbee presence sensor (e.g., SONOFF Zigbee Human Presence Sensor | SNZB-06P)
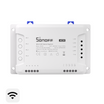
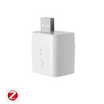
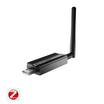
- A Zigbee coordinator (e.g., SONOFF Zigbee 3.0 USB Dongle | ZBDongle-P/ZBDongle-E, PoE Dongle | Dongle-M, Dongle Plus MG24, Dongle-LMG21)
- A USB power adapter (5V/1A) for the SNZB-06P.
Step 1: Hardware Setup & ZHA Configuration
- To get started, plug your Zigbee coordinator into your computer or Raspberry Pi. Recommend using a short USB extension cable to reduce signal interference from nearby electronics.

- Verify the device is detected, and navigate to Settings > System > Hardware > All Hardware.

- Install and Configure ZHA in Home Assistant:
- Navigate to Settings > Devices & Services in Home Assistant.
- Click "Add Integration" and search for Zigbee Home Automation (ZHA).
- Follow the prompts to configure your serial port.

💡If you need a more detailed walkthrough on hardware setup and initial ZHA installation and configuration, please refer to our comprehensive guide: Home Assistant Motion Sensor: Zigbee Integration & Automation Setup Guide 2026.
Step 2: Add the Zigbee Human Presence Sensor to Home Assistant
1. Power on: connect the SNZB-06P to a USB power source using the included Type-C cable.

2. Put devices into pairing mode
-
- Press the button on the side of the sensor for 5 seconds.
- Release the button when the red light begins to flash slowly (flashing on and off continuously).
- You now have 180 seconds to complete the pairing process in ZHA.
🔔Note:
- If the SNZB-06P is brand new, it will enter pairing mode automatically upon power-up. Check if the LED is already flashing; if not, use the 5-second manual press.
- If pairing fails, move the sensor closer to your Zigbee coordinator (within 1–2 meters) and try again. You can move it to its final location after successful pairing.
3. Start the pairing process and wait for discovery:
- Go to Settings > Devices & Services > ZHA > Add devices, then wait for ZHA to discover the SNZB-06P.
- Once found, you can rename the device and select an area (e.g., living room, kitchen, or bedroom) to keep your setup organized.

Step 3: Verify and Test the Zigbee Presence Sensor
1. Go to Settings > Devices & Services > ZHA > Devices, and find your SONOFF SNZB-06P Zigbee presence sensor in the device list.

2. Click the SONOFF SNZB-06P to enter the device page. Here, you can view the detection status, activity logs, automation, device information, and configure settings, such as detection sensitivity and presence detection timeout.

3. Verify and Test the Zigbee Presence Sensor:
Since you are in front of the device during setup, the SNZB-06P will report "Detected". You can verify the sensor's real-time performance directly on the device page.
- Confirm Current State: Check the Sensors card to ensure the status shows "Detected".
- Check Activity History: Review the Activity panel to confirm the sensor logged your presence during pairing.
- Verify "Clear" Clearing: Leave the room and wait for the Presence detection timeout (default: 60s). Then, ensure the state switches to "Clear" on your dashboard once the room is empty.

Quick Tour of the SONOFF SNZB-06P Device Page
1. Device Info
- Device Type: Router. As a mains-powered device, the SNZB-06P acts as a Zigbee router. It helps relay signals for nearby battery-powered devices, strengthening your overall Zigbee mesh network.

2. Sensors & Activity
Sensors:
- The Sensors card shows the current state. "Detected" means someone is in the room; "Clear" means it's empty. This is the primary entity you will use for your automations.
Activity:
- The Activity panel shows a history of every time presence was detected or a setting was changed.
- It's useful for troubleshooting — if your presence sensor isn't behaving as expected, check here first to see what's actually been triggered and when.
3. Configuration
This is where you customize the sensor's behavior:
- Detection Sensitivity: 3 adjustable levels (Low, Medium, High), defaulted to Medium.
-
Presence Detection Timeout: adjustable, 15-60s, defaulted to 60s.
- Some people also call it reset time, cooldown time, detection duration, or others—it refers to how long the sensor waits after detecting no movement before switching to "Clear."

4. Automations
- Click the "+" icon here to instantly create a rule, such as "When SNZB-06P is detected, turn on the Light."
- Any automations you've set up using this sensor will be listed here, making it easy to review or edit them at a glance.

How to Set Up Home Assistant Presence Detection Automation?
Now that your Zigbee presence sensor is connected to Home Assistant via ZHA, it is time to create automations to make it work for you. The most common and practical application of a human presence sensor is automatic light control:
- ✅ Presence detected → light turns on automatically.
- ✅ Presence clears (and stays clear for your set time) → light turns off automatically.
📣 Best for: living rooms, bedrooms, offices, kitchens, toilets or restrooms, and any room with a smart light.
Next, we'll use the SONOFF SNZB-06P Zigbee Human Presence Sensor as a practical example to guide you step by step in setting up automations.
Automation 1: Presence Detected → Auto Light ON
When the sensor detects a person—whether moving or sitting completely still—the light turns on automatically and remains on as long as the room is occupied.
1. Enter the Automation Setup Page:
- Path 1: Go to Settings > Automations & Scenes > Create Automation > Create New Automation


- Path 2: You can also go to SONOFF SNZB-06P Device Page > click "+" icon in the Automations card > select Create New Automation.

2. Set the Trigger:
- Click Add Trigger > select Entity > select the State.
- Entity: select your presence sensor (e.g., SONOFF SNZB-06P).
- To (optional): select "Detected".
- Click the three-dot menu (⋮) on the trigger block > Edit ID > set ID to: presence_on.


3. Set the Condition:
- Click Add Condition > select and click Triggered by.
- Select the Trigger ID for presence_on.


4. Set the Action:
- Click Add action > Device.
- Device: find your light (it's usually the smart switch that controls your lights).
- Action: Select Turn on the light.


5. Save: Click Save and give the automation names like "Presence Detected — Light On".
Automation 2: Presence Cleared → Auto Light OFF
Once the sensor confirms the room is empty (the state changes to "Clear") for a set duration ( e.g., 15s, 30s, or 1min, which you can customize based on your needs), the light will turn off automatically to save energy.
1. Create a second new automation following the same navigation as step 1 of Automation
2. Set the Trigger:
- Click Add Trigger > select Entity > select the State.
- Entity: select your presence sensor (e.g., SONOFF SNZB-06P).
- To: select "Clear".
- For: Enter 00:00:30 ( or your preferred duration, like 00:01:00 for 1 minute).
- Click the three-dot menu (⋮) on the trigger block > Edit ID > set ID to: presence_off.

3. Set the Condition:
- Click Add Condition > select and click Triggered by.
- Select the Trigger ID for presence_off.

4. Set the Action:
- Click Add action > Device.
- Device: find your light (it's usually the smart switch that controls your lights).
- Action: Select Turn off the light.

5. Save: Click Save and give the automation names like "Presence Cleared — Light Off".
Key Requirements for Reliable Home Assistant Presence Detection Automation
To ensure your Home Assistant automation feels truly smart and reliable, your presence sensor must meet these four core requirements:
True Static Presence Detection
- A true presence sensor uses microwave radar technology to detect static presence. Imagine sitting perfectly still for 45 minutes reviewing documents in your office—the light stays on as long as you're there and turns off automatically when you leave.
- Without this capability, your automation is just "motion-sensing," not truly "presence-aware."
Configurable Detection Timeout (Cooldown Time/Occupancy Timeout)
- The ability to adjust this value directly from Home Assistant (via the device's Configuration tab in ZHA or the occupancy_timeout entity in Zigbee2MQTT) is essential.
- Fixed timeouts are problematic: if they are too short, lights turn off prematurely; if they are too long, energy is wasted.
Adjustable Detection Sensitivity
- A reliable presence sensor should offer adjustable sensitivity to better match your environment, reducing the risk of "ghost triggers" or the sensor getting stuck in a "detected" state due to external interference.
💡Tips: For the most reliable detection, it is recommended to install the presence sensor in an open area free of moving obstructions.
Stable Power Supply
- Microwave radar requires continuous power to detect moving and stationary persons. A reliable presence sensor should ideally be USB-C or DC-powered.
- This prevents the sensor from entering "sleep" mode or missing detection events due to battery-saving modes.
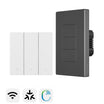
SONOFF SNZB-06P: Best Zigbee Human Presence Sensor for Home Assistant
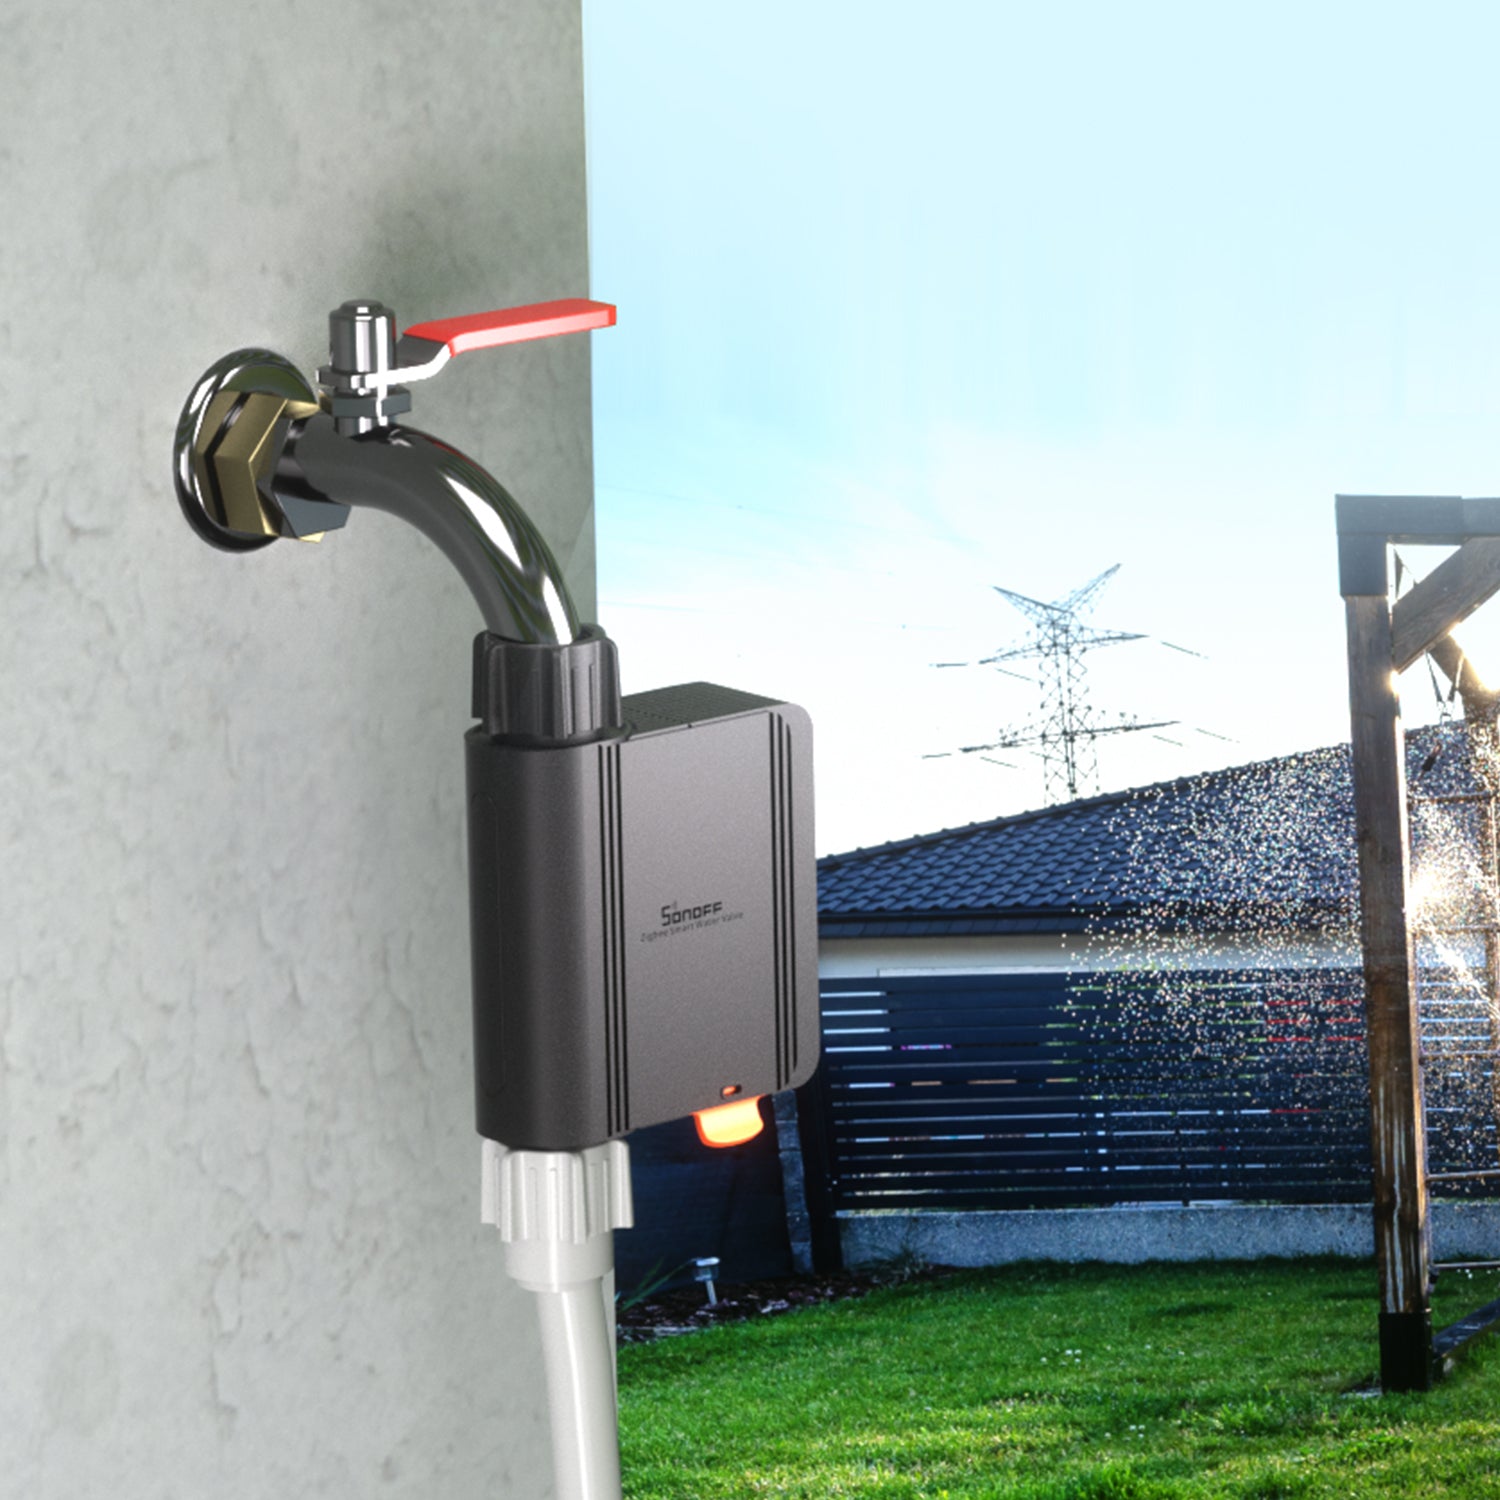
SONOFF SNZB-06P is a Zigbee 3.0 human presence sensor that integrates seamlessly with Home Assistant. It combines true static presence detection, configurable detection timeout, adjustable detection sensitivity & range, stable USB-C power supply, and flexible installation—making it the best home assistant presence sensor.

SONOFF Zigbee Human Presence Sensor | SNZB-06P
$17.90
【Presence Detection】SNZB-06P utilizes 5.8GHz microwave radar to detect both moving and stationary individuals. It automatically turns on lights when you approach and keeps them on until you leave....
View ProductTrue Static Presence Detection (5.8GHz Microwave Radar)
- Utilizing 5.8 GHz microwave radar, the SNZB-06P detects both moving and stationary individuals. It automatically turns lights on when you enter a room and stays on as long as you're present.
- Whether you're reading in the bedroom, watching TV in the living room, or relaxing in the bathroom, the SONOFF SNZB‑06P keeps your lights on by detecting your presence—even when you're sitting or lying perfectly still.

Configurable Presence Detection Timeout
- SNZB-06P offers a configurable detection timeout directly within Home Assistant, ranging from 15 to 60 seconds (defaulting to 60 seconds).
- You can set a shorter timeout for toilets or washrooms to ensure lights turn off quickly after you leave to save energy, while a longer timeout provides a comfortable buffer for living rooms, offices, or kitchens.
📌Note: If presence is detected during the countdown, the timer automatically resets to ensure uninterrupted occupancy tracking.
Adjustable Detection Sensitivity & Range
- The SNZB-06P features 3 adjustable sensitivity levels — Low, Medium (default), and High. The higher the detection sensitivity, the greater the detection range. You can adjust it to match the detection range exactly to your room size while keeping false triggers in check.
- Detection range per sensitivity level:
- Low: Up to 2.5m (8.2 feet)
- Medium: Up to 3.5m (11.5 feet)
- High: Up to 4m (13 feet)
💡Tip: If you experience false triggers, try setting this to Low. If it misses subtle breathing, set it to High. Adjust the sensitivity up or down to match your environment.

Stable Power Supply (USB‑C) & Network Routing
- Continuous USB-C power: The SNZB-06P runs on continuous USB-C power to meet the high energy demands of microwave radar technology, enabling reliable 24/7 detection.
-
Zigbee Router Capability: As a powered device, it acts as a Zigbee router to strengthen your Zigbee mesh network and improve signal stability for nearby battery-powered sensors.
Flexible Installation Methods
The SNZB-06P offers several mounting options to suit different environments:
- Magnetic Attachment: Features a clever magnetic base that snaps directly onto metal surfaces, providing a nearly 180° flexible tilt to fine-tune the detection angle.
- 3M Adhesive: Quickly stick the base to walls or other non-metallic surfaces—perfect for rentals.
- Screw Mounting: For a secure, permanent installation, the base plate can be detached and screwed into a wall or ceiling.
- Desktop Placement: Simply place it on a flat surface, such as a shelf or desk.

Conclusion
By moving from simple motion-based triggers to true presence-aware automation, your home becomes more responsive, more comfortable, and more intelligent.
The SONOFF SNZB-06P combines true static presence detection, local Zigbee control, 24/7 USB power, and configurable detection sensitivity & range & angle— giving you a fast, stable, reliable, and customizable presence automation experience.
FAQs
Q1: Why does my presence sensor sometimes get stuck on "Detected" and never switch to "Clear"?
This behavior is usually caused by environmental interference affecting microwave radar signals, rather than a device malfunction.
The most common causes are: most common causes are:
- Mirrors or reflective surfaces—Microwave radar reflects off mirrors, glass panels, and glossy tiles. Moving the sensor so it wasn't facing the mirror resolved the issue instantly.
- Ceiling fans, moving curtains, or HVAC vents—These slow, continuous movements can trick the sensor into thinking someone is present. Lower the sensitivity to Low or reposition the sensor away from these sources
- Firmware too old and timeout set too low—If your SNZB‑06P is running firmware below version 1.0.5 and you set the timeout below 30 seconds, the sensor may remain permanently on "Detected". Update to firmware 1.0.5 or later to unlock the 15‑second minimum timeout and resolve this issue.
Q2: Why does my light turn on automatically even when no one is in the room?
This is known as a "false trigger" or "ghost trigger". For the SNZB‑06P, due to its high sensitivity and the nature of its detection mechanism, the following scenarios may cause false triggering:
- Operating air conditioners, washing machines, or fans
- Curtains or plants moving in the wind
- Air ducts, fire sprinkler pipes, or drainage pipes
- Pets
- Robot vacuum cleaners
- Detecting people or objects in adjacent rooms or outdoors through walls
- Reflections from behind the sensor
- Interference from multiple people detected by different sensors
Recommended optimizations:
- Check and eliminate potential sources of interference, or reposition the device away from them
- Reduce the sensor's sensitivity
- Increase the presence detection timeout
- If installing multiple presence sensors, maintain at least 1.5 meters between them and avoid facing them directly toward each other to prevent signal interference.
- When interference cannot be eliminated, use this presence sensor together with a motion sensor (such as the SNOFF SNZB-03P Zigbee motion sensor). For example: "If the motion sensor detects movement and this presence sensor detects presence, turn on the lamp.”
Q3: How do I adjust the presence detection timeout (cooldown time/detection duration) on the SNZB‑06P in Home Assistant via ZHA?
- Go to Settings → Devices & Services → ZHA → SNZB-06P device page → Configuration card.
- You'll see a Presence detection timeout field, and you can adjust the value from 15 to 60 seconds ( default: 60 seconds).
⚠️ Firmware note: Firmware 1.0.5 or later supports 15 seconds as the effective minimum.
💡If presence is detected again during the countdown — for example, you shift in your seat — the timer automatically resets, ensuring the light stays on as long as you remain in the room.
Q4: Does the SNZB‑06P require a battery?
No. The SNZB‑06P is USB‑C powered (5V, 1A) and does not use a battery. This ensures continuous 24/7 detection with no battery‑saving sleep modes or replacements to worry about.
Q5: Can the SNZB-06P detect presence through walls?
Yes, to some extent.
The SNZB-06P uses 5.8GHz microwave radar, which can pass through certain non-metallic materials such as drywall, wood, glass, fabric, and plastic. However, the level of penetration depends heavily on material thickness, density, and environmental conditions.
Because of this, the sensor may sometimes pick up weak signals from adjacent spaces through thin walls, especially when the sensor is placed close to shared walls or corners.
This is not a fault, but a characteristic of microwave-based detection.
💡 If false detection occurs, you can try:
- Reducing the sensitivity level.
- Adjusting sensor orientation away from shared walls.
- Increasing distance from reflective or thin barriers.
- Fine-tuning placement rather than relying only on sensitivity adjustment.
Q6: Is the SNZB-06P a mmWave (millimeter-wave) Radar sensor?
The SNZB-06P uses 5.8GHz microwave radar, which falls in the cmWave (Centimeter Wave) range —not millimeter-wave. mmWave is generally defined as frequencies above 30GHz, offering higher detection precision but at greater cost and complexity.
For smart home presence detection—detecting whether someone is in a room, including when completely still—5.8GHz is more than sufficient and considerably more cost-effective than high-frequency mmWave alternatives.
✍ Additional Note: Both Millimeter Wave (mmWave) and Centimeter Wave (cmWave) fall under the broader category of microwaves. The frequency increases, and the detection precision also becomes higher.
Q7: Will the presence sensor keep detecting me while I'm sleeping?
Not reliably. If you're facing away from the sensor, wearing thick clothing, or covered by a heavy blanket, your chest movement may be too weak to be detected reliably.

Leave a comment
All comments are moderated before being published.
This site is protected by hCaptcha and the hCaptcha Privacy Policy and Terms of Service apply.