


Introduction
Home Assistant has become the go-to platform for smart-home enthusiasts looking to consolidate and automate devices across brands. With the rise of Matter—the universal connectivity standard launched in October 2022—cross-brand compatibility became more accessible. Building on this progress, Home Assistant introduced support for Matter in May 2023 (version 2023.5), empowering users to seamlessly connect and control Matter-compatible devices while retaining local network control.
However, while Matter-certified Wi-Fi devices can pair directly, many existing Wi-Fi gadgets lack built-in Matter support—leaving users locked in brand-specific ecosystems. This guide bridges the gap by covering:
- Adding native Matter-enabled Wi-Fi devices to Home Assistant
- Integrating non-Matter Wi-Fi devices via Matter bridges (ZBBridge-U/iHost)
- Alternative approach via the eWeLink add-on

Integrate Matter-enabled Wi-Fi Devices into Home Assistant
Prerequisites
- Home Assistant OS ( Make sure you have the latest version of Home Assistant installed).
- In Home Assistant, have the Matter integration installed. (Go to Settings > Devices & Services > Add Integration, and search for “Matter”.)
- Home Assistant Companion App on your smartphone.
- Matter-certified device with a QR code or setup code.
Note:
- Your device and Home Assistant should be on the same LAN.

Add a Matter Device Using the iOS Companion App
This guide describes how to add a new matter device. This will use the Bluetooth connection of your phone to add the device.
Steps:
- Open the Home Assistant app on your phone.
- Go to Settings > Devices & Services.
- Click Add Integration button, search Matter, then select Add Matter device.
- In the dialog, select No, it’s new..
- Scan the QR-code of the Matter device with your phone camera or select More options… to manually enter the Commission code.
- Select Add to Home Assistant.

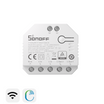
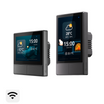
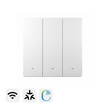
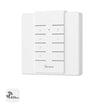
Here I’ll show you the process of adding the SONOFF M5 Matter Smart Wall Switch to Home Assistant, scan the Matter QR code on the device, then click Add to “Home Assistant” button. This starts the commissioning process, which may take a few minutes.

If it is not convenient to scan the QR code on the device, you can also click Enable Pairing Mode in the Device Settings of the eWeLink app to generate a QR code or Copy code.

After adding, you can control and configure M5 Matter in Home Assistant.

Add a Matter Device Using the Android Companion App
Steps:
- Open The Home Assistant app on your phone.
- Power up the device by plugging it in or add a battery. Most devices will now go into pairing mode.
- For some devices, you need to enable a pairing mode (like you do with Z-Wave or Zigbee device).
- The instructions on how to set the device in pairing mode can usually be found in the device documentation.
- For some devices, at this point, your phone shows a pop-up, prompting you to Scan the QR code.
- Scan the QR code.
- When prompted to Choose an app, make sure to select Home Assistant.
- Once the process is complete, select Done, then select Add device.
- If you did not see a pop-up, go to Settings > Devices & Services
-
- On the Devices tab, select the Add device button, and select Add Matter device.
- In the dialog, select No, it’s new..
- Scan the QR-code of the Matter device with your phone camera or select Setup without QR-code to manually enter the commission code.
This starts the commissioning process which may take a few minutes.
If you’re adding a test board (e.g. ESP32 running the example apps) and commissioning fails, you might need to take some actions in the Google Developer console, have a look at any instructions for your test device.
Once the process is complete, select Done.
5. To view the device details, go to Settings > Devices & Services and select the Matter integration.
6. By default, the device gets a factory specified name. On the device page, you can edit and rename the device.
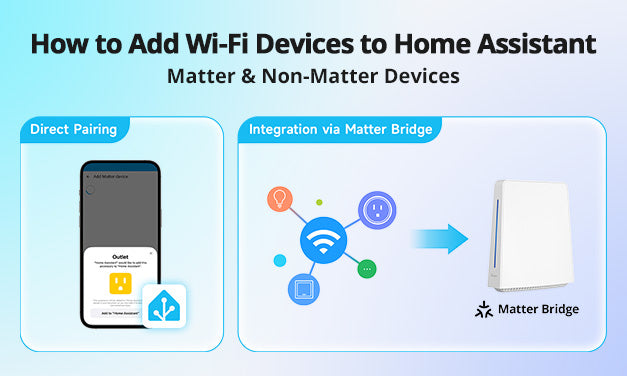
Integrate Non-Matter Wi-Fi Devices into Home Assistant
via Matter Bridge
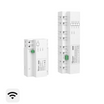
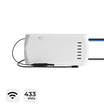
Devices without Matter support can still join Home Assistant using a local Matter Bridge. SONOFF offers two powerful gateways with Matter bridge support:
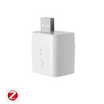
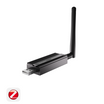
- ZBBridge-U (Zigbee 3.0 + Matter Bridge)
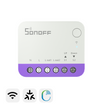
- iHost (Wi-Fi + Zigbee + Matter Bridge)

Enable ZBBridge-U or iHost as a Matter Bridge
If you use ZBBridge-U as the Matter bridge to integrate devices, please open the eWeLink app, click Device Settings→Matter. Then click the “+” in the upper right corner to enter the pairing mode. Then follow the instructions on the app.
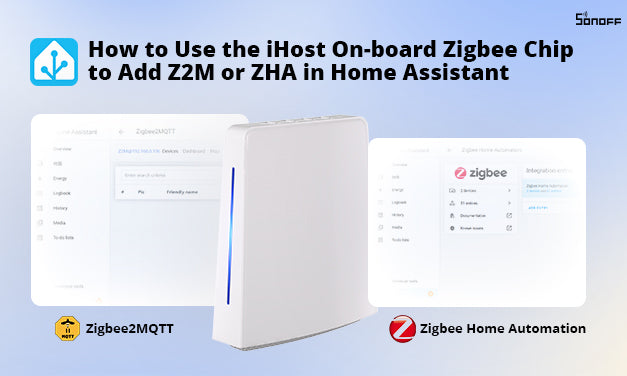
Here I’ll take iHost to show you how to integrate non-matter devices to Home Assistant.
Steps:
- Place iHost on your network. iHost and your computer should be on the same LAN.
- Open the local web of iHost.
- Navigate to Matter Bridge → Pairing


- Click Start, then follow the steps to bridge the device to Home Assistant.
- Tap “Start pairing” to generate the QR code, open your Home Assistant app, and Scan the QR code to sync the supported devices into Home Assistant.


Your non-Matter devices will appear natively under Devices & Services, ready for automations, dashboards, and control.
via eWeLink Add-On
Steps:
- Install the eWeLink Add-on from Home Assistant’s Add-on Store.
- In eWeLink Add-on settings, log in with your eWeLink account.
- Configure LAN Mode to discover devices on your network.
- Devices appear under the eWeLink integration.
For a detailed walkthrough, see SONOFF’s official tutorial:
➡️ How SONOFF Works with Home Assistant
Conclusion
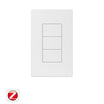
Whether you’re working with Matter-certified Wi-Fi devices or non-Matter products like the SONOFF TX Ultimate Smart Wall Switch, Home Assistant offers robust integration methods:
Direct Matter pairing for seamless setup.
Local Matter Bridge via ZBBridge-U or iHost for non-Matter Wi-Fi devices.
Legacy eWeLink Add-on as a fallback.
By leveraging these workflows, you’ll achieve a fully local, secure, and responsive smart home—no cloud dependency needed. Start adding your Wi-Fi devices today and unlock the full power of Home Assistant!

Leave a comment
All comments are moderated before being published.
This site is protected by hCaptcha and the hCaptcha Privacy Policy and Terms of Service apply.